
Send an Automated Message to Intercom’s Chat Widget
Intercom is a popular live chat tool that lets your users talk in real-time to a customer support representative – frequently, companies will also use Intercom for in-app notifications. Using Intercom’s API and Customer.io’s Webhook Action, you can trigger automated messages to specific users through the Intercom live chat widget.
What you’ll need
- An Intercom account and a Customer.io account.
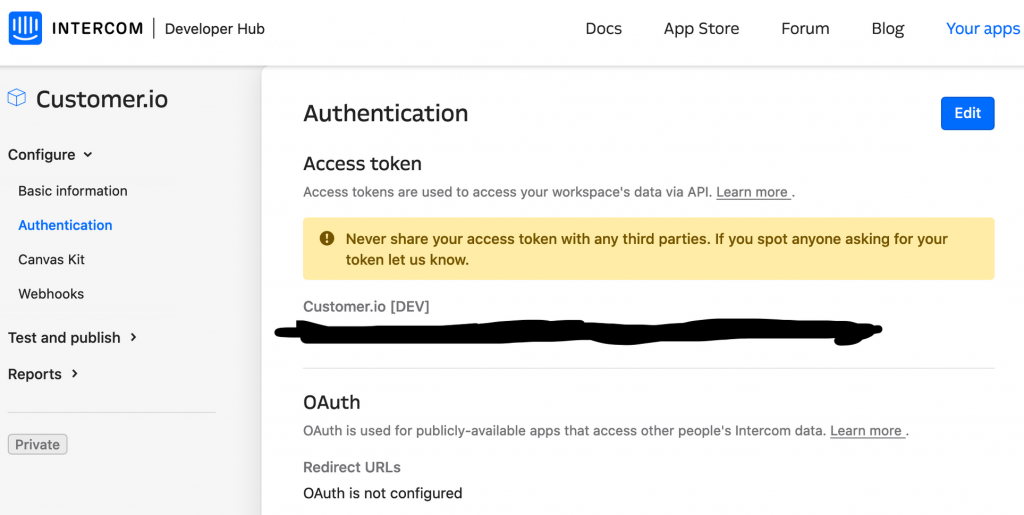
- An “App” created in Intercom’s developer hub for internal use. You’ll need the Access token from the “Authentication” screen
- Ideally, your users in Intercom and Customer.io will be identified with the same id.
Our Campaign
We’re going to create a campaign in Customer.io with two workflow items. First, we’re going to look up a user in Intercom, grab their intercom ID then store it as an attribute on their Customer.io Profile. Second, we’re going to send a message to that person in Intercom using that ID.
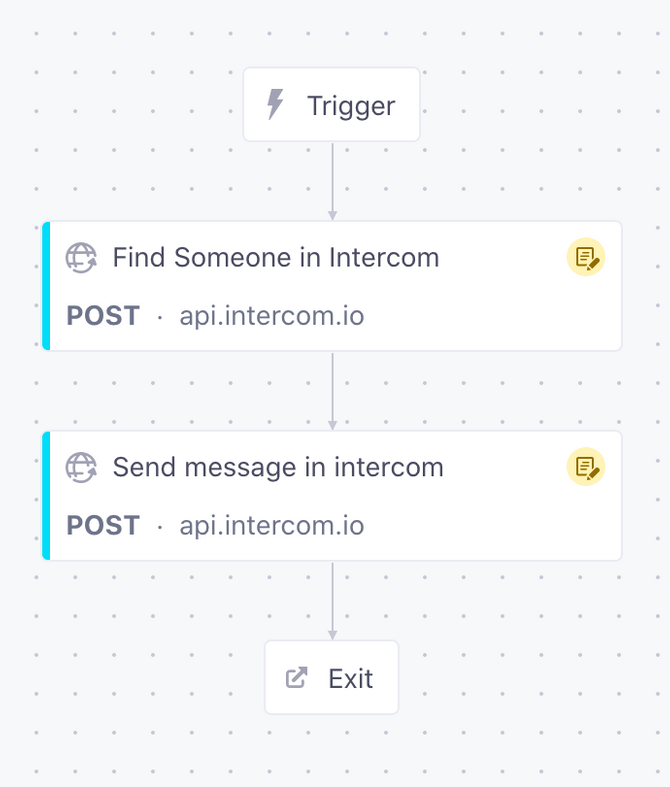
Step 1: Find the Intercom ID
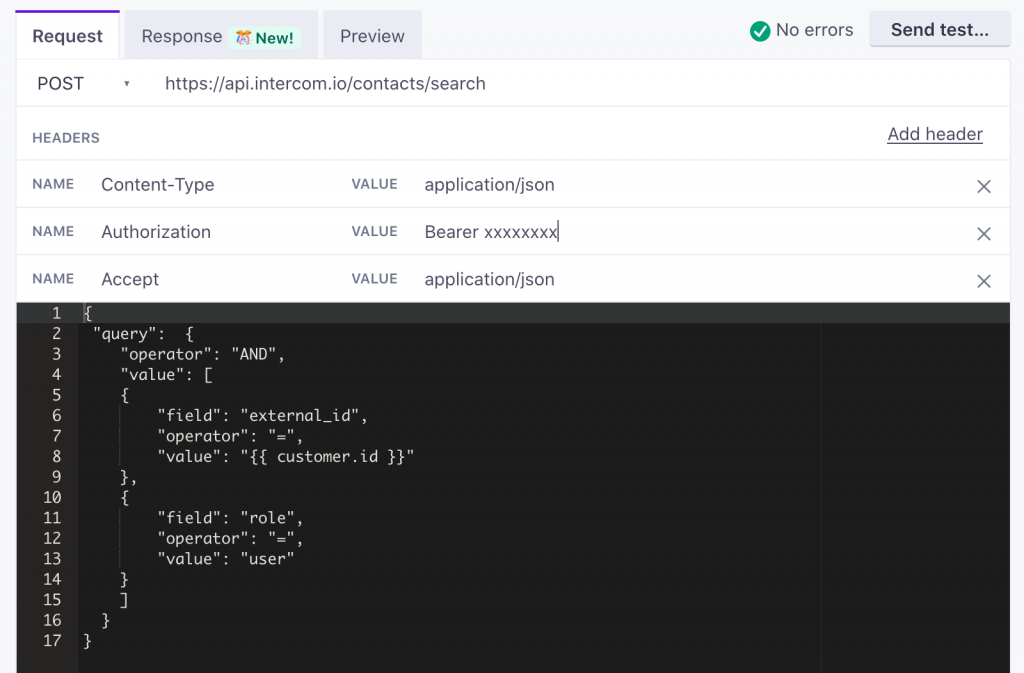
We’re going to send a POST request to https://api.intercom.io/
POST: https://api.intercom.io/contacts/search

    Content-Type : application/json
    Authorization : Bearer xxxxxxxx
    Accept : application/json

    {
     "query":  {
        "operator": "AND",
        "value": [
        {
            "field": "external_id",
            "operator": "=",
            "value": "{{ customer.id }}"
        },
        {
            "field": "role",
            "operator": "=",
            "value": "user"
        }
        ]
      }
    }
This request uses the ID from Customer.io to look up a person in Intercom. Note that we’re restricting it to “user” roles, and not looking at “lead” roles.
Use the response to set the “intercom_user” attribute in Customer.io.
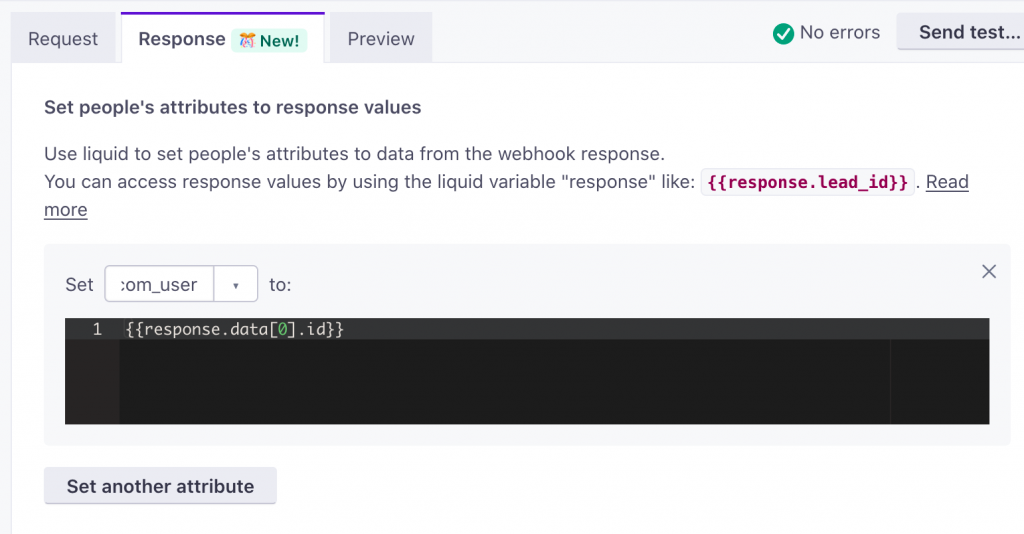
Set intercom_user to:

{{response.data[0].id}}
You can use “send test” to see if the API request works before moving on. We won’t set the attribute during the test.
Step 2: Send a message
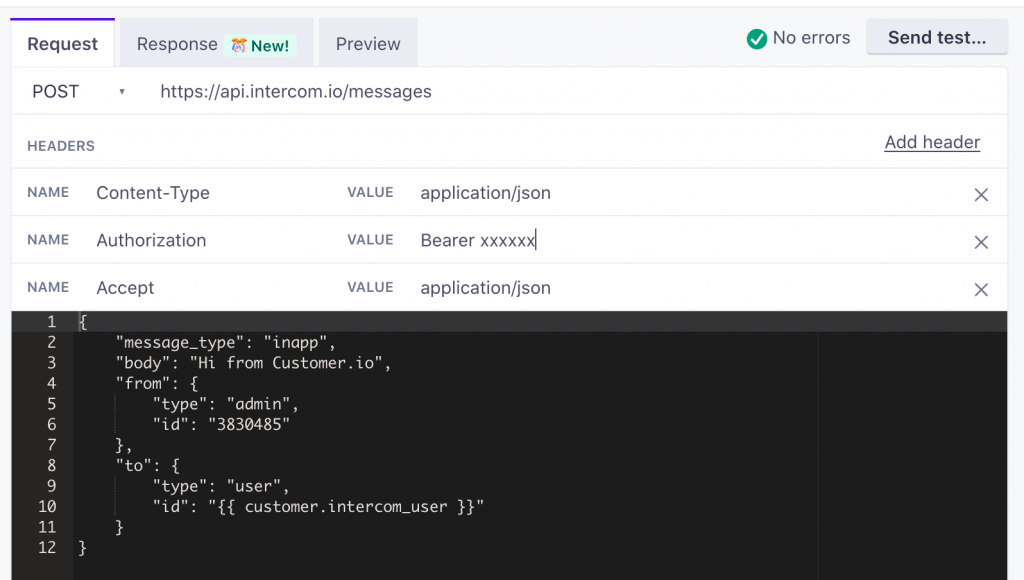
POST: https://api.intercom.io/messages

Content-Type : application/json
Authorization : Bearer xxxxxxxx
Accept : application/json


{
    "message_type": "inapp",
    "body": "Hi from Customer.io",
    "from": {
        "type": "admin",
        "id": "3830485"
    },
    "to": {
        "type": "user",
        "id": "{{ customer.intercom_user }}"
    }
}
You’ll want to change the “From” id to a user in your Intercom account, and again you need your token from your Intercom developer account to replace the xxxxxx next to “Bearer”
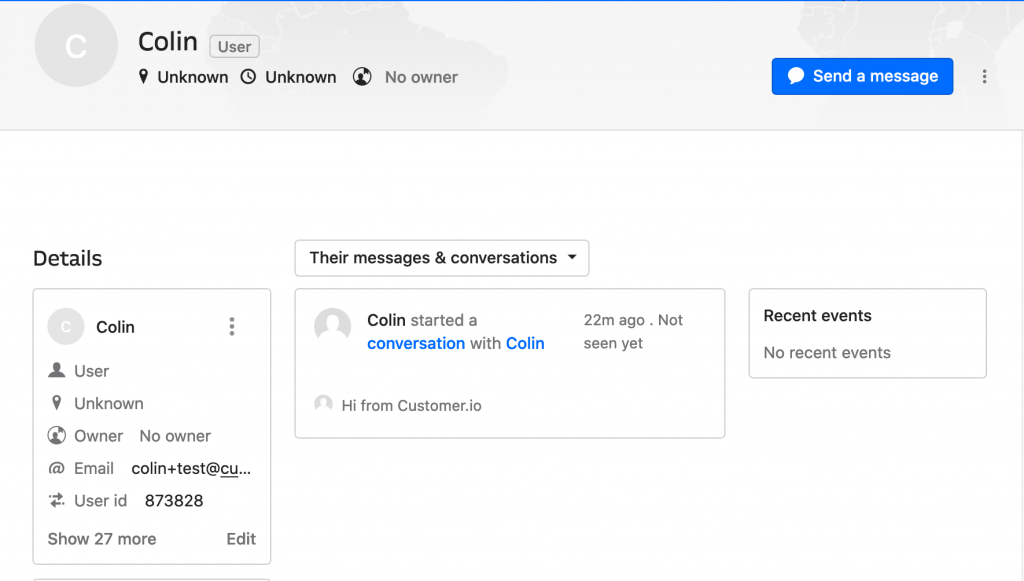
That’s it! Once again, you can “Send Test” and if you have a value for {{ customer.intercom_user }} the message will appear in their profile in Intercom and be shown to the user next time they log in.
Step 3 – Track Conversions
Conversions in Customer.io are credited to the last message sent before a person enters or leaves a segment. Webhooks work a little differently. There are two webhooks in this sample campaign, but only one is a customer-facing message. We give you the option to enable conversion tracking just on the webhook actions you chose. For this campaign, we recommend enabling conversions for the second webhook, which triggers a customer-facing message.
This is just the tip of the iceberg for how you might use Customer.io with Intercom’s API, but hopefully gives you a useful first step.
Keep in mind, you could also have two separate campaigns in order to grab intercom IDs for all new users in case you want to send them a message later.