Set up in-app messages
This page is part of a setup flow for the SDK. Before you continue, make sure you've implemented previous features—i.e. you can't receive in-app notifications before you identify people!
How it works
An in-app message is a message that people see within the app. People won’t see your in-app messages until they open your app. If you set an expiry period for your message, and that time elapses before someone opens your app, they won’t see your message.
You can also set page rules to display your in-app messages when people visit specific pages in your app. However, to take advantage of page rules, you need to use screen tracking features. Screen tracking tells us the names of your pages and which page a person is on, so we can display in-app messages on the correct pages in your app.
in-app message]-->d{is the app open?} d-->|yes|f[user gets message] d-->|no|e[hold message
until app opens] e-->g{did the message
expire?} g-->|no, wait for user
to open the app|d g-->|yes|h[user doesn't
get the message]
Set up in-app messaging
In-app messages are disabled by default. Just set enableInApp to true in your CustomerioConfig(), and your app will be able to receive in-app messages.
const data = new CustomerioConfig()
data.enableInApp = true
Page rules
You can set page rules when you create an in-app message. A page rule determines the page that your audience must visit in your app to see your message. However, before you can take advantage of page rules, you need to:
- Track screens in your app. See the Track Events page for help sending
screenevents. - Provide page names to whomever sets up in-app messages in fly.customer.io. If we don’t recognize the page that you set for a page rule, your audience will never see your message.
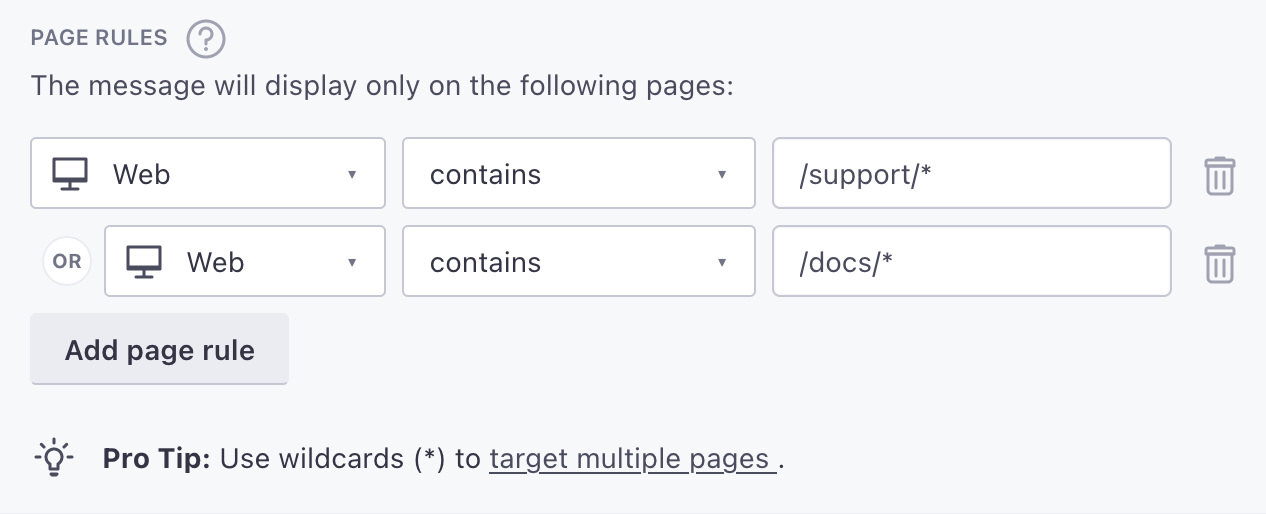
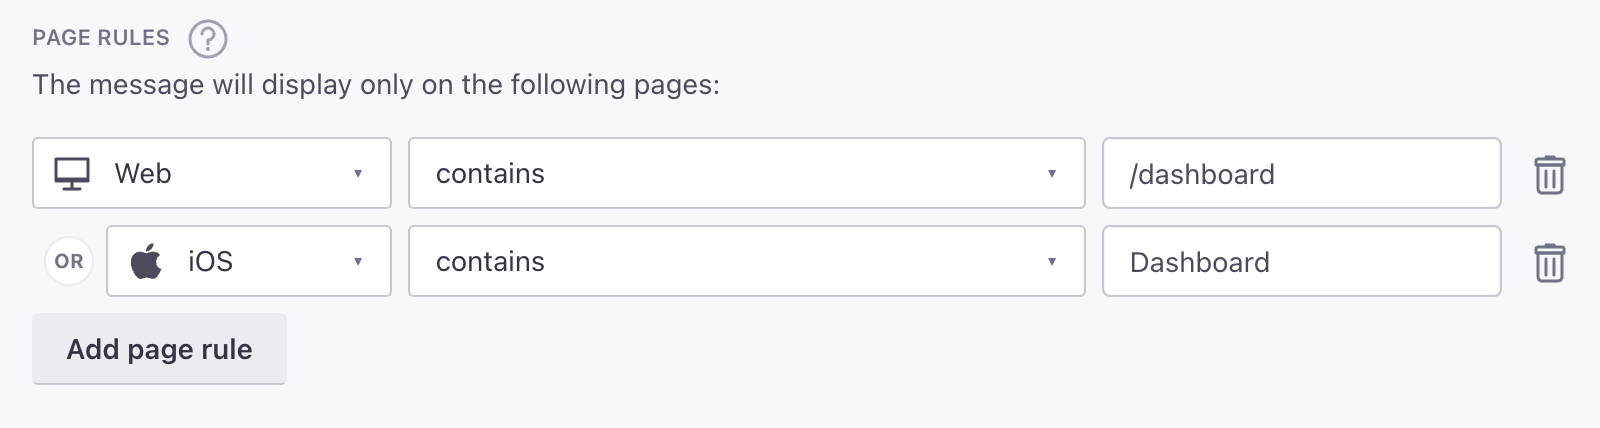
Keep in mind: page rules are case sensitive. If you’re targeting your mobile app, make sure your page rules match the casing of the name in your screen events. If you’re targeting your website, your page rules should always be lowercase.
Targeting people with in-app messages
Whoever composes messages in your system needs to know how you identify people—whether you recognize people by email address or ID.
When you set up a message in Customer.io, you’ll set a To field. This field is the identifierThe attributes you use to add, modify, and target people. Each unique identifier value represents an individual person in your workspace. that your app uses to identify people in Customer.io. When a person in your campaign or broadcast is identified by the value in the To field, they’ll receive your message. If your app doesn’t identify people using the value you select, we won’t deliver your message to the person. Your messages will appear as Sent, but never Opened or Clicked.

