Use Google Forms or Jotforms with Zapier
Some form providers don’t support our custom forms JavaScript snippet. For those providers, you can use Zapier to send a call to our /forms API, letting you capture form submissions.
As a part of this integration, you’ll use a zap when people submit your form to add and update people in Customer.io.
New to Zapier?
Zapier is a service that helps you connect data from inputs to outputs. Each connection is called a “zap”. In this case, we’ll create a zap that connects your form provider (input) to Customer.io, effectively capturing form submissions to add or update people in Customer.io.
To get started, you need to:
- Create an account with Zapier.
- Provide your form provider credentials to Zapier.
Capture Google Form submissions
Before you begin, you’ll need a Zapier account, and you must connect your Google and Customer.io accounts to Zapier. This process assumes that you’ve already set up a Google Form, connected it to a spreadsheet or worksheet, and captured at least one submission. Your form should capture email addresses as a way to identify people.
- In Zapier, create a new zap.
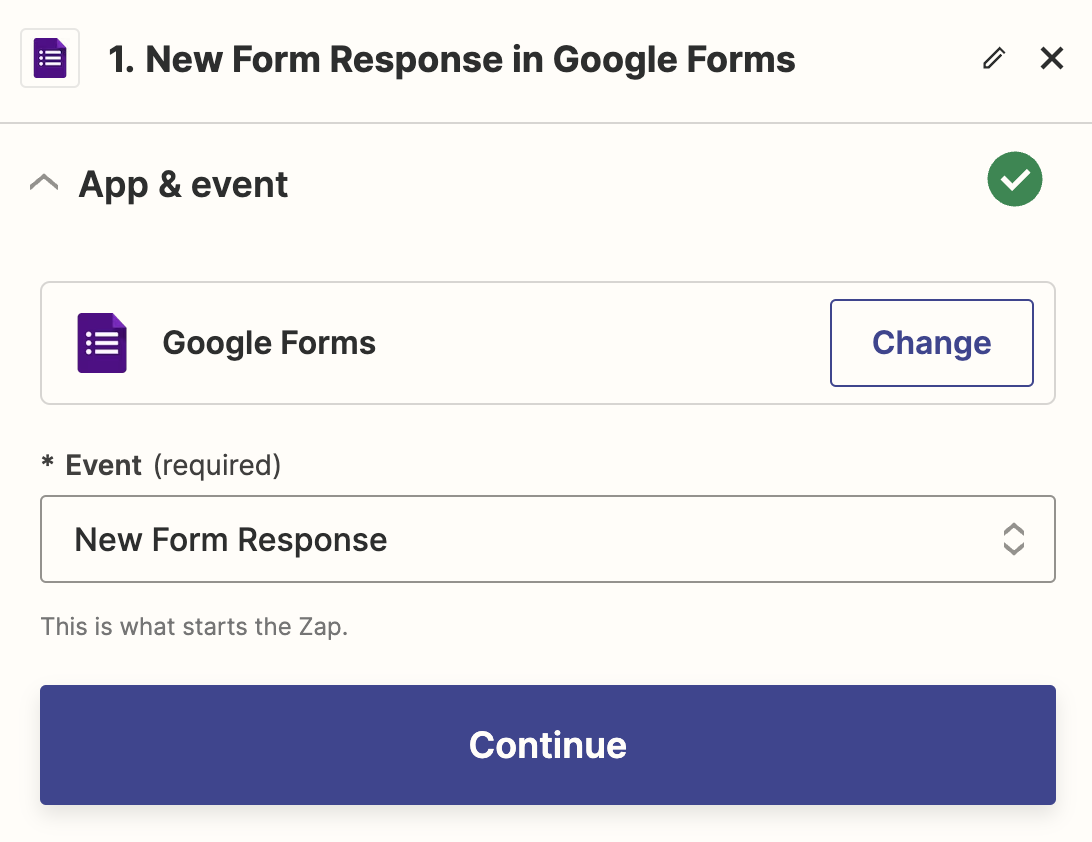
- Click the trigger then choose Google Forms for the app and New Form Response for the Trigger Event. Click Continue.
- Connect your Google account with Zapier, if you haven’t already. Click Continue.
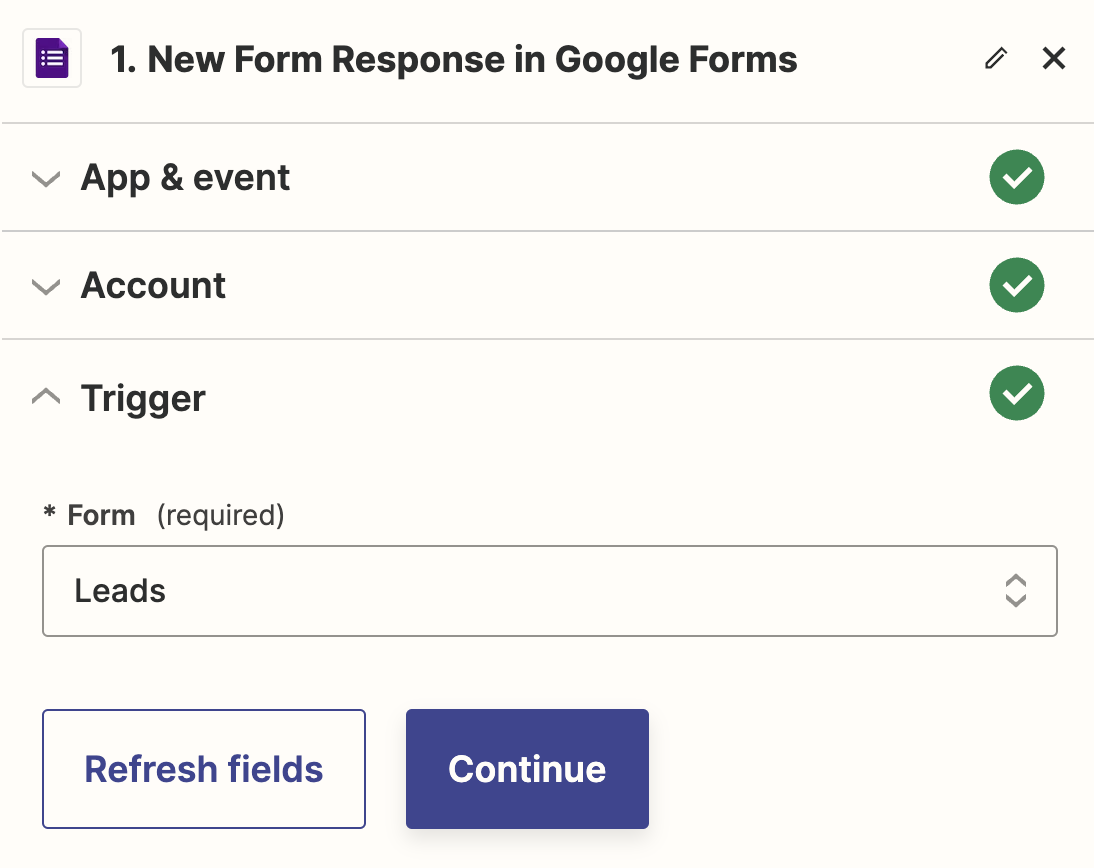
- Choose the form you want to capture rows (people) from. Click Continue.
- Test your form. Click Continue with selected record.
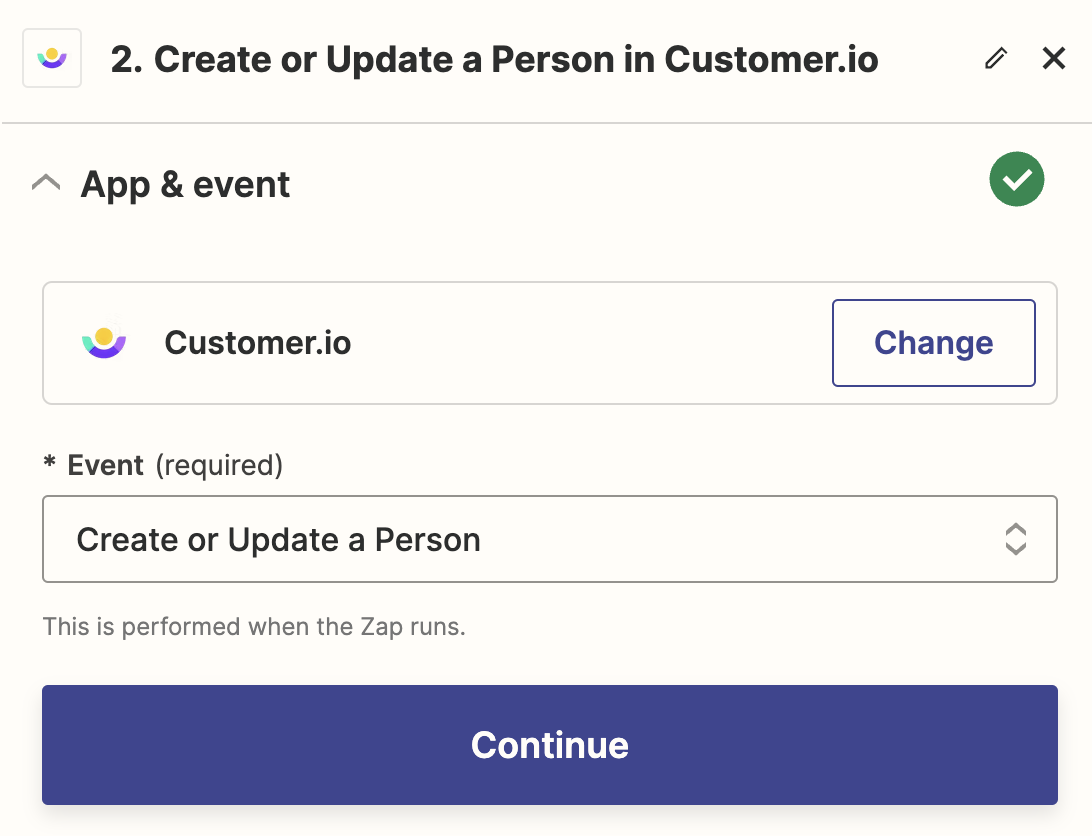
- Search for Customer.io and select it as the action app.
- For the action event, select Create or Update a Person and click Continue.
- Click Sign In beside Customer.io then enter the Site ID and Tracking API Key of the workspace you want to add and update people in. Click Continue.
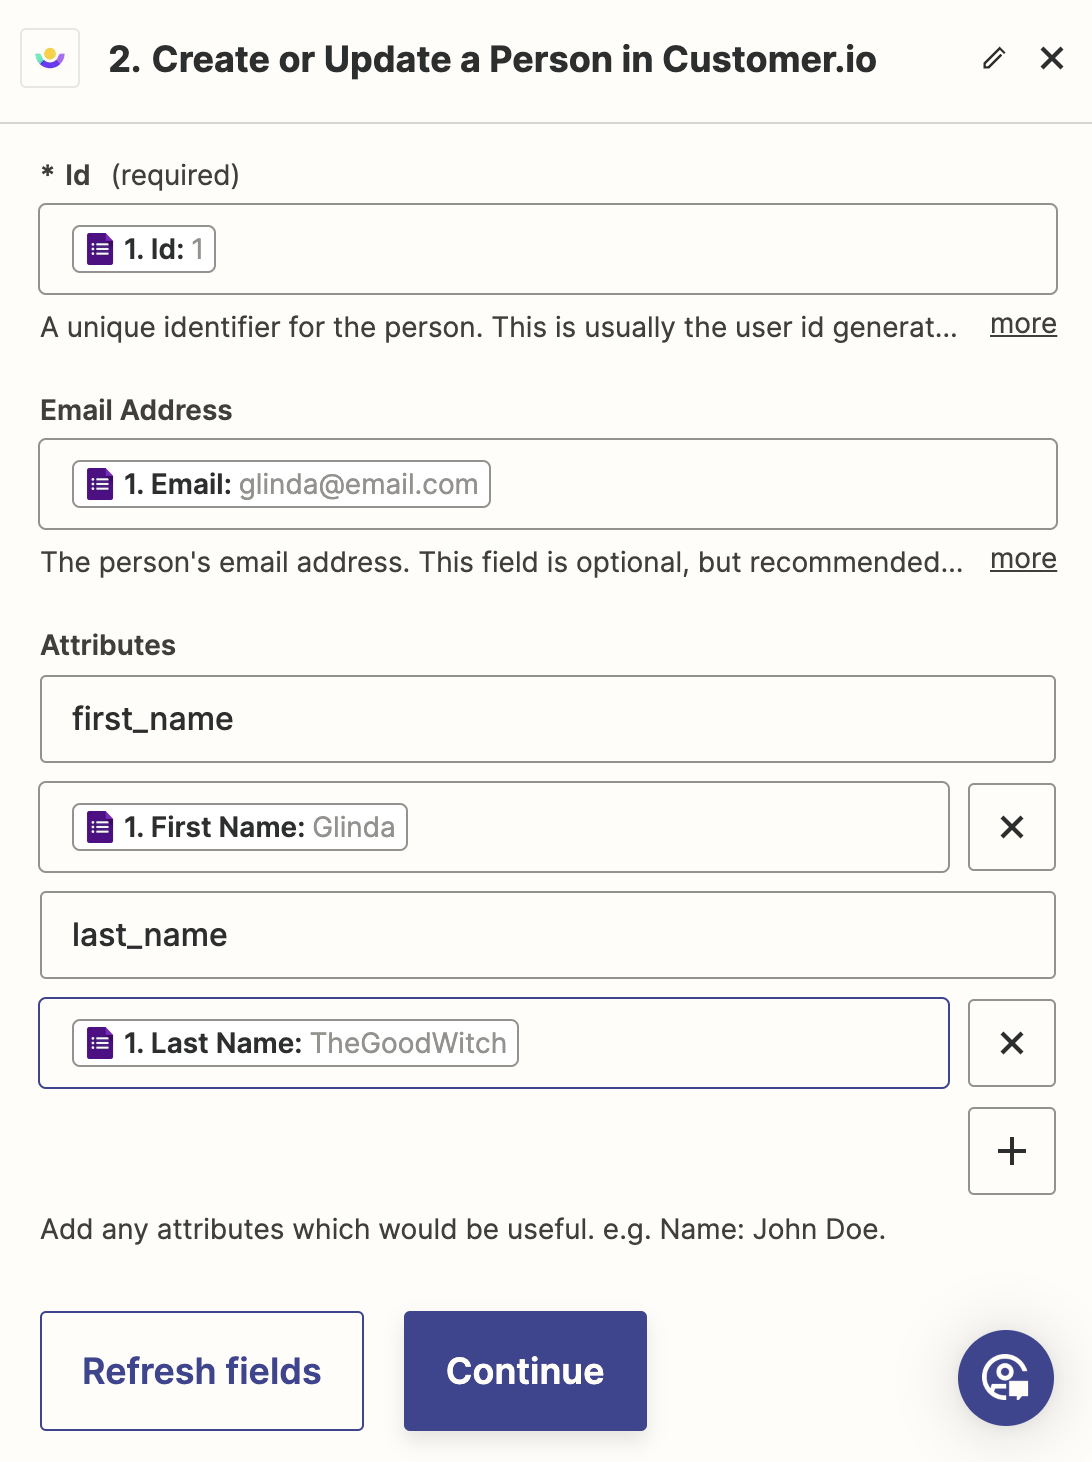
- In the action step, map your form fields to attributes in your workspace and click Continue.
- You must assign an Id field. If your form doesn’t capture an obvious ID for people, we recommend that you set the email address as the ID. See the section below for help determining what to set for your ID.
- For other attributes, provide the name of the attribute in the top field and the corresponding Google sheet field on the bottom.
- Test your connection. Go to People in your workspace to see if someone was added.
- Click Publish when you’re ready to make your zap live.
- Determine whether to transfer existing data in your google form sheet or not. If you click transfer existing data, you will be prompted to decide which rows to send to Customer.io. (You might, for instance, choose to leave the row you just tested/sent to your workspace unchecked.)
And that’s it! Zapier will now automatically send new form submissions to your workspace. If there is an error with a tranfer, Zapier will email you.
Use Jotform with Customer.io
We’re working on a better solution for Jotform
While our current solution to Jotform requires Zapier, we’re working on a way to let you send Jotform submissions directly to Customer.io, without involving Zapier.
Before you begin, you’ll need a Zapier account, and you must connect your Jotform and Customer.io accounts to Zapier. This process assumes that you’ve already set up your Jotform. Your form should capture email addresses as a way to identify people.
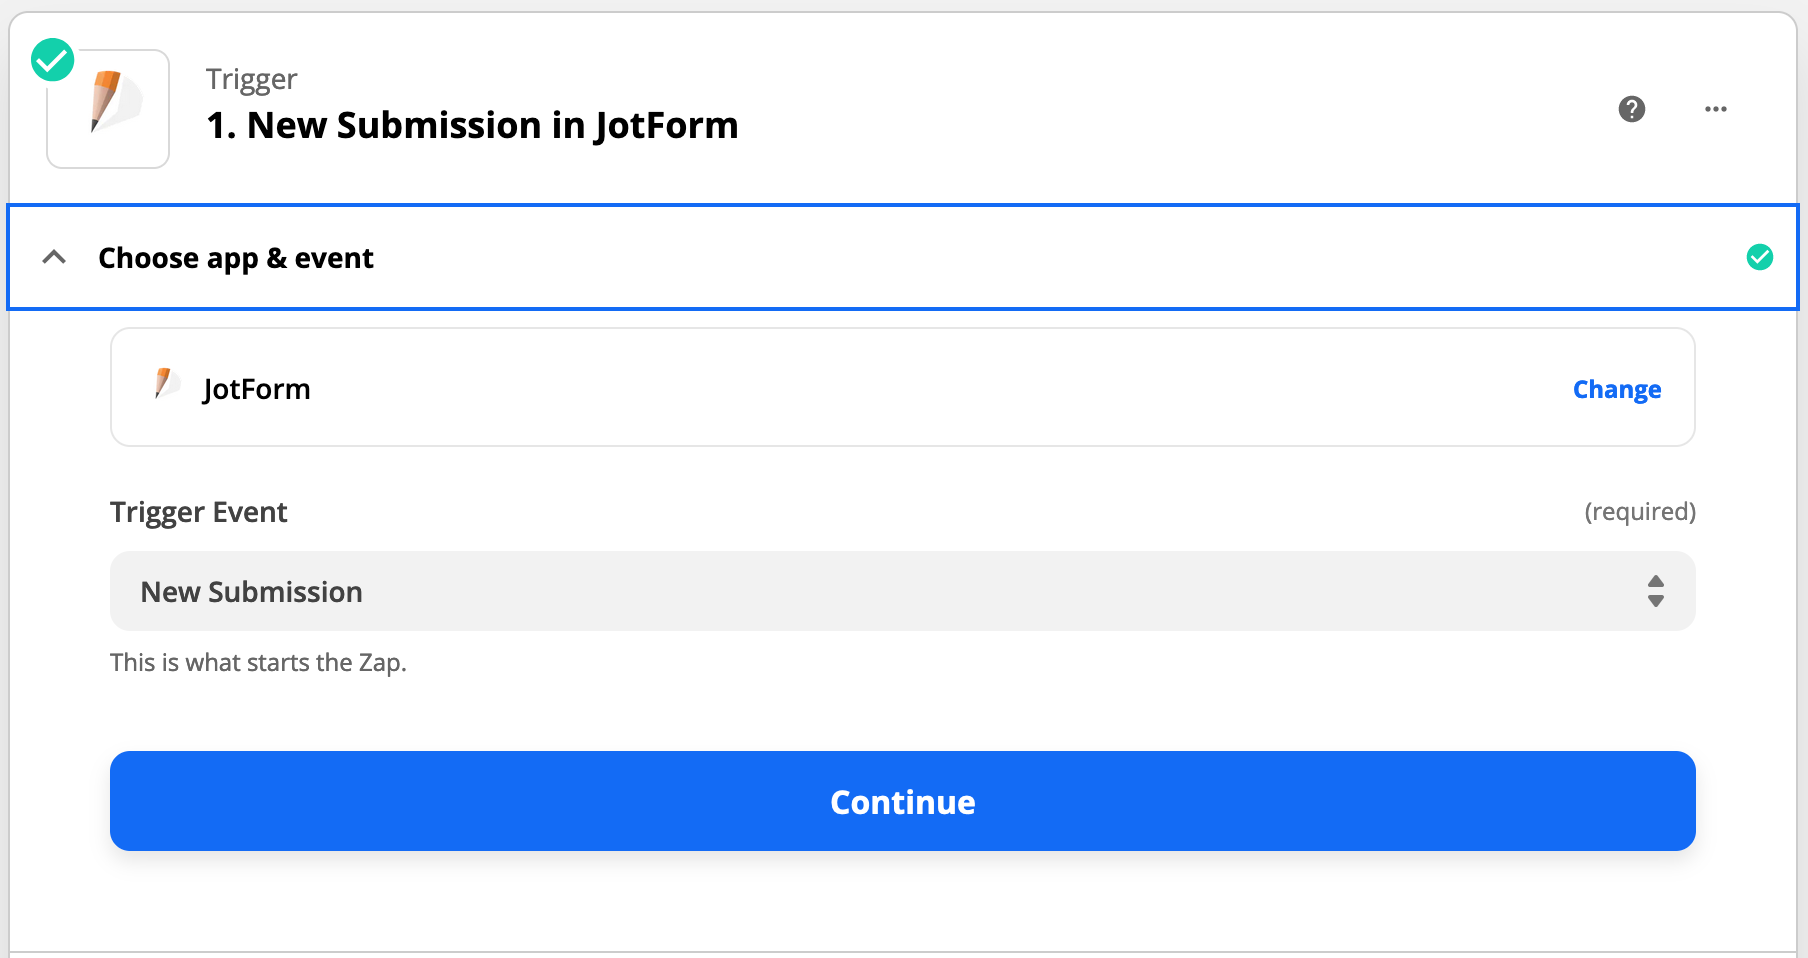
- In Zapier, create a new zap. For the Trigger, choose Jotform for the app and New Submission for the Trigger Event. Click Continue.
- In the Set up trigger step, pick the form you want to collect submissions from and click Continue.
- Test your form.
- Click Action and select Customer.io.
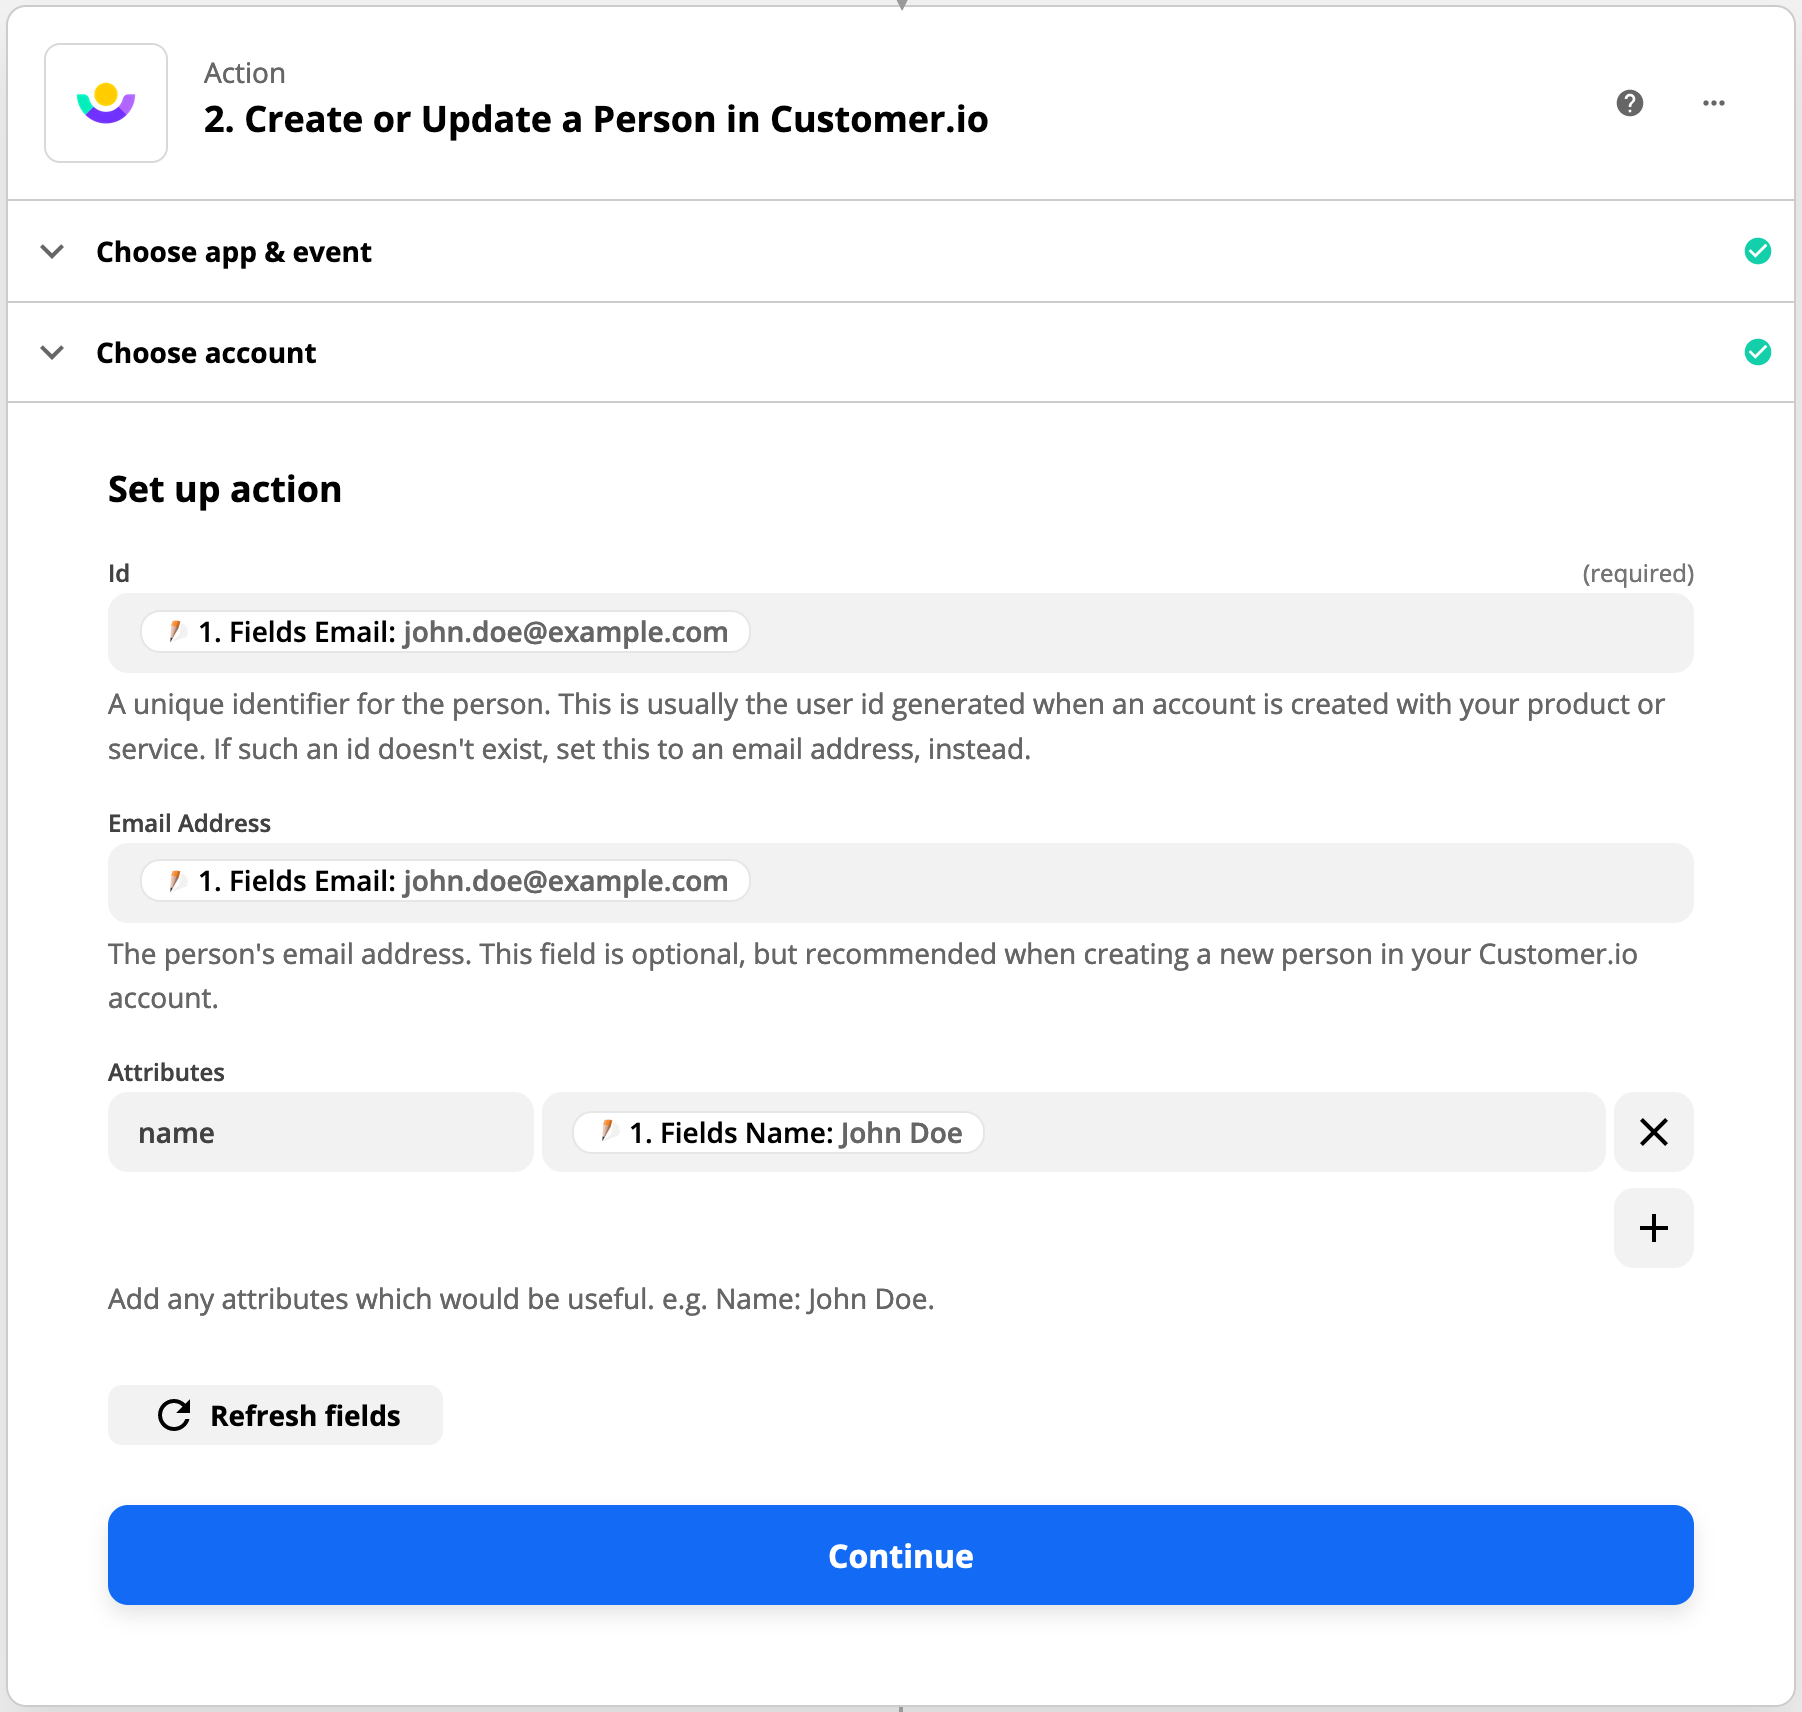
- For the Action Event, select Create or Update a Person and click Continue.
- Pick the Site ID—the workspace—that you want to add and update people in.
- In the Set up action step, map your form fields to attributes and click Continue.
- You must assign an Id field. If your form doesn’t capture an obvious ID, see the section below for help determining what to set for your ID.
- For other attributes, provide the name of the attribute in the left field, and the Jotform field representing the value of the field on the right.
Use Typeform with Customer.io
Try our direct Typeform integration!
While you can certainly pass Typeform submissions to Customer.io using Zapier, we now have a direct integration that doesn’t require you to spend money on zaps!
Before you begin, you’ll need a Zapier account, and you must connect your Typeform and Customer.io accounts to Zapier. This process assumes that you’ve already set up your Typeform. Your form should capture email addresses as a way to identify people.
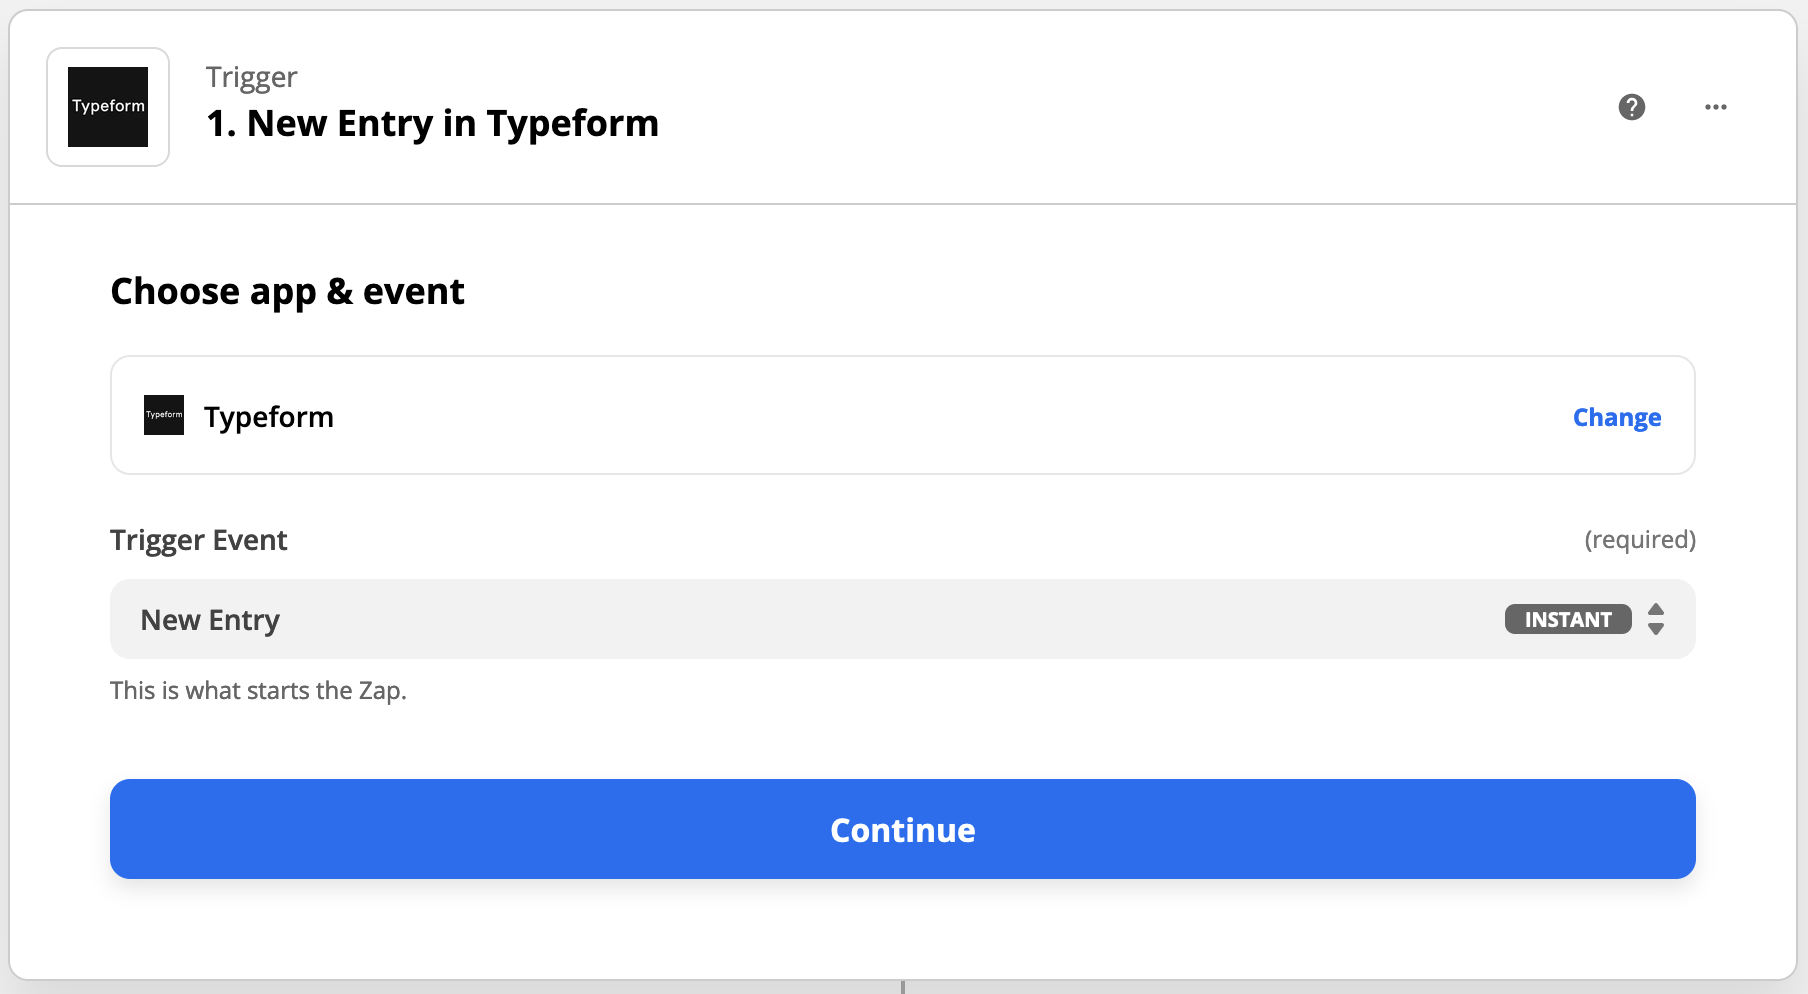
- In Zapier, create a new zap. For the Trigger, choose Typeform for the app and New Entry for the Trigger Event. Click Continue.
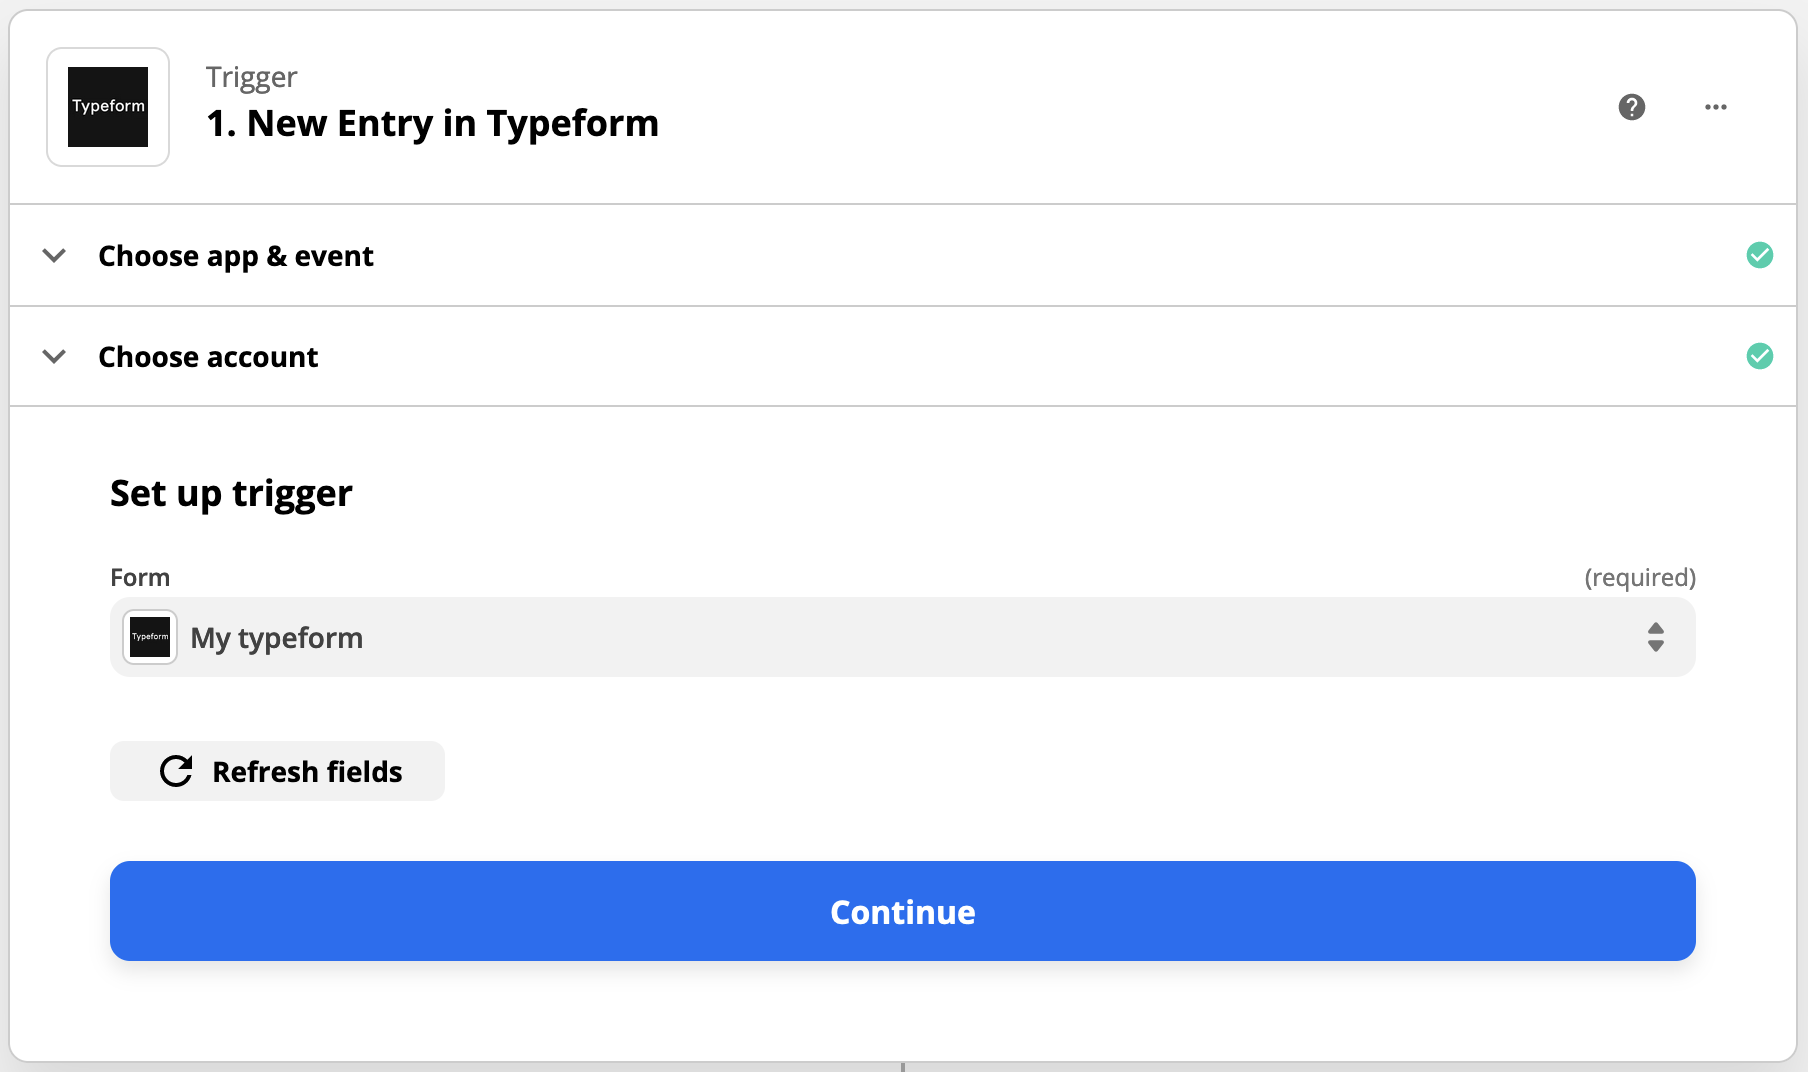
- In the Set up trigger step, pick the form you want to collect submissions from and click Continue.
- Test your form.
- Click Action and select Customer.io.
- For the Action Event, select Create or Update a Person and click Continue.
- Pick the Site ID—the workspace—that you want to add and update people in.
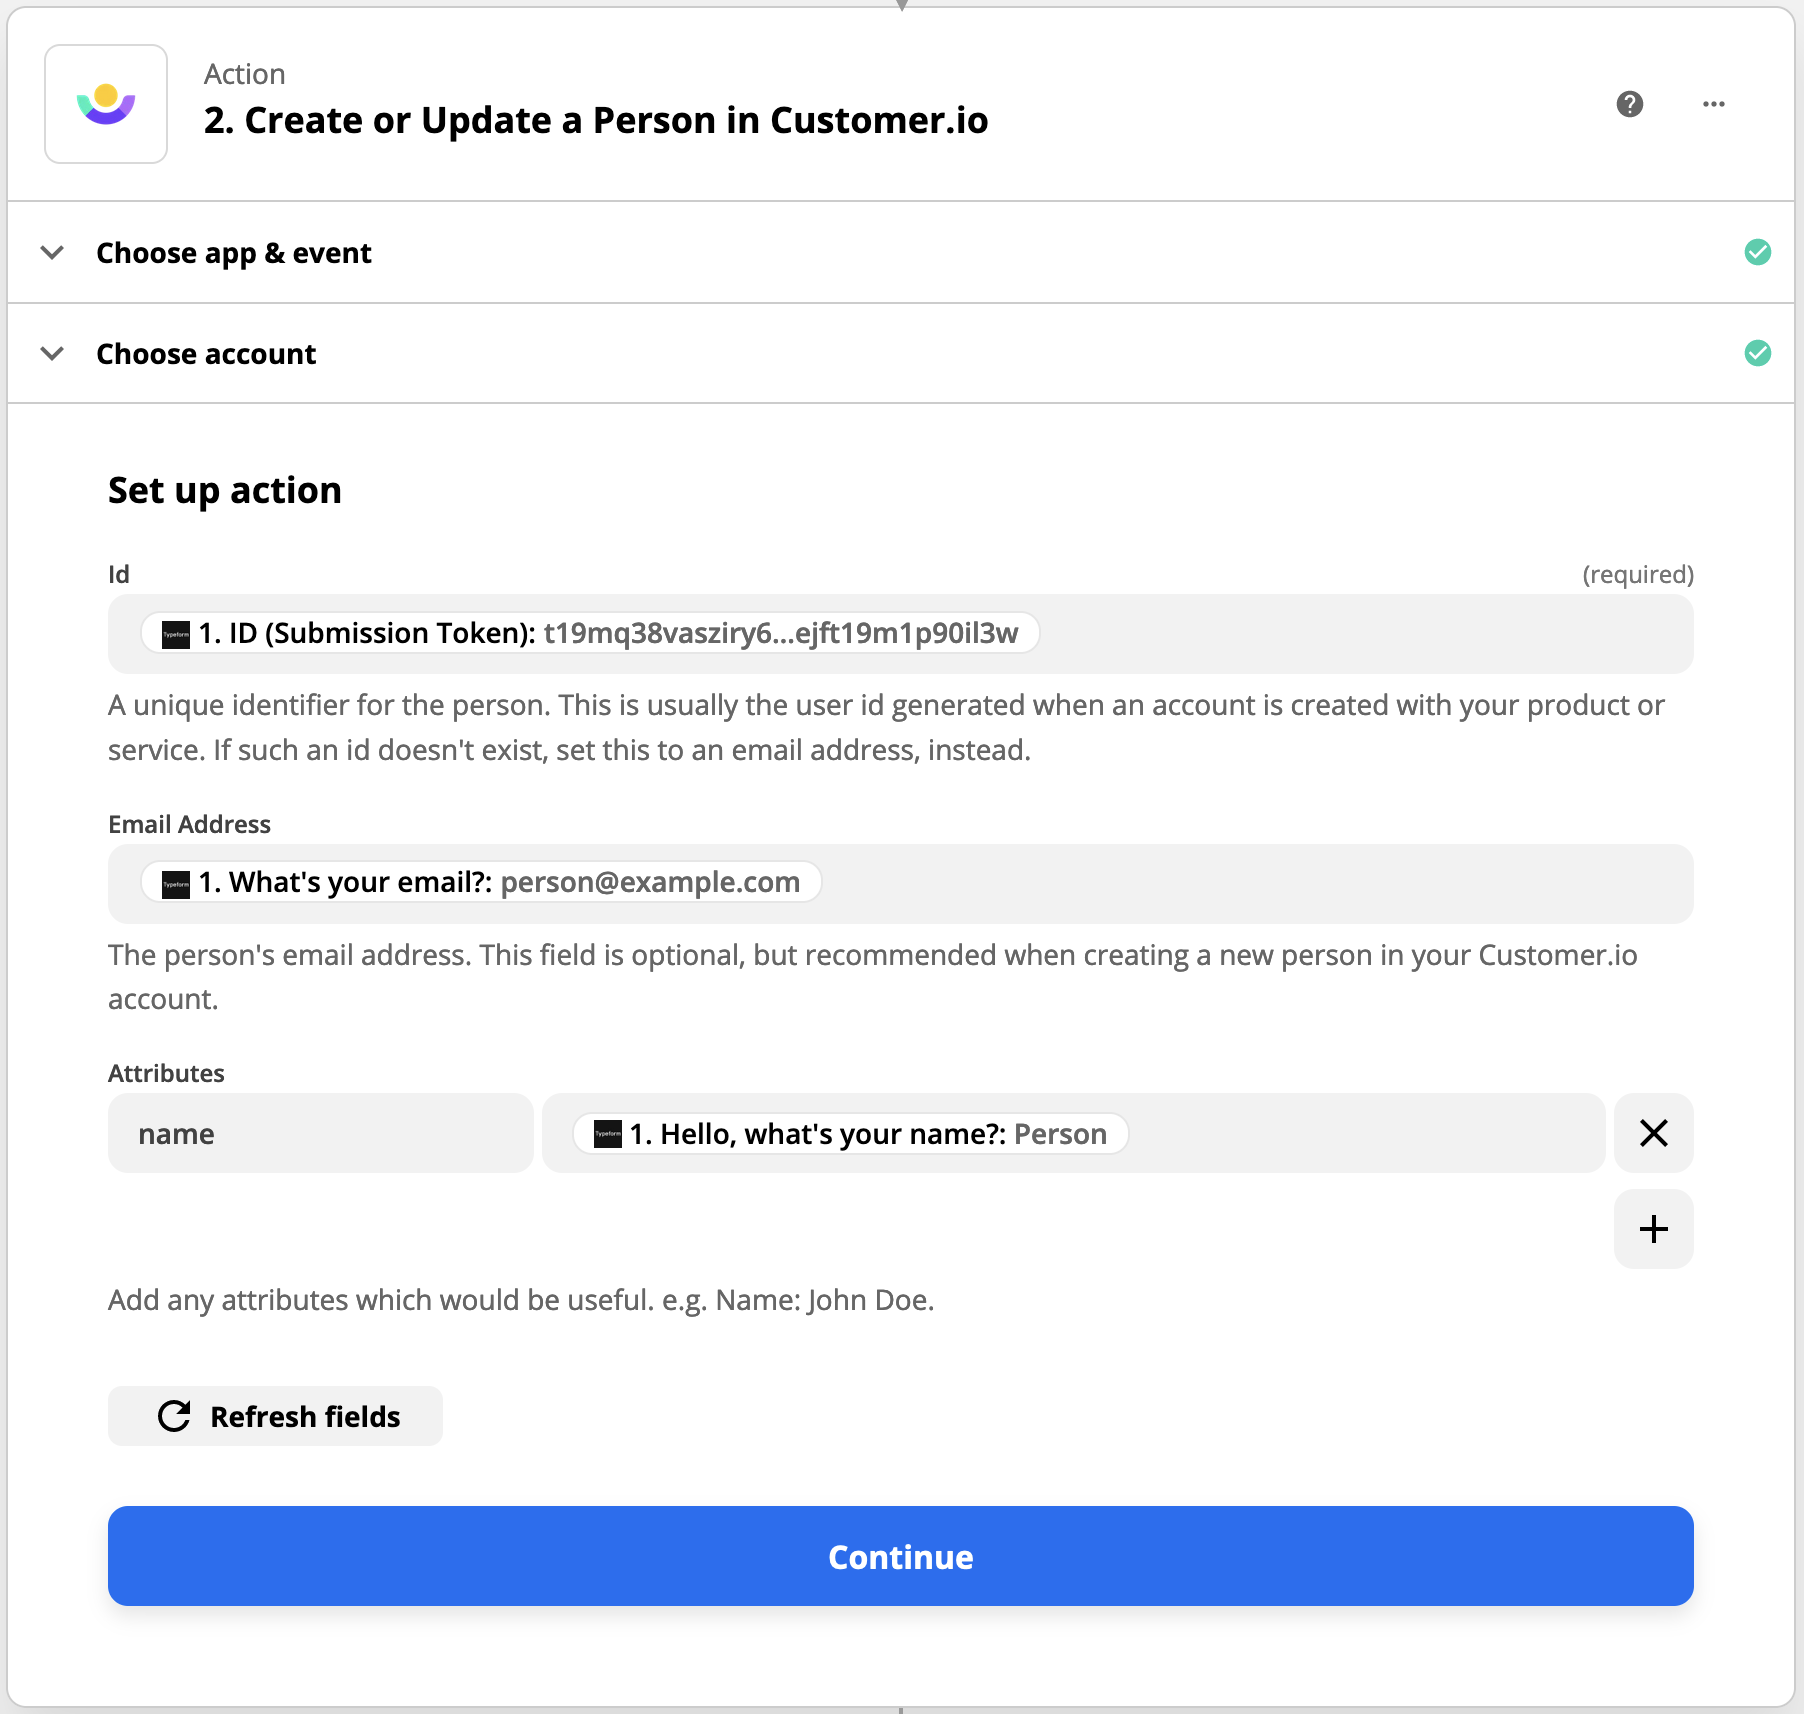
- In the Set up action step, map your form fields to attributes and click Continue.
- Zapier requires you to set an Id. If your form doesn’t capture an obvious ID, see the section below for help determining what to set for your ID.
- For other attributes, provide the name of the attribute in the left field, and the Typeform field representing the value of the field on the right.
Setting ID and Email with Zapier
When using our Zapier integration, you must set an ID for people. Unless your form captures the value that you normally use to identify people (like a unique username), we recommend that you use the email address from your form; you can set the email address field as both an ID and an email.
In ID-only workspaces, using the email address as an ID ensures that people you identify via form submissions are unique. In email or ID workspaces, this both enforces uniqueness and makes it easy to separate leads from customers.
You can change people’s IDs later from the People page or using people’s cio_idAn identifier for a person that is automatically generated by Customer.io and cannot be changed. This identifier provides a complete, unbroken record of a person across changes to their other identifiers (id, email, etc). in an API request or CSV upload.
In most cases, a form submission using the email address as both the ID and email either adds or updates a person. However, if your workspace identifies people by email or ID, a person’s ID and email must be unique. If a person submits your form, but the email address on the form belongs to a person with a different ID, you’ll receive a Failed Attribute Change in Customer.io and the form submission will be ignored.

