Use your Oracle Dyn Account
You can use your Oracle Dyn account to send email through Customer.io with no loss in functionality. To take advantage of Oracle Dyn, you need to do two things:
- Point Oracle Dyn’s webhooks at Customer.io.
- Configure Oracle Dyn as a custom SMTP server in Customer.io.
Point Oracle Dyn’s webhooks at Customer.io
Go to the Oracle Dyn Integrations page.
Add the following webhook URLs for every domain you want to send mail from in Customer.io. If your account is in the EU region, substitute
track-eu.customer.ioin the URLs below.- Bounce Postback URL:
https://track.customer.io/oracledyn/events?event=bounced&dyn_cio_email_id=@X-CIO-Email-ID&email=@email&bounce_type=@bouncetype&reason=@bouncerule - Spam Complaint Postback URL:
https://track.customer.io/oracledyn/events?event=spammed&dyn_cio_email_id=@X-CIO-Email-ID&email=@email
- Bounce Postback URL:
In the Custom X-Headers section at the bottom of the page, add
X-CIO-Email-ID.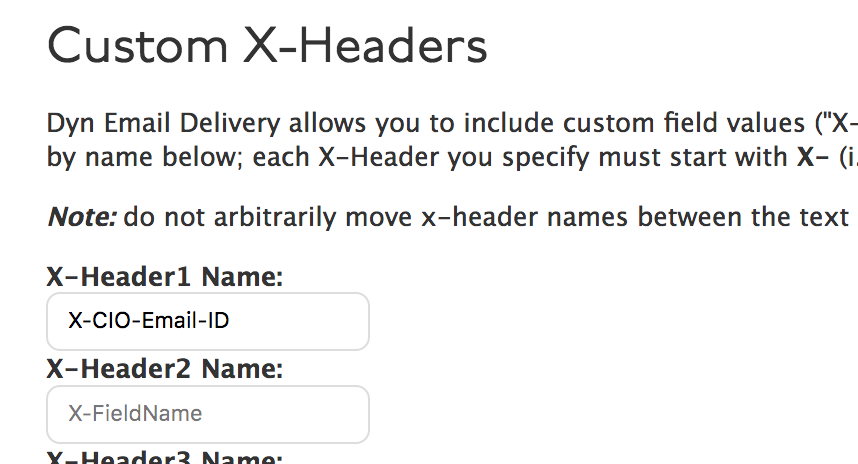
Create your SMTP API Credentials
If you don’t have your credentials handy, find your account on the Oracle Dyn Users Page page, select your user account, and update your SMTP password. This integration uses port 587. If you need to use a different port, you should use a custom SMTP integration.
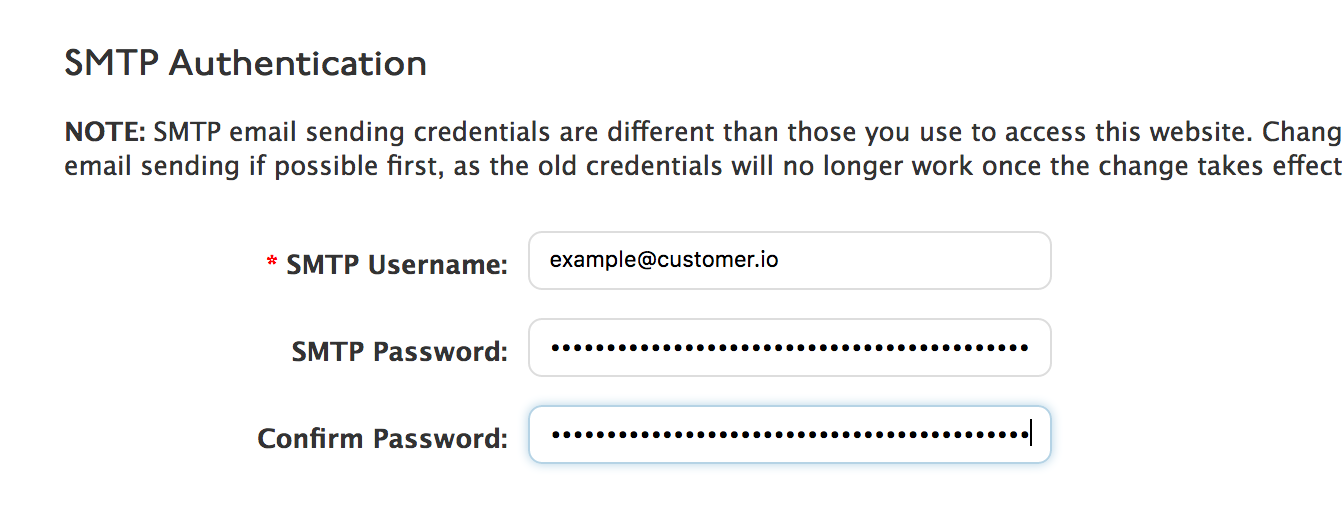
Save or copy your new password. You will need it to configure Oracle Dyn as your SMTP server in Customer.io, and you can only access it once!
Configure custom SMTP settings
Before you begin, you need your SMTP password. If you don’t have your SMTP password, you can generate a new one.
Go to Settings > Workspace Settings.
Click Email, click Custom SMTP Settings, and then click Add Custom SMTP Server.
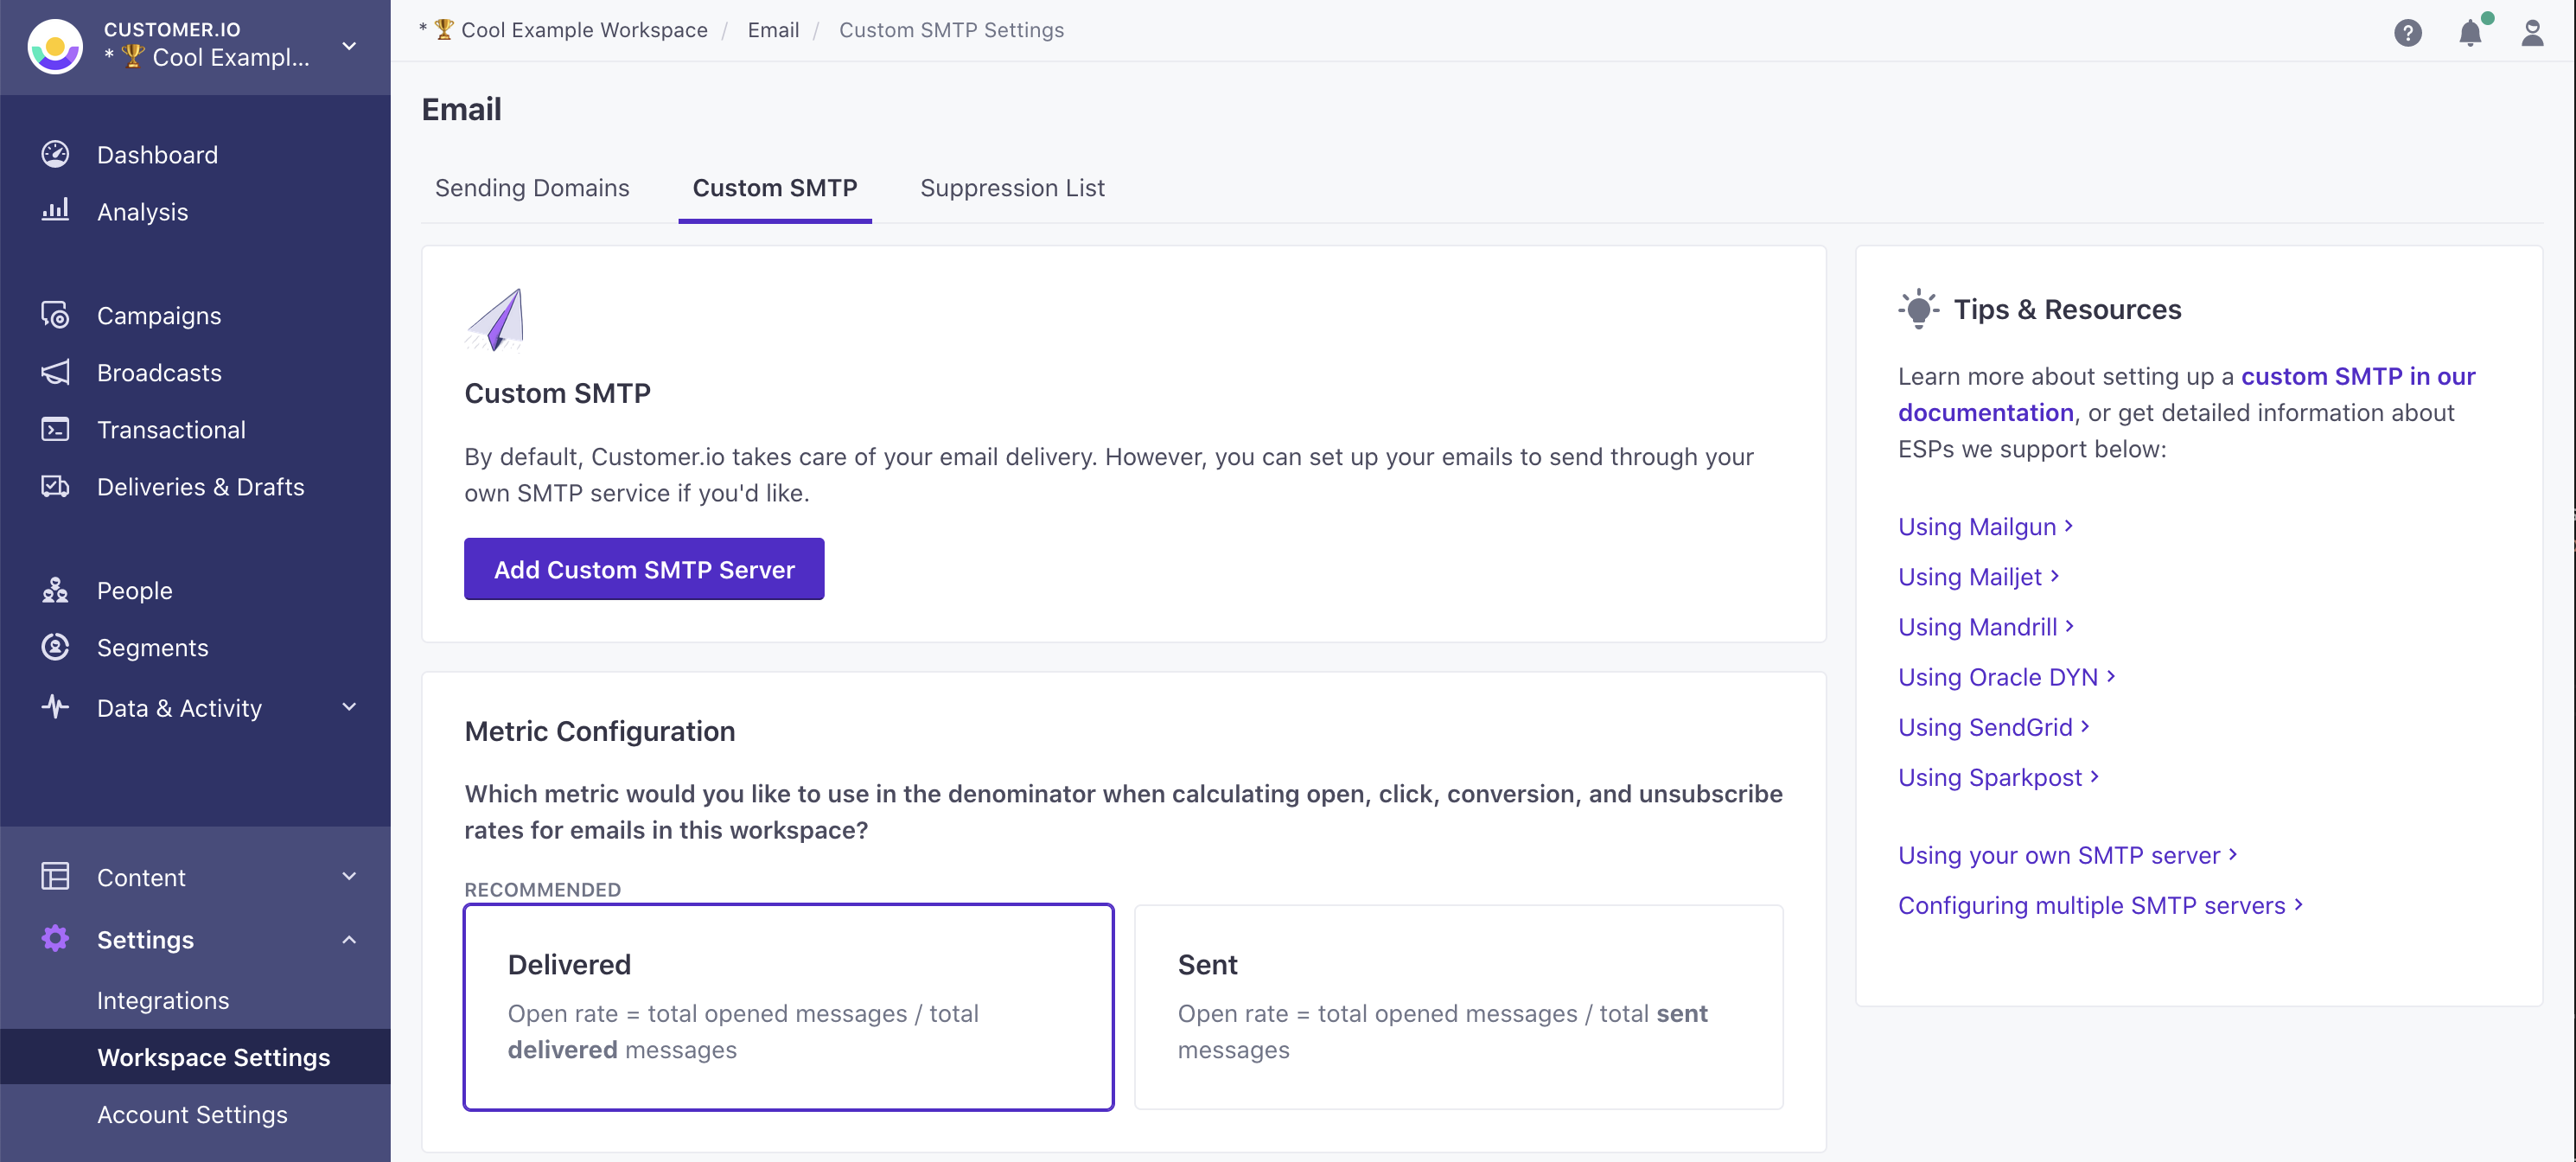
Select Oracle Dyn and click Continue to set up.
If you haven’t set up webhooks yet, copy the URL on the Set up webhooks tab and then set up webhooks to report message metrics in Customer.io.
Click Add Credentials and enter your Oracle Dyn credentials.
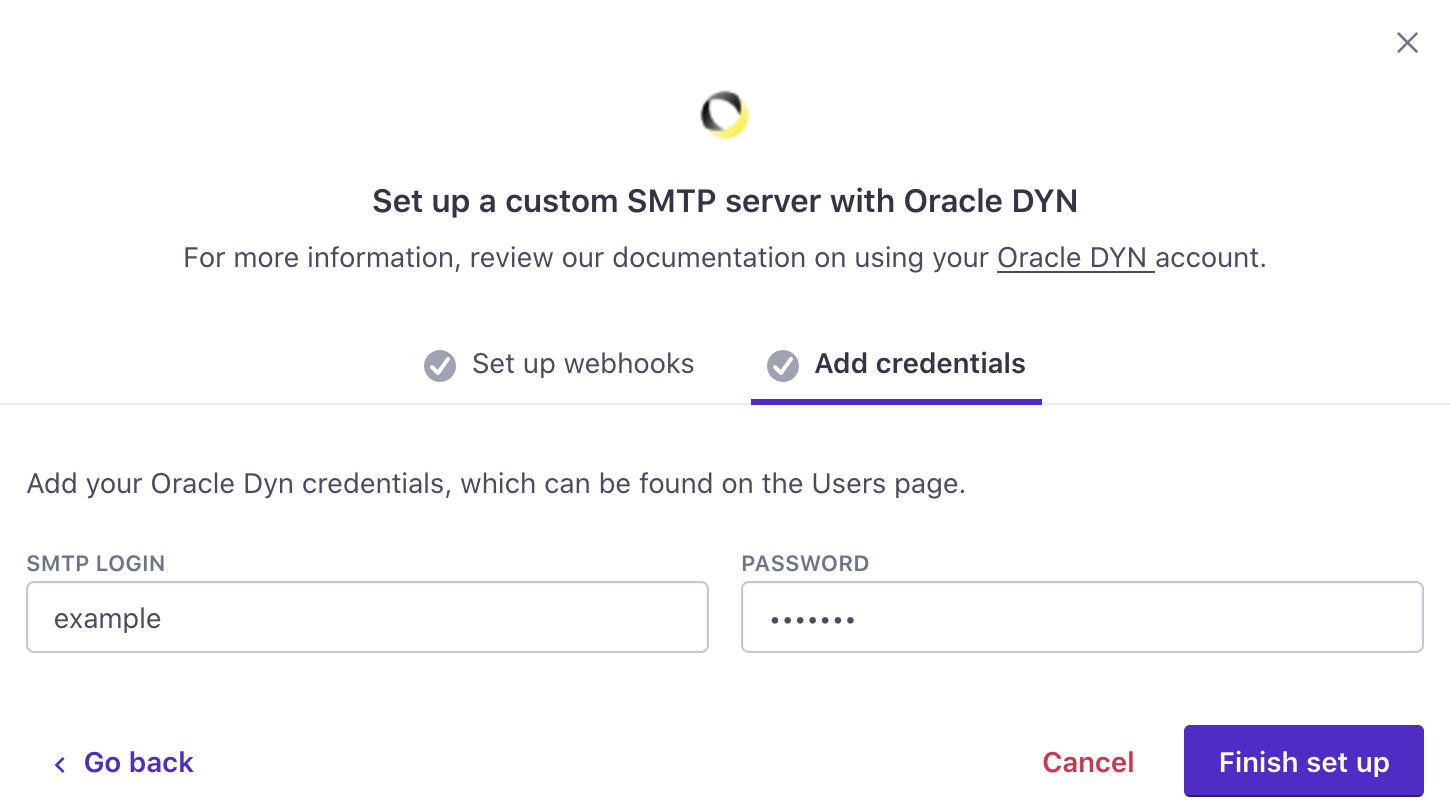
Click Finish set up. Your account is now set up to send email through Oracle Dyn. If you have any questions or feedback, contact us and we’ll be happy to help!
Configure multiple servers to use both transactional and broadcast streams
If you have a Premium Customer.io plan, you can configure multiple custom SMTP servers and assign one to each of your Oracle Dyn server types.

