Slack: Get Started
Customer.io’s Slack Action helps your teams work better together by passing information directly into Slack triggered by user behavior in your app, all customized to your needs.
What you need to get started
It’s very easy to set up Slack in Customer.io. All you’ll need are your Slack login details, if you’re not logged into your team already.
Enable Slack in Customer.io
Before you can send Slack messages, you need to enable the Slack action in Customer.io—essentially inviting Customer.io to your Slack workspace as a bot. When you configure Slack in Customer.io, you need to provide Slack credentials with the “bot” scope, letting Customer.io post to your Slack workspace.
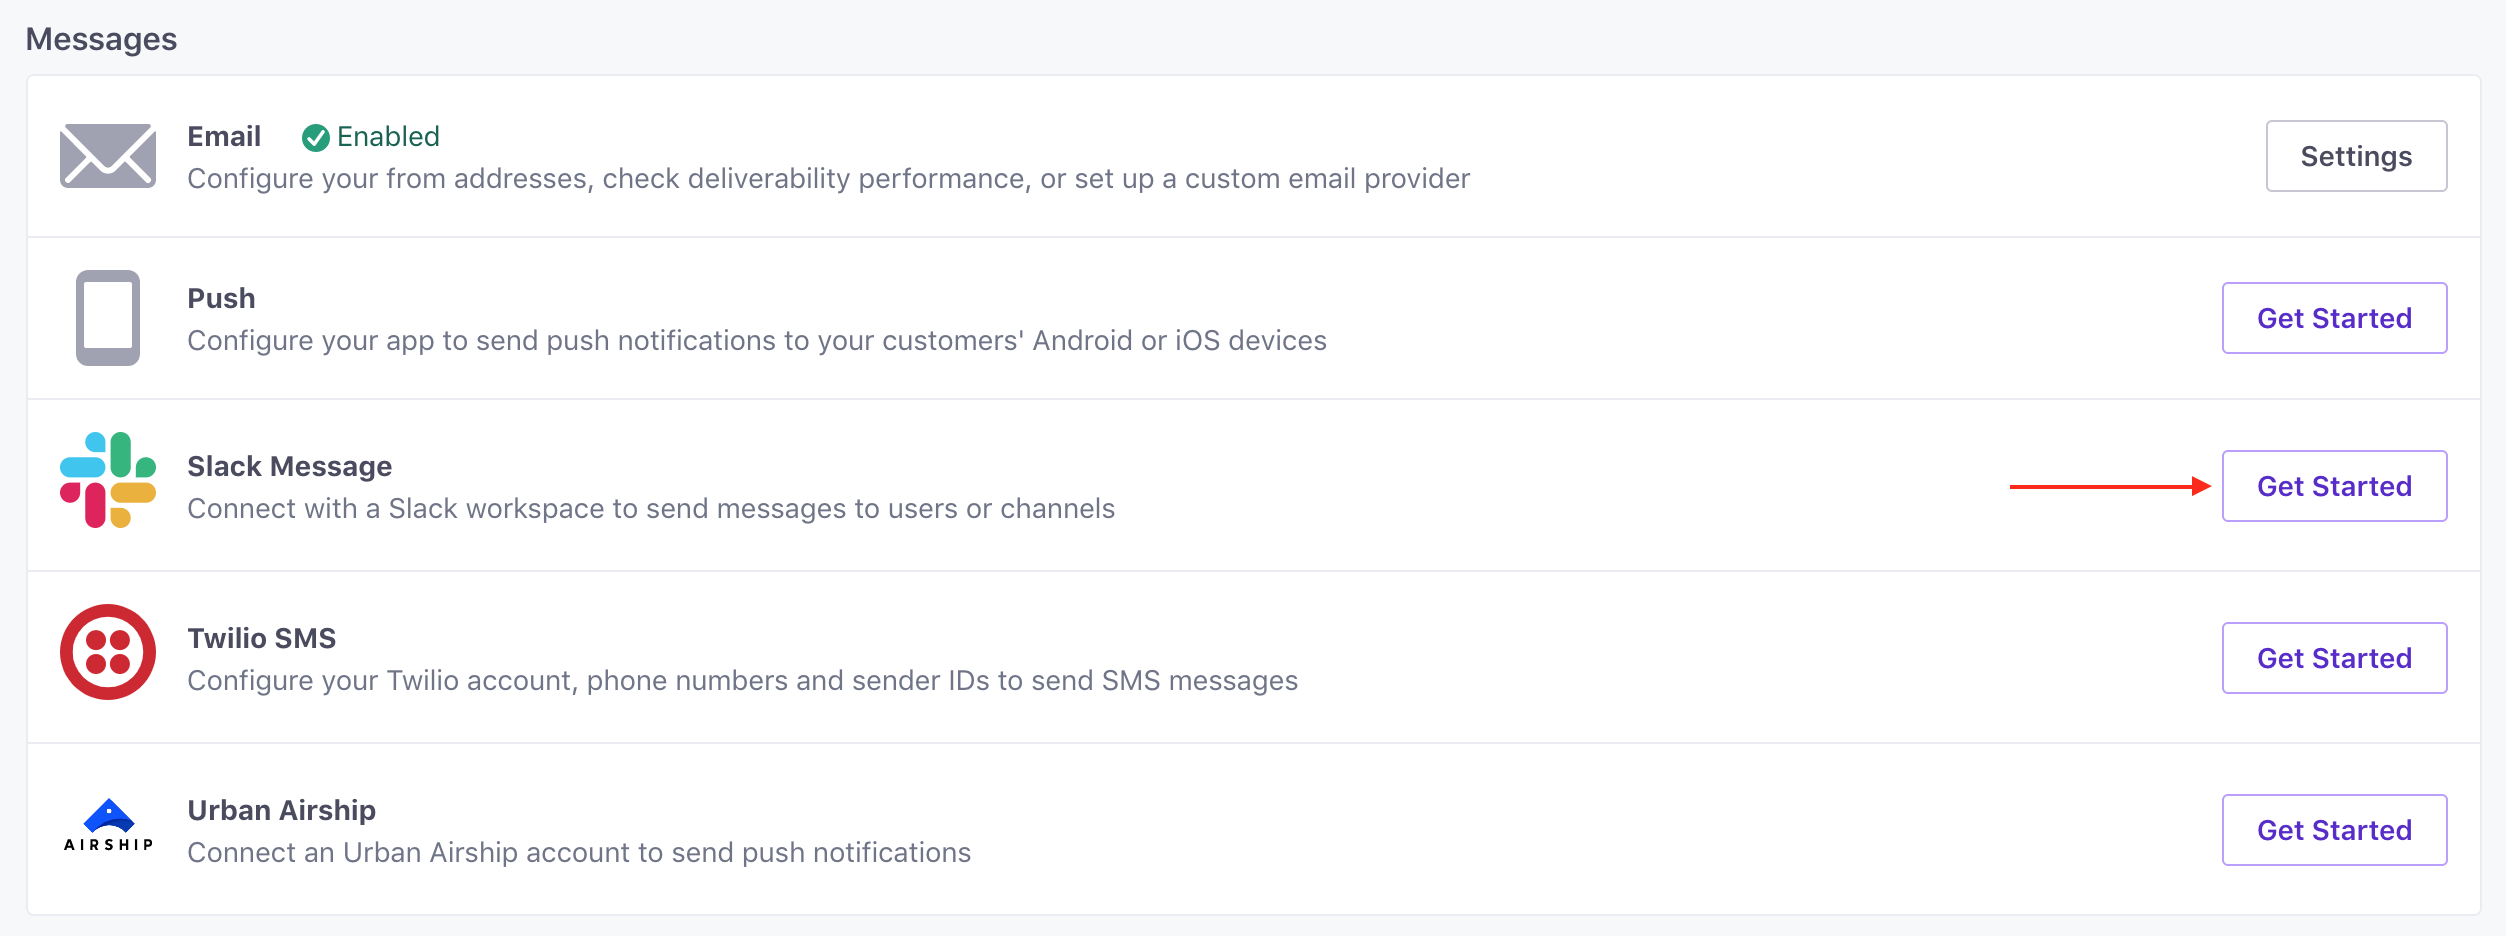
From your workspace dashboard, go to Workspace Settings and click Get Started next to Slack Message.
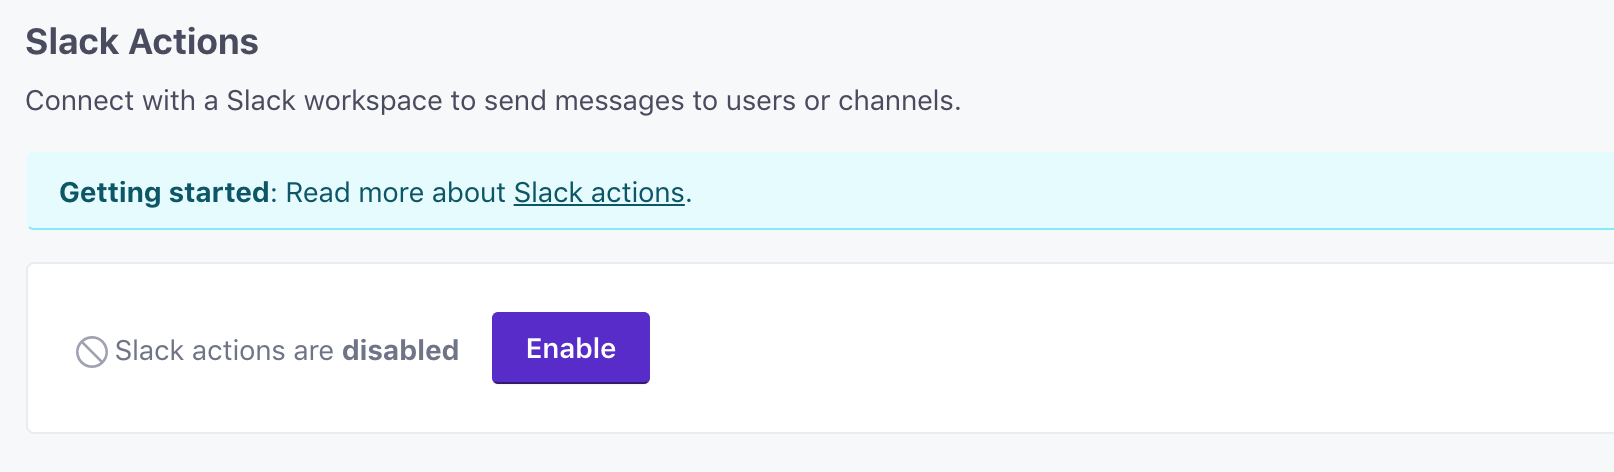
From here, you can enable or disable Slack actions. Click Enable to get started.
If you aren’t logged in to Slack, log in. If you have multiple workspaces or teams, you’ll need to select the workspace that you want to post Slack messages to.
Select a channel. This channel you select isn’t used. You’ll set the channel you want to send messages to whenever you add a Slack message to your campaign workflow. Slack simply requires that you select a channel when you set up an integration.
Posting to a private channel
If you want to post messages to a private channel, you must invite your bot to a channel with the
/invite @Customer.iocommand.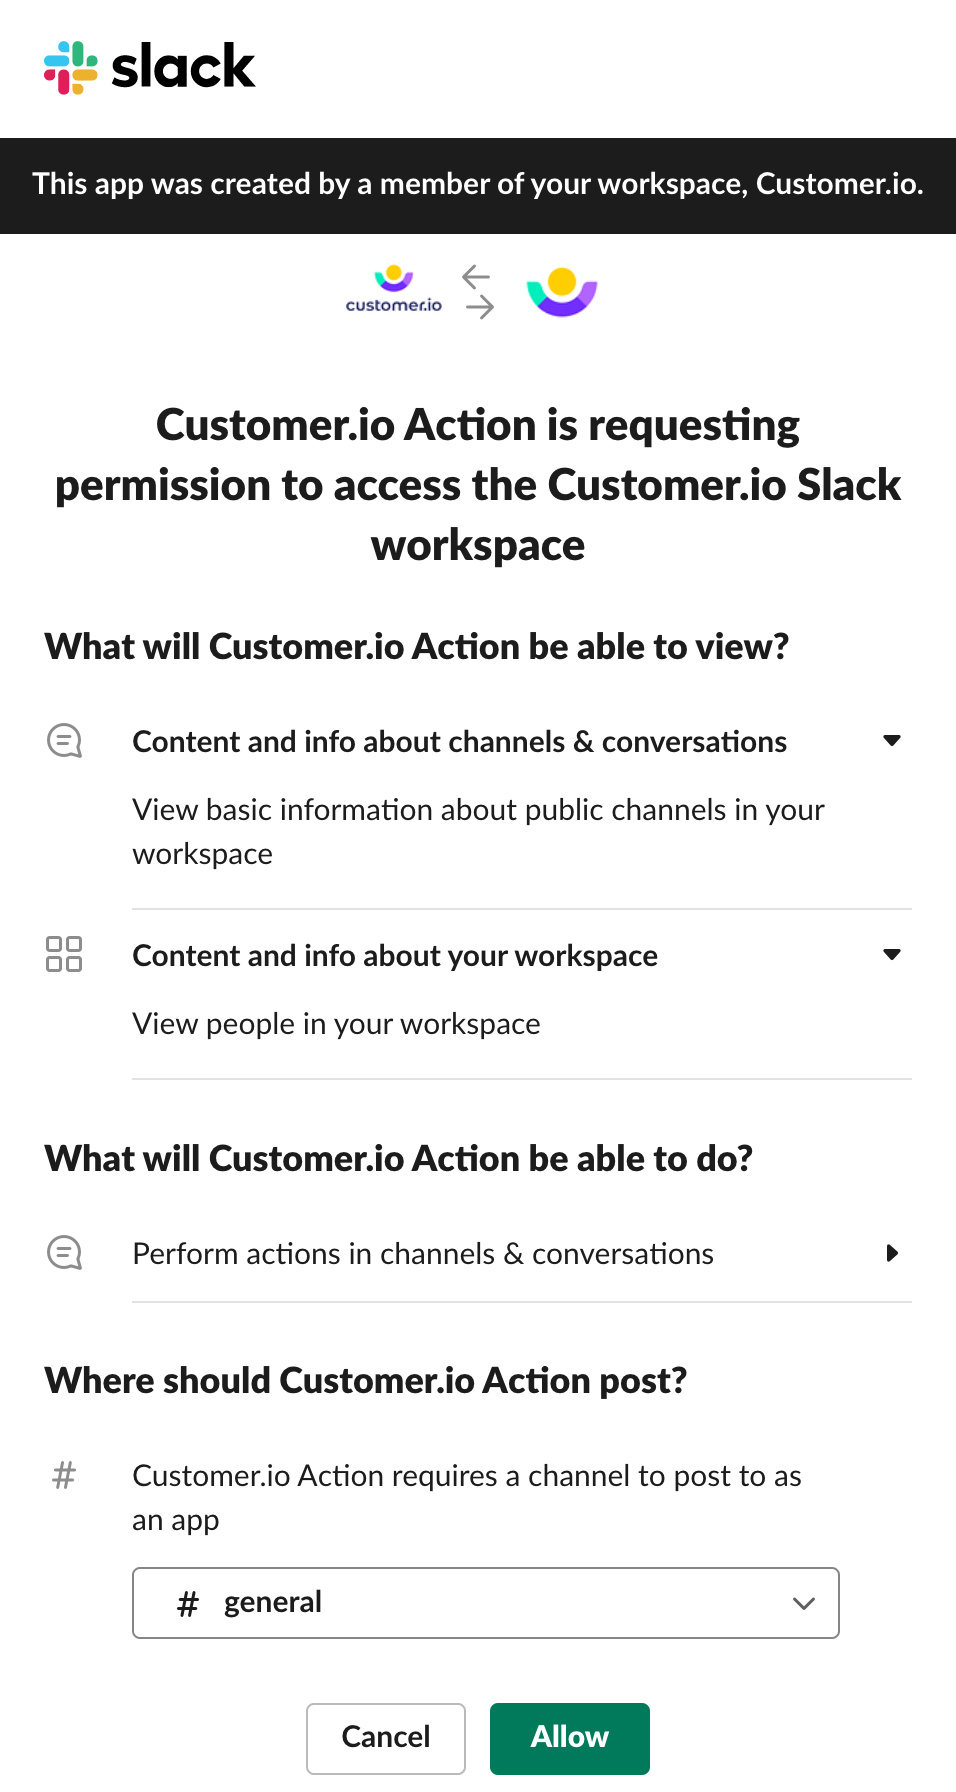
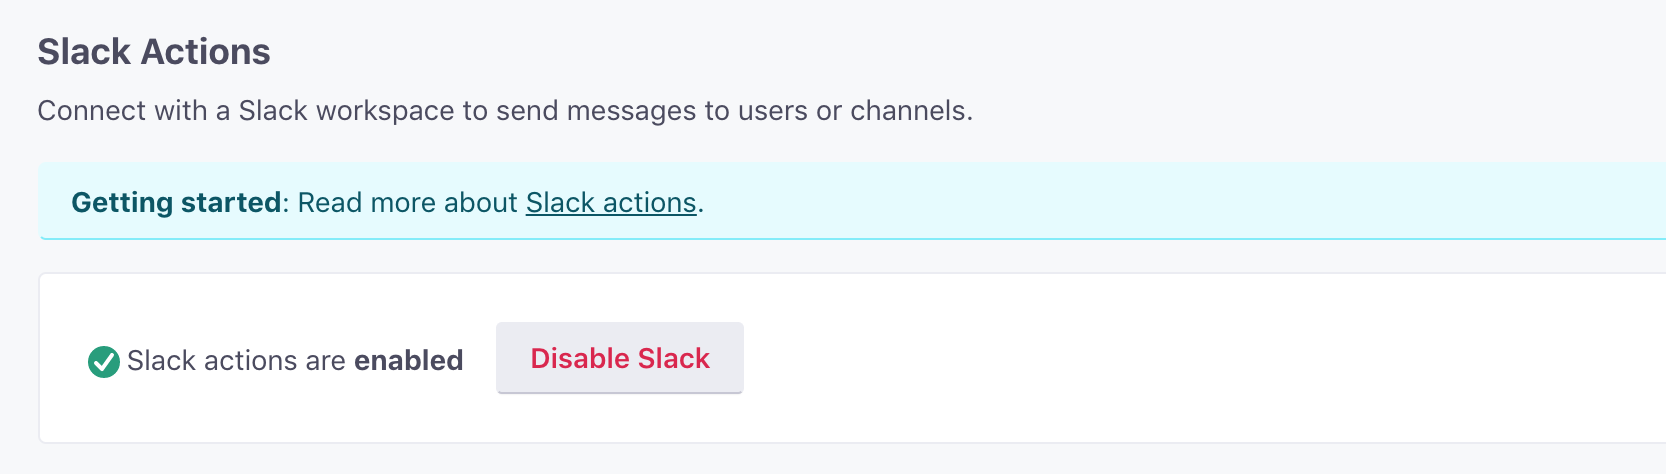
Click Allow. Your workspace will show that Slack actions are enabled.
Set up your campaign
You’re ready to start sending Slack messages! Once you create your campaign, head to the workflow. You’ll see Slack in the sidebar, so drag and drop it into your workflow builder.
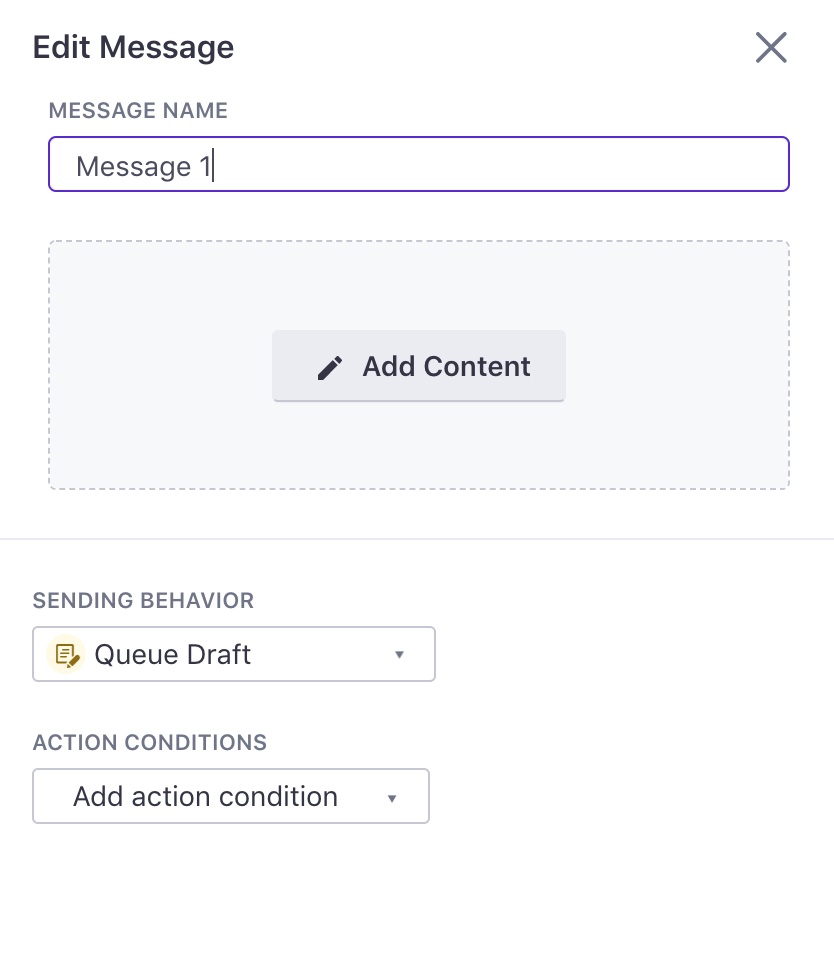
Once you drag it in, the edit panel will be open. You can name your message, add content, and change its settings:
Composing your message
In the composer, there is a lot you can do to customize your Slack message. For a full list, see Slack’s documentation. You can use a default {{customer.channel}} Liquid tag, or you can customize it. We’ve chosen to customize it, to send all of these notifications to a channel called #new-signups.

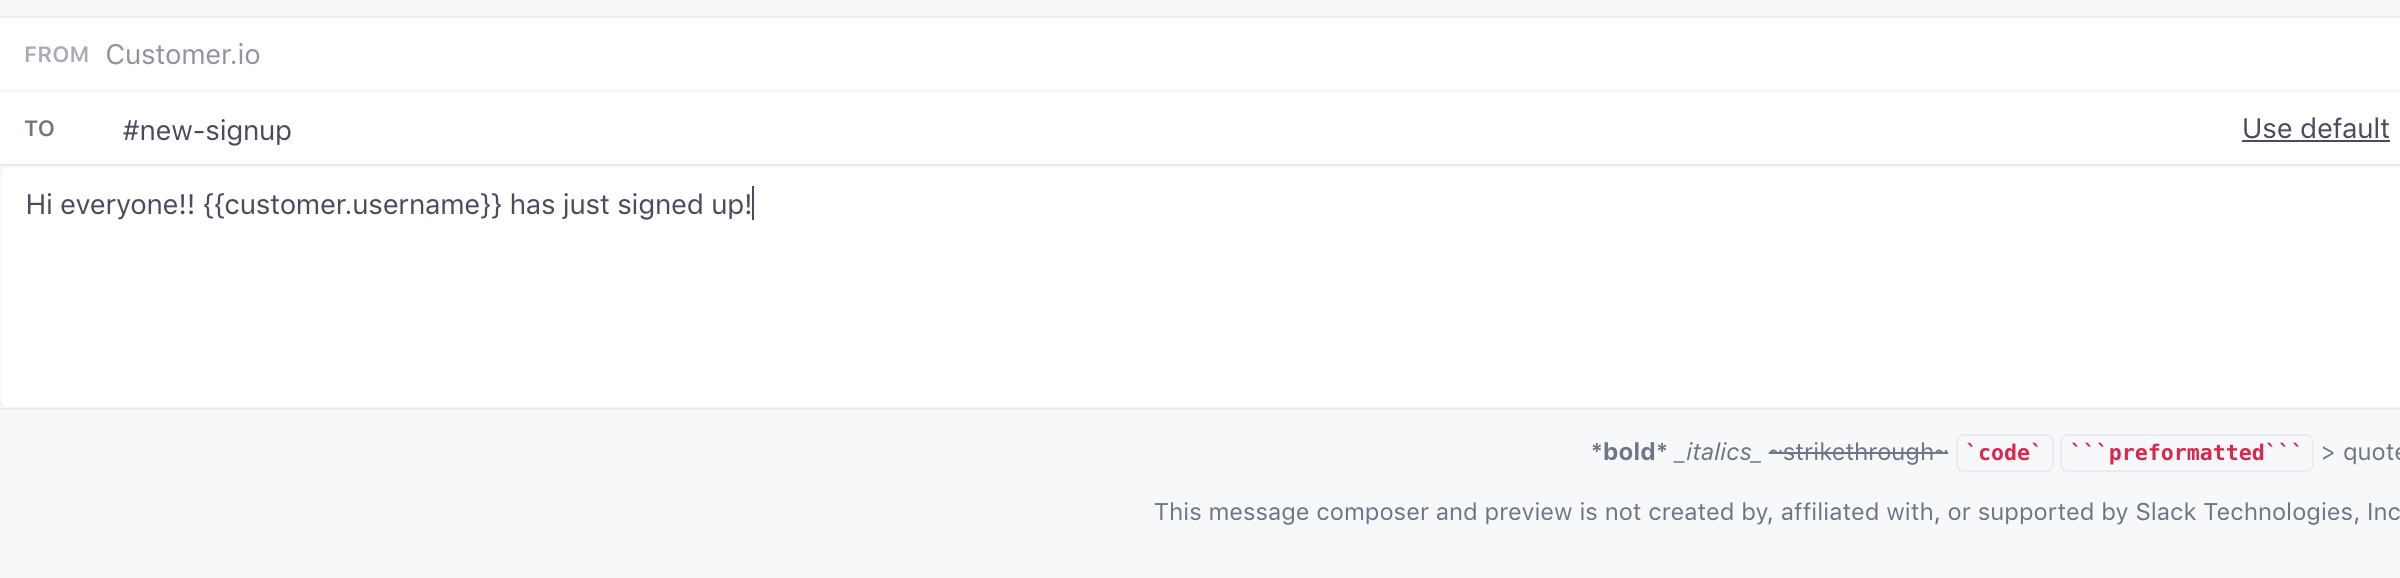
We’ve also added some text and the {{customer.username}} Liquid tag, to let us know who signed up.
Embedding links
You can also choose to embed a link in your slack message using markdown: <http://www.example.com|The message you want hyperlinked>.
Sending a test
This is the last step; we want to make sure that our Slack message is working. To do that, use the Send test modal. This will send a real Slack message, so be sure you choose the right test channel or user to send it to!

Success!!
Your test message should then appear in whichever channel you chose to send it to!
Thank You!
We’re excited to hear how you end up using Slack! If you have questions, feel free to let us know! We’re happy to help.

