Personalize Campaigns Based on Roles
Introduction
Role-based messaging is a powerful way to take advantage of Customer.io’s segmentation. Sending e-mails your customers will actually want to read by tailoring content to their role.
By giving customers with different roles customized and actionable campaigns, you’ll have a much better chance of motivating them to action than if you sent generic one-size-fits-none messages to everyone.
Notice how each of these emails gives instant access to a resource tailored to a role: engineers get a sample command they can run within seconds and marketers can head to a tutorial to kickstart crafting workflows and content.
Ingredients
- Ability to send attributes to Customer.io
- Knowledge of Liquid templating
- Integrate with Clearbit [optional]
Method
You’ll want to store role information as an attribute on your customers. If you’re already collecting this information in your app or website, it’s as easy as making sure you’re storing that role data on your users in Customer.io. If you’re interested in automatically enriching your user data with role information from a 3rd party source, you can integrate with a provider like Clearbit.
Option 1: Provide your own data
When you create a new end user in Customer.io, you can store their company role information as part of their attributes. This is an example of how you might do that with the _cio.identify() function in the JavaScript snippet:
<script type="text/javascript">
    _cio.identify({
        id:         '1899', // must be unique per customer
        email:      'john@example.com',
        created_at: 1563390425,

        // Custom user attributes
        first_name:  'John',
        plan_name:  'free',
        person_employment_role:  'marketing'
    });
</script>
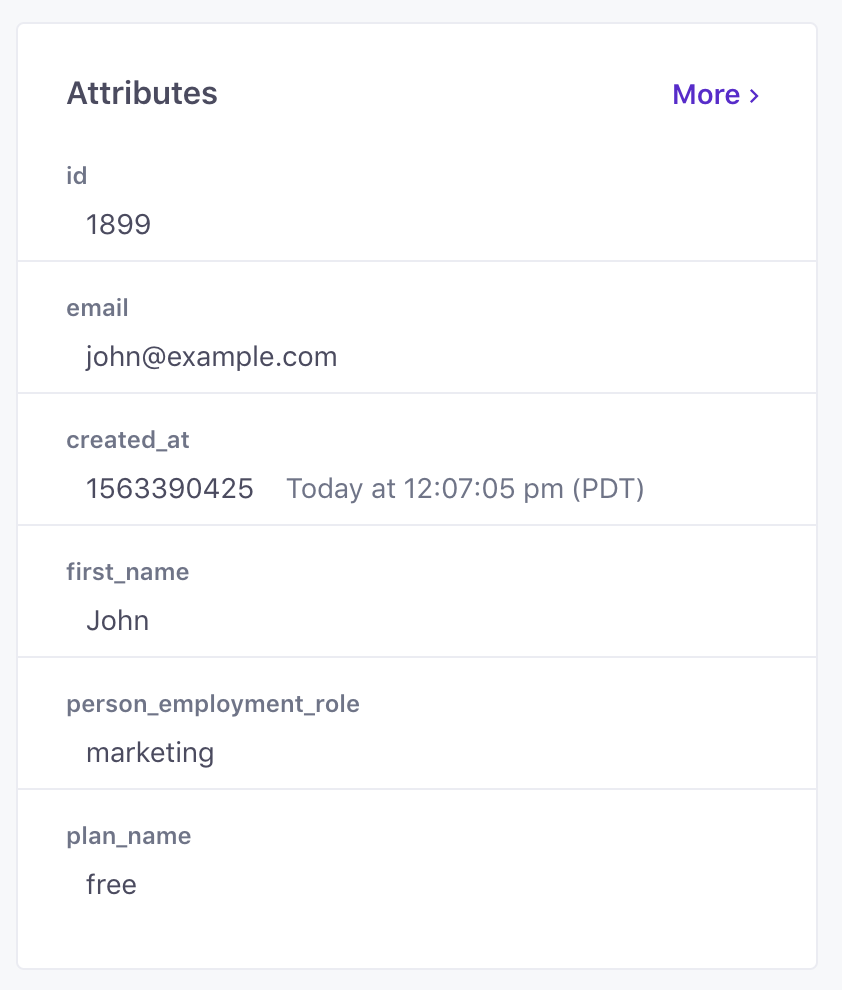
Here, we’ve named the role attribute person_employment_role but you can define it however you like.
When you check out this person in Customer.io, their attributes look like this:
Option 2: Integrate with Clearbit
Don’t have access to the role information you need from your own app? You can enrich your existing user data with Clearbit with attributes like roles, companies, and more.
Find out how to:
Build your segment
Once you’ve started collecting your customer’s role information, it’s time to put that data to work in a Customer.io segment. Head over to the dashboard and create a new segment to target the person_employment_role attribute you defined earlier.

If you have several similar roles, you can combine them into one segment by adding additional conditions like “developer” or “IT” and specifying that “Any of the following conditions match” at the top of the segment. This will allow you decide just how granular you want your messaging to get.
Create custom campaigns
Now you can use your role-based segment anywhere you want to tailor your campaigns. For example, we can combine both the marketing role segment with a signed up segment to send new users an onboarding campaign that is custom tailored for those customers.
Start by creating a condition-triggered campaign and make sure to select the Marketing segment as one of your trigger conditions.
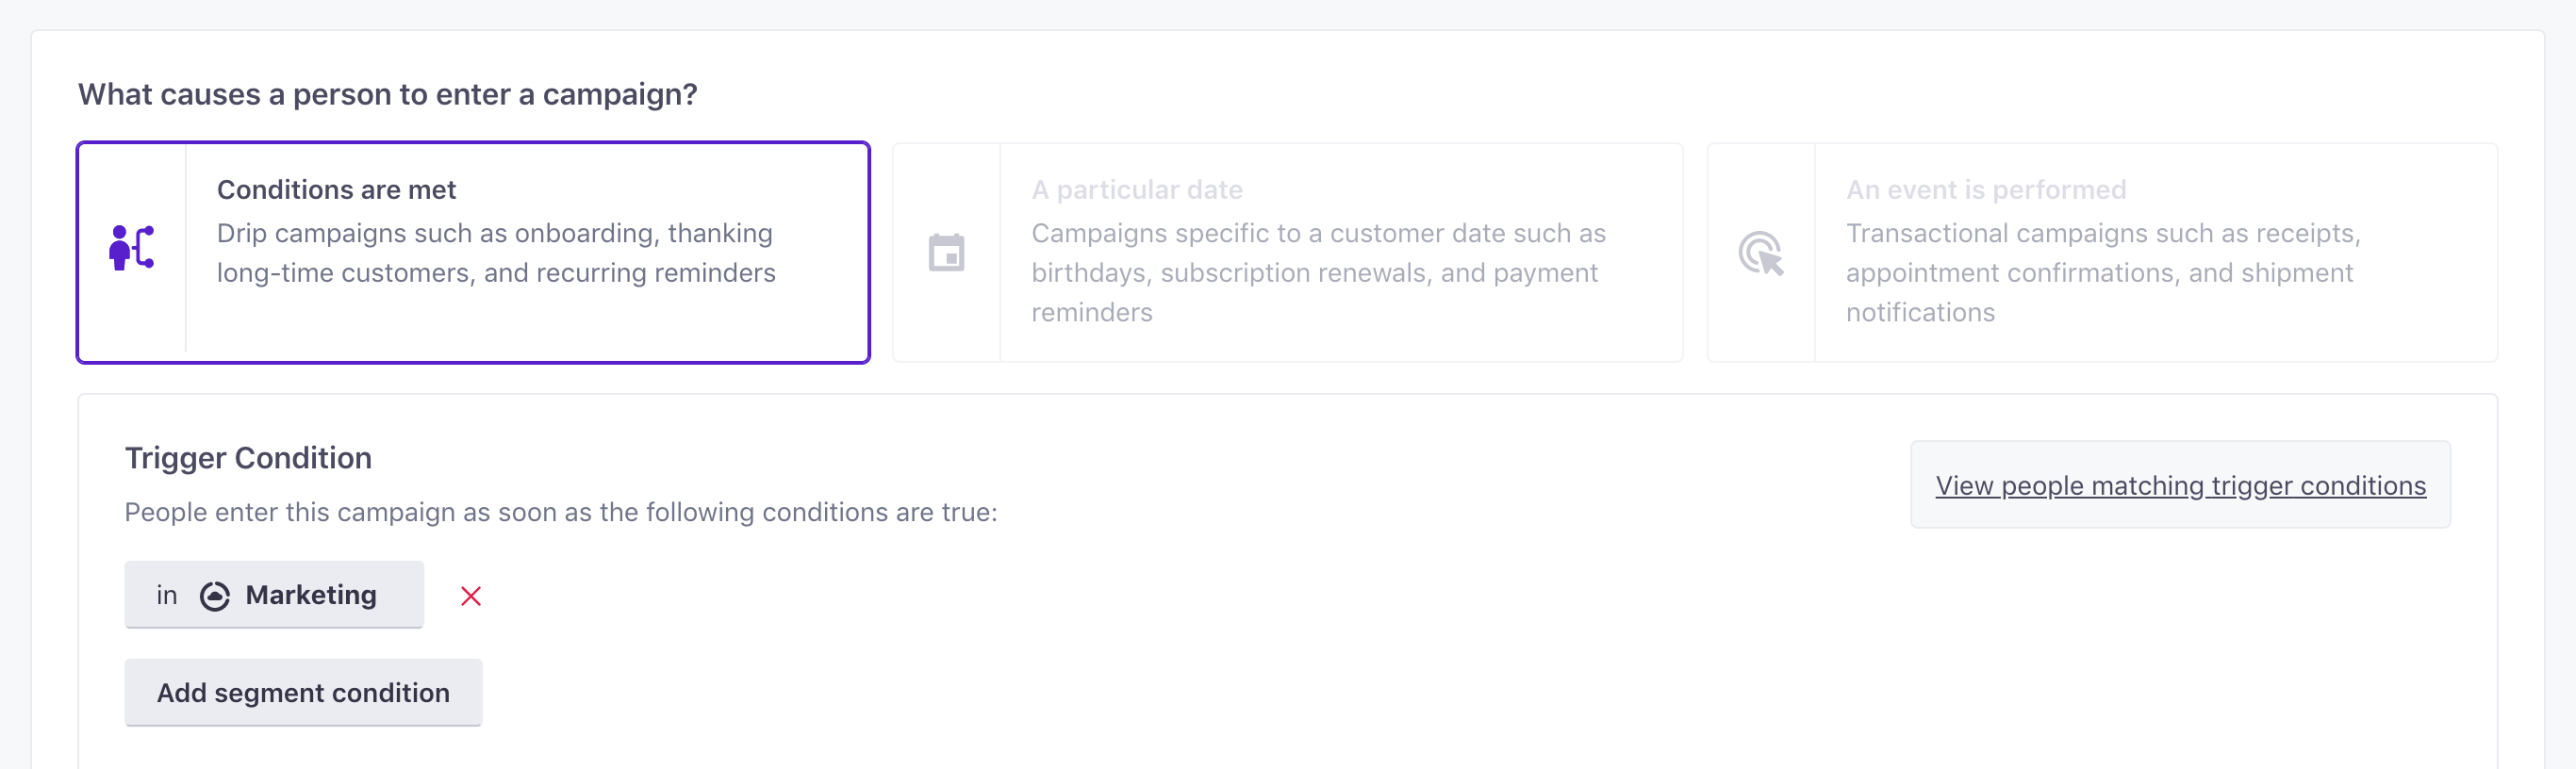
Now only users with marketing roles will be entered into this campaign and you can start customizing your content in the workflow!
Other considerations
For even more advanced customization, you can tailor specific parts of your email to display only for users with specific attribute data using Liquid templating.
Wrap Up
Role based messaging is an ideal way to increase engagement by only showing people content relevant to them. Customization based on role is only the beginning! Consider tailoring your messaging based on location, interests, or even company size to create more engaging emails.
If you have questions about how to apply this to your business, we’re here to answer!

