Objects
Learn how to create, edit, or delete objects.
Before you can create an object, you must create an object type.
Create an object
Remember that an object type is the kind of non-people grouping that you want to track in Customer.io — like Companies, Online classes, or Accounts. An object is an individual thing — a single company, online class, or account — that you want to relate to one or more people.
You can create objects programmatically by integrating your systems with your Customer.io workspace or manually through your workspace’s interface.
Programmatically create objects:
- via API
- via Data Pipelines
- via reverse ETL integrations
- via Segment group calls
Manually create objects:
- via your Object page
- via CSV import
You can set relationshipsThe connection between an object and a person in your workspace. You can trigger campaigns based on relationships. Relationships also have attributes you can reference using liquid. between objects and people programmatically, using the same methods above, as well as through our UI.
We don’t currently offer object-to-object relationships.
Reserved attributes
Customer.io has reserved these object and relationship attributes to support core functionality in the platform:
| Attribute | Purpose | Required | Data Format |
|---|---|---|---|
cio_object_id | A unique, immutable identifier for objects provided by Customer.io. If this does not yet exist in your workspace, we create a new object. | When importing by cio_object_id | |
object_id | A unique identifier for objects. If the object_id does not yet exist, we create a new object. | When importing by object_id | Our default id limit is set to 150 characters. All valid UTF characters are allowed. |
relationship | Used to reference relationships to objects. Cannot be used as the name of an object attribute. | To reference relationships in liquid | |
_relationship | Used in relationship-triggered campaigns to reference audience members who did not trigger the campaign. Cannot be used as the name of a customer attribute. | To reference relationships in liquid |
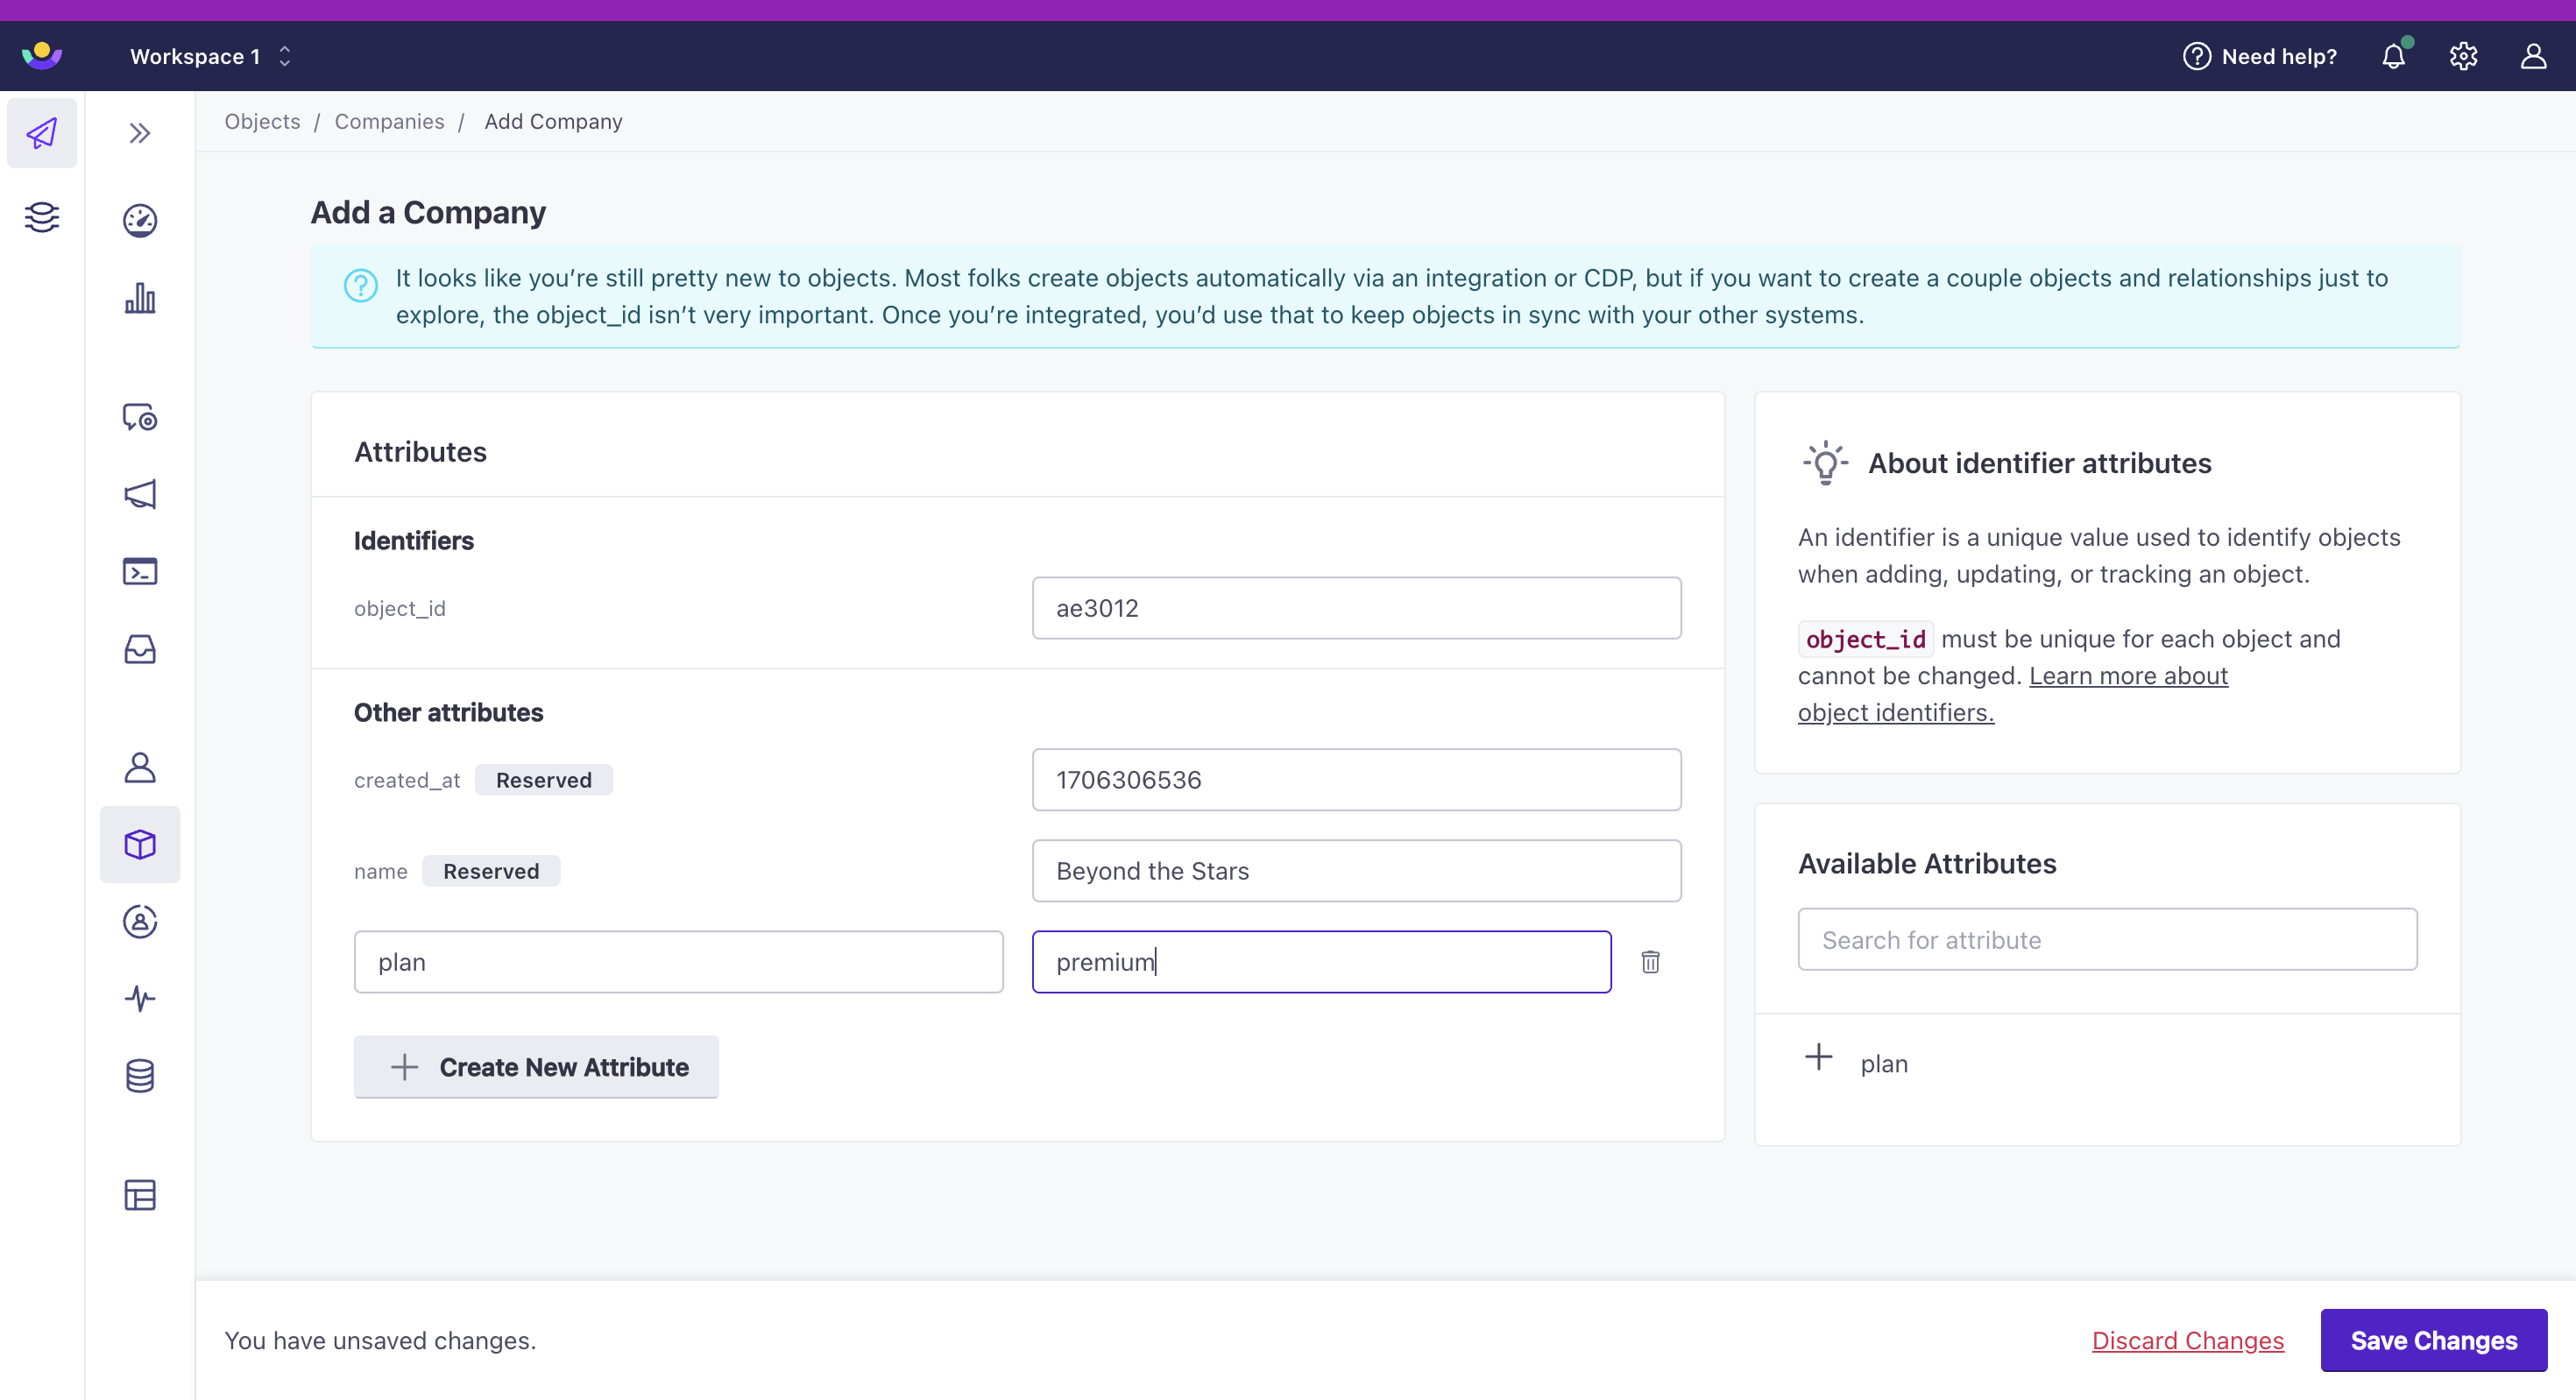
Create an object in the UI
In the UI, you can create objects by going to your objects page(s) under People.
- Select your object type under People in the left hand nav.
- Set the
object_id: this is the value you use when you set relationships between objects and people. - Set a
nameand any other attributes you want the object to contain. In general, we suggest that you set a name to help you recognize objects in the UI. Other attributesA key-value pair that you associate with a person or an object—like a person’s name, the date they were created in your workspace, or a company’s billing date etc. Use attributes to target people and personalize messages. Attributes are analogous to traits in Data Pipelines. are values that you want to associate with people related to the object.You cannot use
relationshipas an object attribute name.relationshipis reserved for referencing relationship attributes in Liquid. - Click Save Changes to finish creating your object.
Now you can set relationships between your new object and people.
Create an object in the API
Creating an object works just like identifying a person: you can send an identify request to create a new object or update an existing object’s attributesA key-value pair that you associate with a person or an object—like a person’s name, the date they were created in your workspace, or a company’s billing date etc. Use attributes to target people and personalize messages. Attributes are analogous to traits in Data Pipelines.. Any request that passes a new object ID will automatically create that object.
In general, it makes sense to create your custom object type first. But you can create a new type when you create a new object, simply by passing an object_type_id that doesn’t already exist. If you’re not sure if a type exists, check in your workspace under People—if you see the object type you want to create, then pass that id.
You can create objects using the Track v2 or v1 APIs, but you can only set and update attributes using the v2 API.
You cannot use relationship as an object attribute name. relationship is reserved for referencing relationship attributes in Liquid.
In the v2 API, you’ll specify a type and an action. The object type lets you modify objects, and the identify action lets you create an object, set its attributes, and relate it to multiple people. You can create objects and set relationships with other action types, but you can only set attributes through our API with the identify action. (You can also update object attributes in the UI.)
curl --request POST \
  --url https://track.customer.io/api/v2/entity \
  --header "Authorization: Basic $(echo -n site_id:api_key | base64)" \
  --header 'content-type: application/json' \
  --data-raw '
{
    "type": "object",
    "identifiers": {
        "object_type_id": "1",
        "object_id": "acme"
    },
    "action": "identify",
    "attributes": {
        "name": "acme",
        "bill_day": 15,
        "monthly_due": 100.00,
    },
    "cio_relationships": [
        {
            "identifiers": {
                "id": "42"
            }
        },
        {
            "identifiers": {
                "email": "billing-contact@example.com"
            }
        }
    ]
}'In our original Track API, you can set cio_relationships to relate a person to one or more objects. If an object_type_id or object_id doesn’t exist, we’ll create it.
curl --request POST \
  --url https://track.customer.io/api/v1/customer/billing-contact@example.com \
  --header "Authorization: Basic $(echo -n site_id:api_key | base64)" \
  --header 'content-type: application/json' \
  --data-raw '
{
    "plan": "basic",
    "role": "accountant"
    "cio_relationships": [
        {
            "identifiers": {
                "object_type_id": "1",
                "object_id": "acme"
            }
        },
        {
            "identifiers": {
                "object_type_id": "1",
                "object_id": "globex"
            }
        }
    ]

}'
An object’s attributes cannot exceed 100kb
You can keep setting relationships on an object, but the total attributes for an object can’t take up more than 100kb.
Import objects and relationships
You can import objects and relationships through:
- Data Pipelines
- Reverse ETL integrations
- Segment group calls
- CSV imports
Data Pipelines reshapes data from sources to fit your destinations. It’s our version of a CDP (Customer Data Platform). Check out group calls to learn how to import objects and relationships.
You can sync objects (like companies, accounts, or online classes) and relate them to people as a part of our Reverse ETL database integrations - MySQL, BigQuery, Snowflake, and so on. This helps you add objects and relationships on a regular interval based on business logic and data that you store outside of Customer.io.
If you use Segment as a CDP, import objects and relationships through Segment group calls.
You can import objects and relationships via CSV, as well. This is a good option if you’re just getting started and want to quickly add objects or relationships to your workspace. You can also import via CSV if your data isn’t available through an integration.
Edit or remove object attributes
You can set attributes for an object through our UI or you can update them using the same API calls that you used to create objects. Go here to learn how to edit object attributes through Segment group calls.
In our Track v2 API, use attributes to modify an object’s data. Set an attribute value to null or an empty string to remove attributes.
You cannot use relationship as an object attribute name. relationship is reserved for referencing relationship attributes in Liquid.
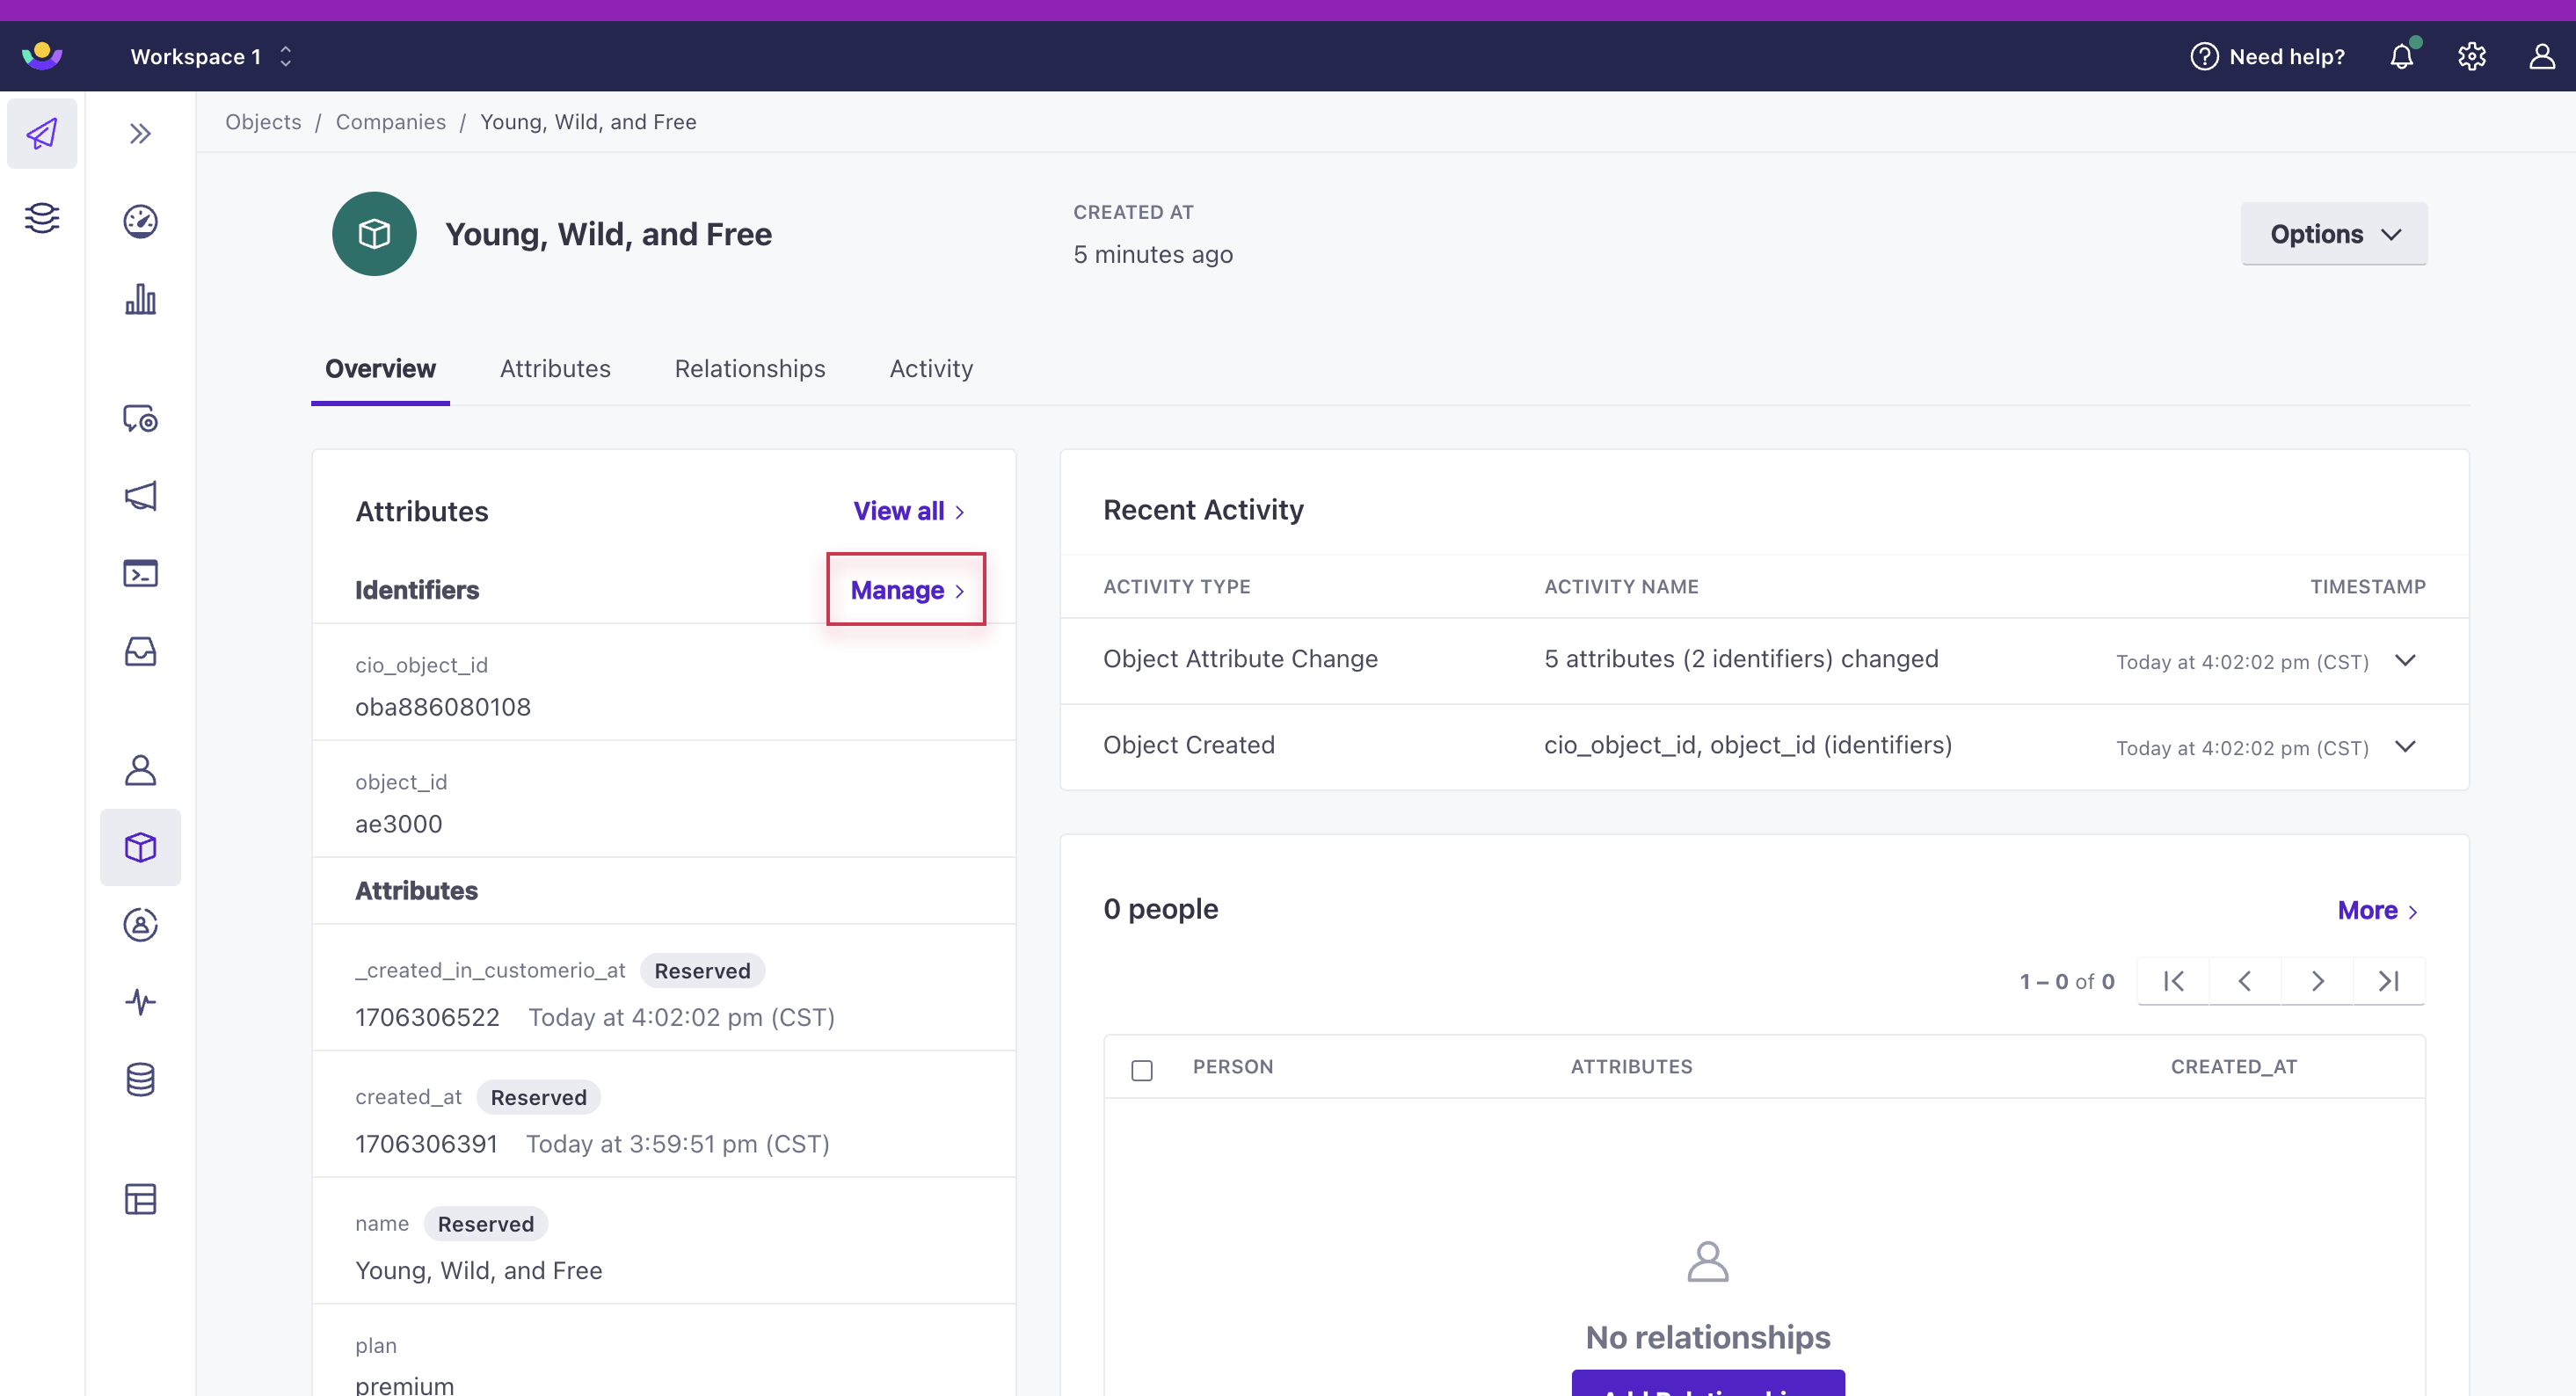
To update object attributes in our UI:
- Select your object type from the left hand nav under People. Then click the object you want to modify.
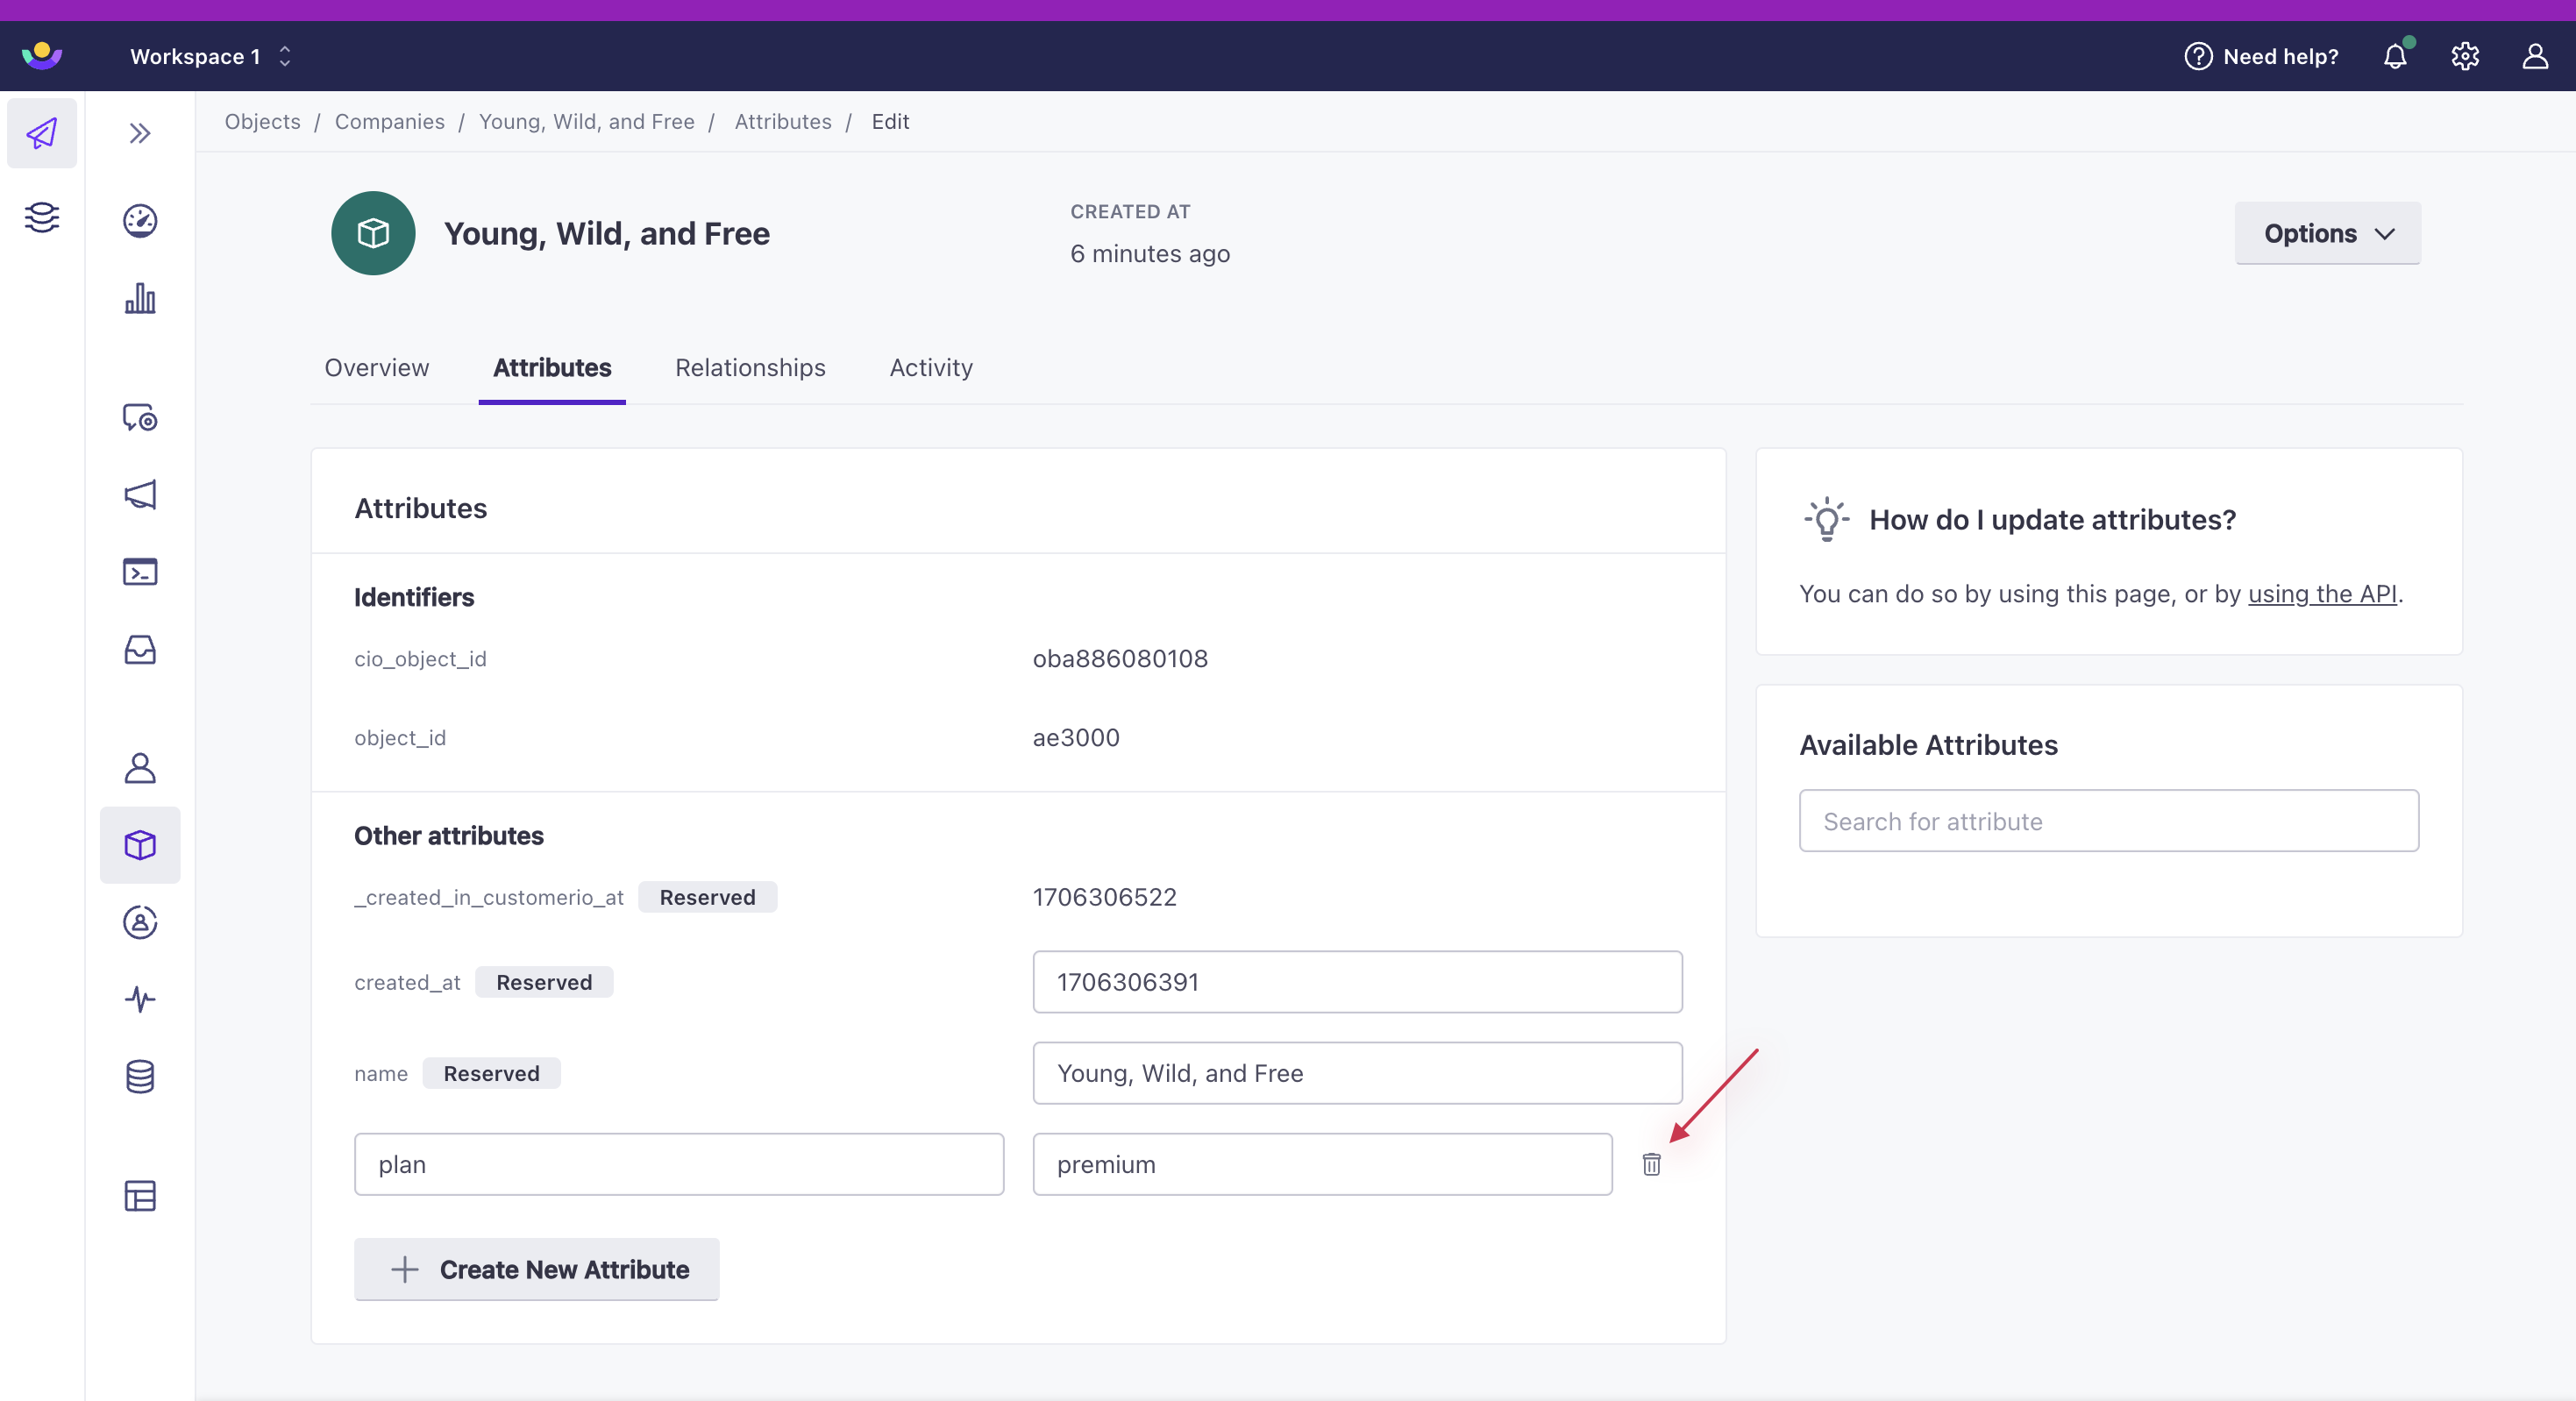
- Click Manage under Attributes.
- Set attributes for the object or click the trash can icon to remove attributes. Then click Save.
Delete objects
You can delete objects in the UI, API or through Segment group calls.
Deleting an object permanently removes the relationship from people.
To delete objects in the UI:
Select your object type from the left hand nav.
If applicable, filter by object attributes to locate the ones you want to remove. Check the box next to each object you want to delete.
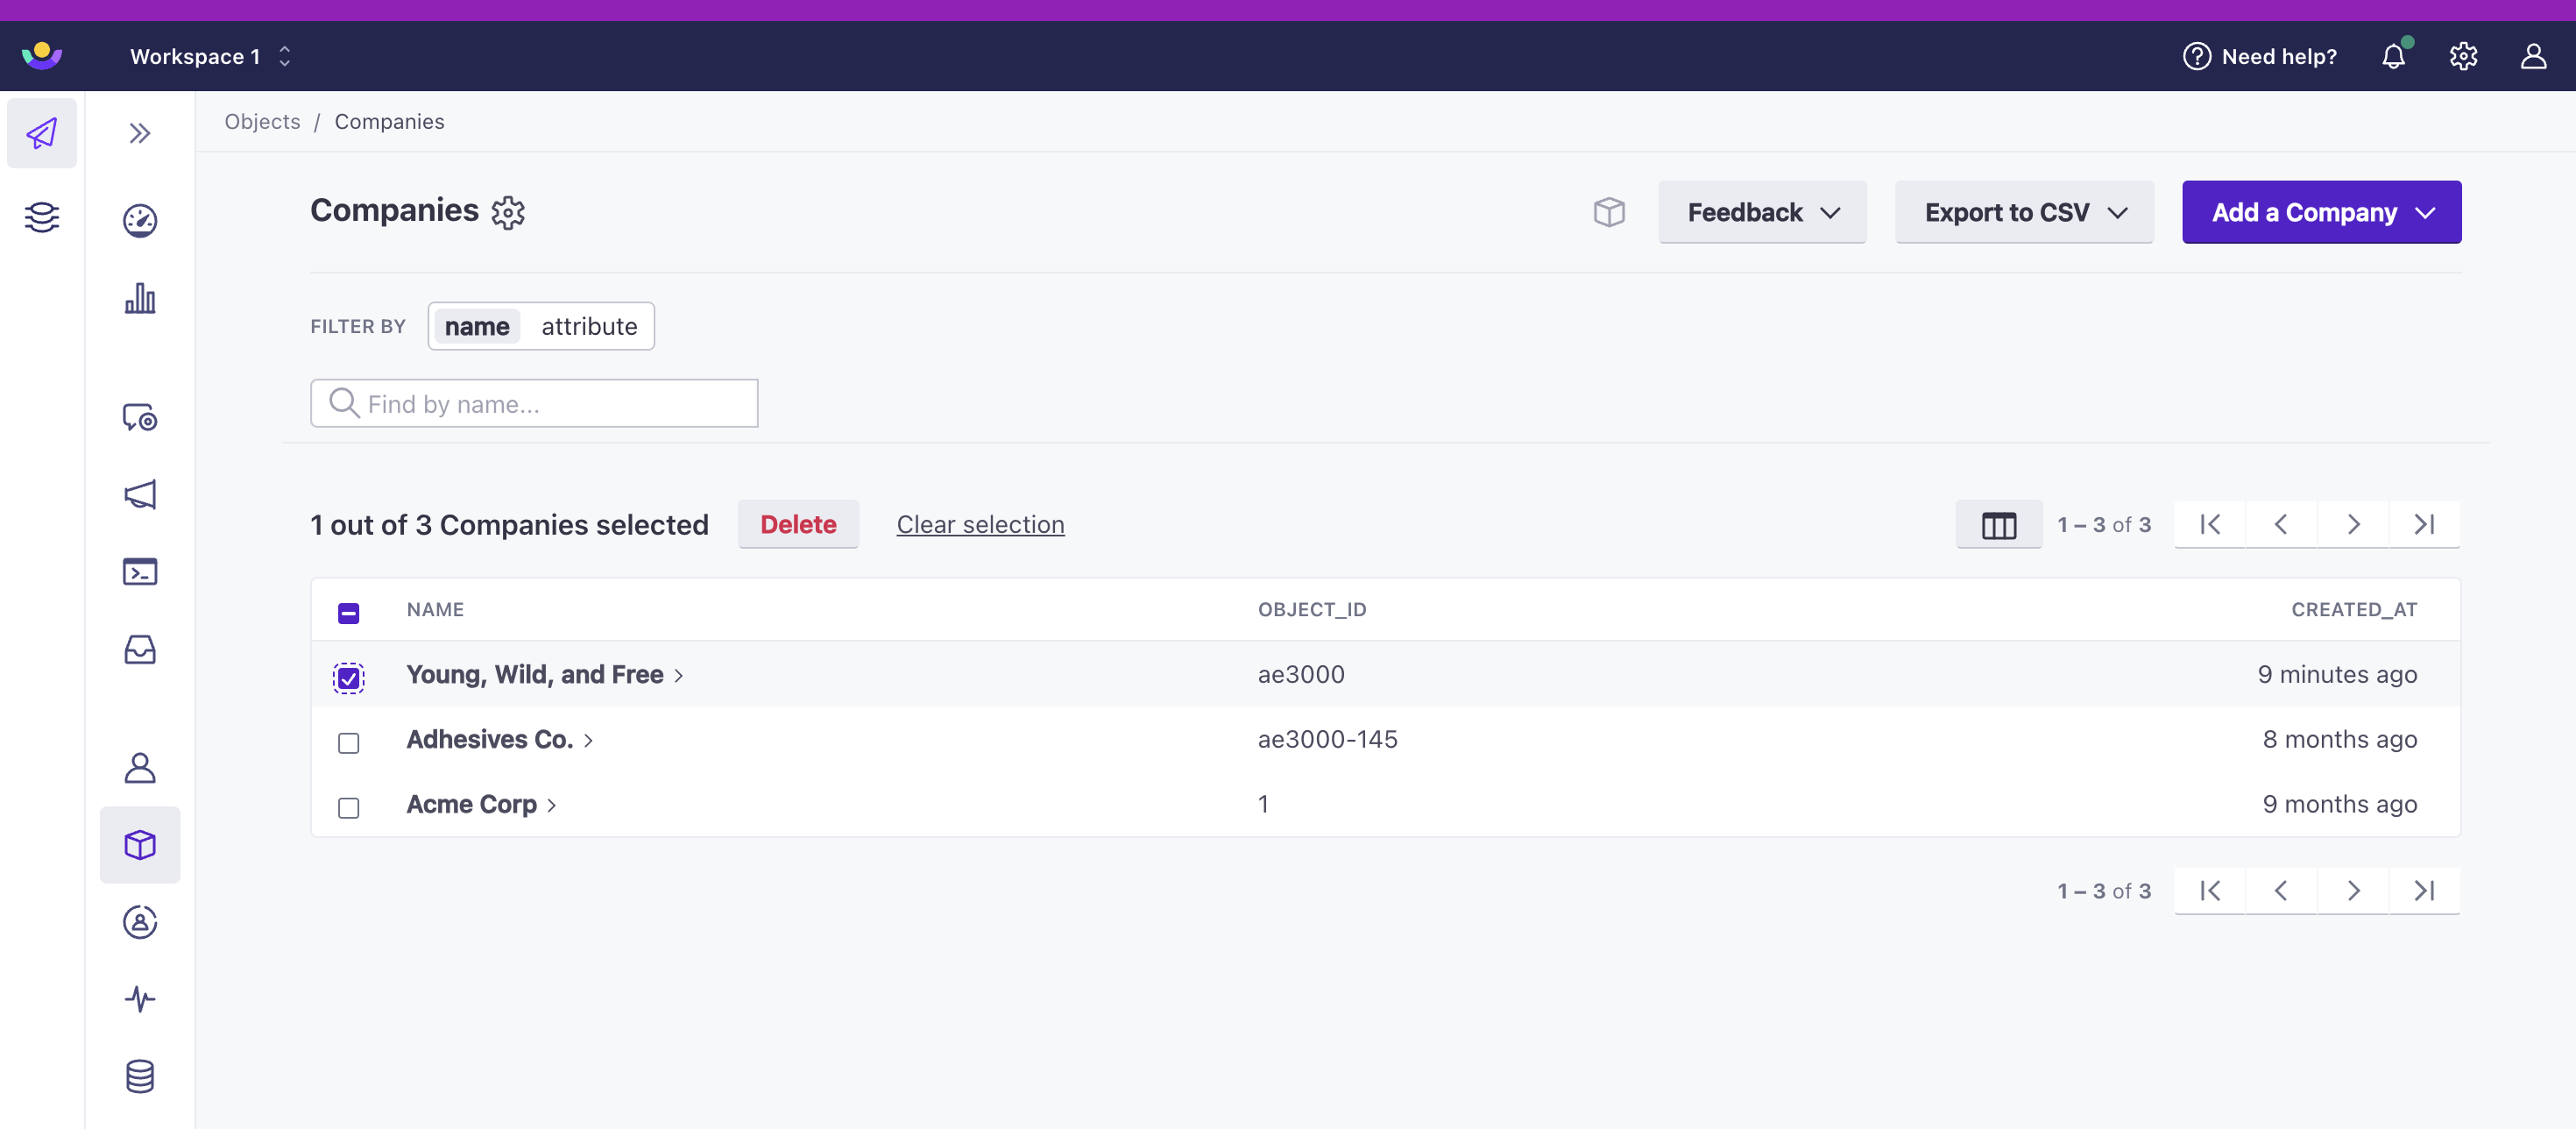
Select Delete at the top of the table, and confirm your selection.
To delete, you can also select the object name to navigate to its landing page. Then in the top right, select Options > Delete and confirm your selection.

