Gmail Promotions
Introduction
Google has added annotation support for emails that appear in the Promotions tab of the Gmail app. This means that your promotional emails have more opportunities to make an impression beyond the subject and preheader. You can highlight incentives, share key information from your message, and stand out in the crowded inbox.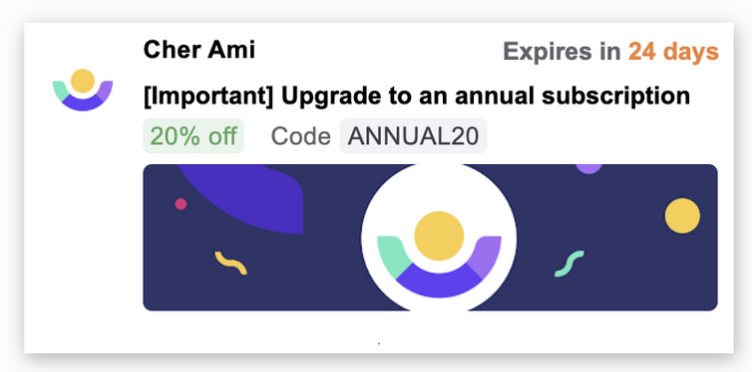
1. Choose your Annotations
Supported annotations include images, your logo, promo codes, expiration dates on deals, and more. Choose the https links and copy that you want to use in your promotion. Check out Google’s best practices for more guidance.
- Logo URL Your logo should be a square- or circle-shaped image and be served over https instead of http.
- Product Image URL You’ll be able to add a single product image. Any image size will work and will be cropped automatically. GIF & WEBP images are not supported and will be filtered out. Sample image above is 538x138.
- Discount Offer Describe your discount, this will be shown as a badge (eg “25% off” or “free shipping”), shown in green above.
- Start Date The date your promotion begins. This must be a date on or before today.
- Expiration Date The date your promotion will expire. This must be a future date and will be used to calculate the countdown on the top right of the card.
2. Build Your Promotions Snippet
After you’ve determined the promotion type, duration, and images to use, construct the snippet for your email using the template below. Copy this snippet into another document and replace the logo, description, subject line, discount code, start date, end date, and image with your own promotion details.
<!--Google promotions via Schema.org microdata-->
<div itemscope itemtype="http://schema.org/Organization">
  <meta itemprop="logo" content="[---HTTPS URL FOR LOGO---]" />
</div>
<div itemscope itemtype="http://schema.org/EmailMessage">
  <meta itemprop="subjectLine" content="[---ALTERNATE SUBJECT LINE---]" />
</div>
<div itemscope itemtype="http://schema.org/DiscountOffer">
  <meta itemprop="description" content="[---DISCOUNT DESCRIPTION---]" />
  <meta itemprop="discountCode" content="[---DISCOUNT CODE---]" />
  <meta itemprop="availabilityStarts" content="[---START DATE FORMAT YYYY-MM-DDTHH:MM:SS-05:00---]" />
  <meta itemprop="availabilityEnds" content="[---END DATE FORMAT YYYY-MM-DDTHH:MM:SS-05:00---]" />
</div>
<div itemscope itemtype="http://schema.org/PromotionCard">
  <meta itemprop="image" content="[---HTTPS URL FOR PROMO IMAGE---]" />
</div>
Here’s the code of the example card shown in the introduction above.
<div itemscope itemtype="http://schema.org/Organization">
  <meta itemprop="logo" content="https://customer.io/wp-content/uploads/2019/02/thumbnail-circular.ico" />
</div>
<div itemscope itemtype="http://schema.org/EmailMessage">
  <meta itemprop="subjectLine" content="[Important] Upgrade to an annual subscription" />
</div>
<div itemscope itemtype="http://schema.org/DiscountOffer">
  <meta itemprop="description" content="20% off" />
  <meta itemprop="discountCode" content="ANNUAL20" />
  <meta itemprop="availabilityStarts" content="2019-12-01T08:00:00-05:00" />
  <meta itemprop="availabilityEnds" content="2019-12-30T23:59:59-05:00" />
</div>
<div itemscope itemtype="http://schema.org/PromotionCard">
  <meta itemprop="image" content="https://customer.io/wp-content/uploads/2019/02/1200x630-1-1.png" />
</div>
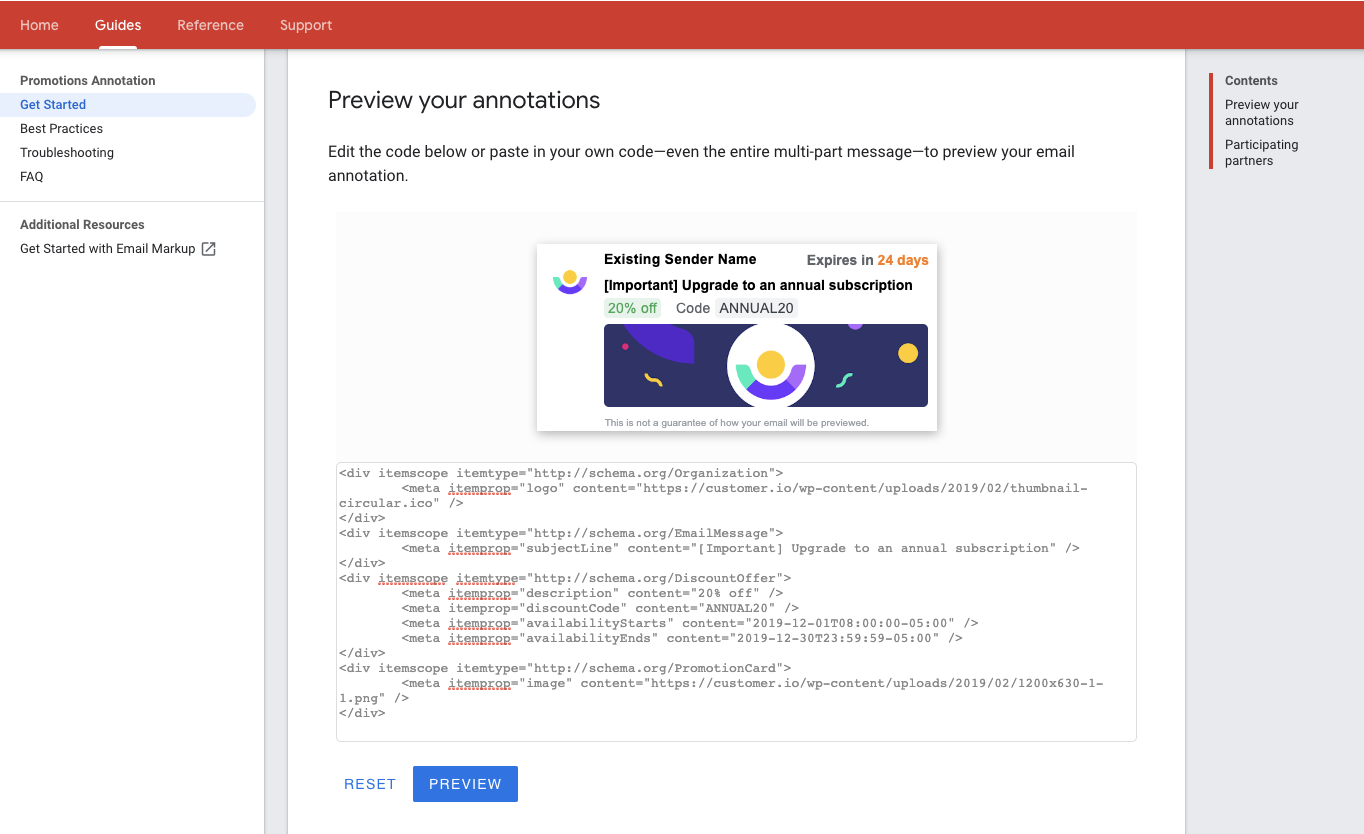
3. Test Your Snippet
Once you have your snippet ready, test it with Google using their preview tool to confirm that it’s showing the right information.
4. Add the Snippet to Your Email
Once your promotions card looks like the way you want it in the Google preview tool, you can add it directly to any email as HTML, using your preferred editor.
Add Promotions using the Drag-and-Drop Editor
Within the Drag-and-Drop editor, click and drag a new HTML content block to the top of your email.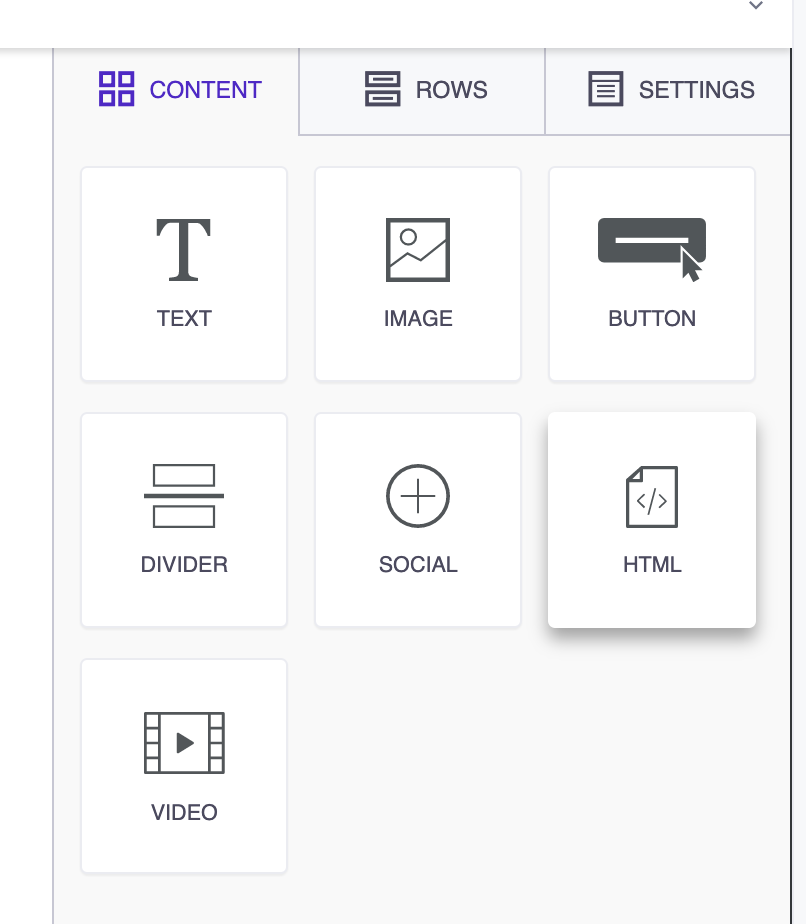
Replace the default contents in the HTML code block with your snippet from above. It won’t affect the design or layout of your email.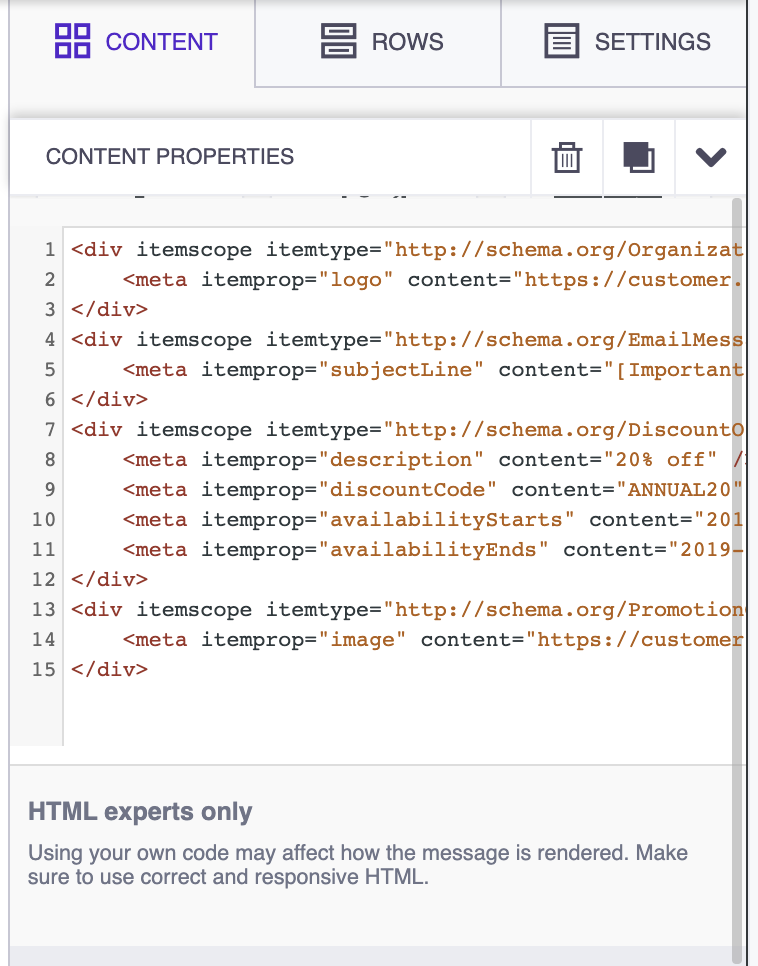
Add Promotions using the using HTML Editor
If you’re using the HTML editor, all you need to do is copy your snippet into the
of your email and save. If there’s notag, then just paste the code at the top, above the rest of the content. Add your email content as you would normally below the snippet.
Add Promotions using the Rich-Text Editor
For the Rich-Text editor, toggle to HTML view in your editor and copy your snippet into the
of your email. If there’s notag, then just paste the code at the top, above the rest of the content. Toggle HTML off and you should be able to edit the rest of your email as normal.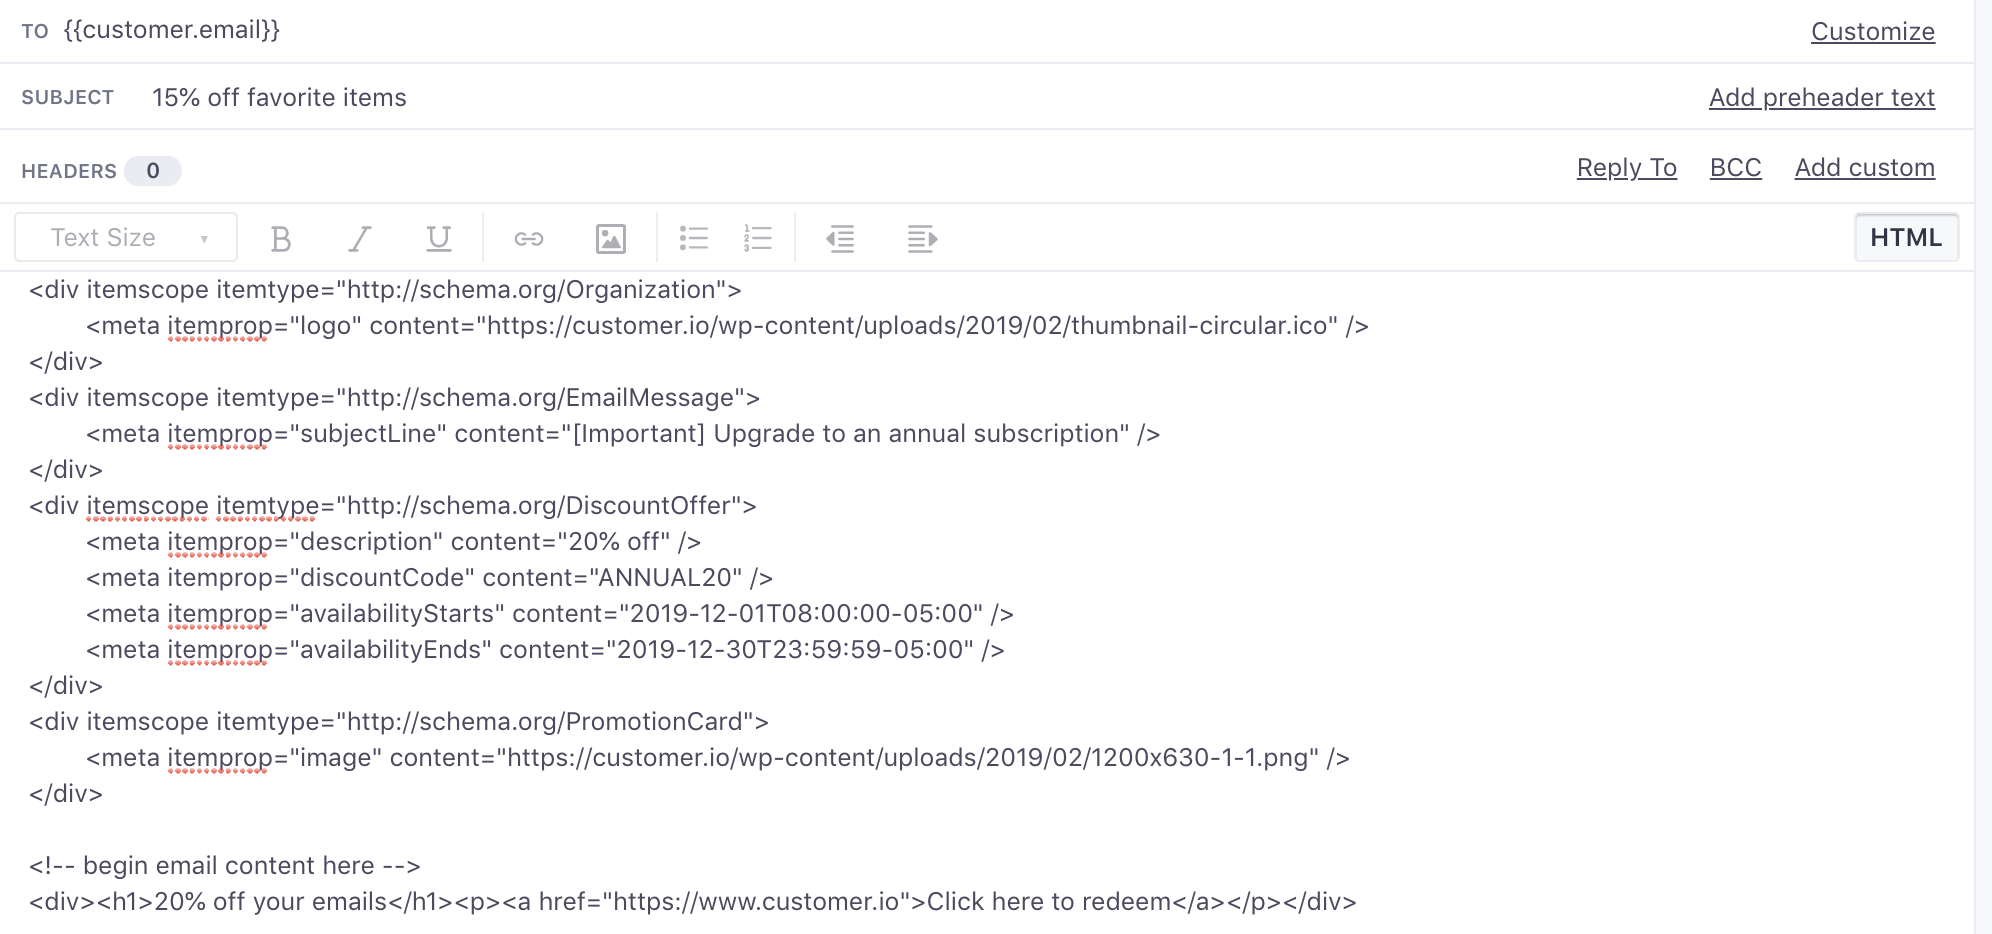
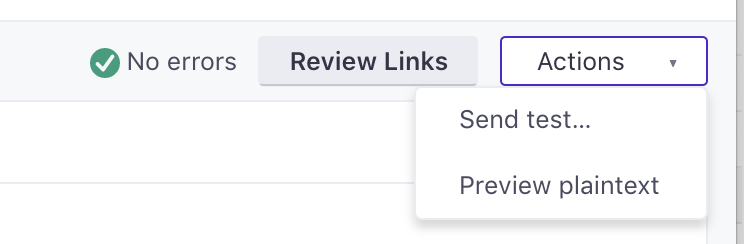
5. Send a Test
Once your email is ready, send a test to yourself using the Actions dropdown on the top right of the editor.
If you don’t see the test email, make sure you’re using the Gmail mobile app and on a personal non-G-Suite account. Google recommends some additional troubleshooting tips here.
6. Send Your Email!
Once you’ve successfully tested the email, you’re ready to send it to your customers!

