Drag-and-Drop Emails: The Basics
Drag-and-drop emails consist of content, rows, and settings. Content blocks are discreet pieces of email content, images, text, etc. Rows provide the structure for your email—a row determines how many pieces of content you can fit across the width of your message.
Settings
The Settings tab contains general settings for your whole message: background colour, default typeface, link color, etc. Content blocks in your email inherit these settings.
Rows and content
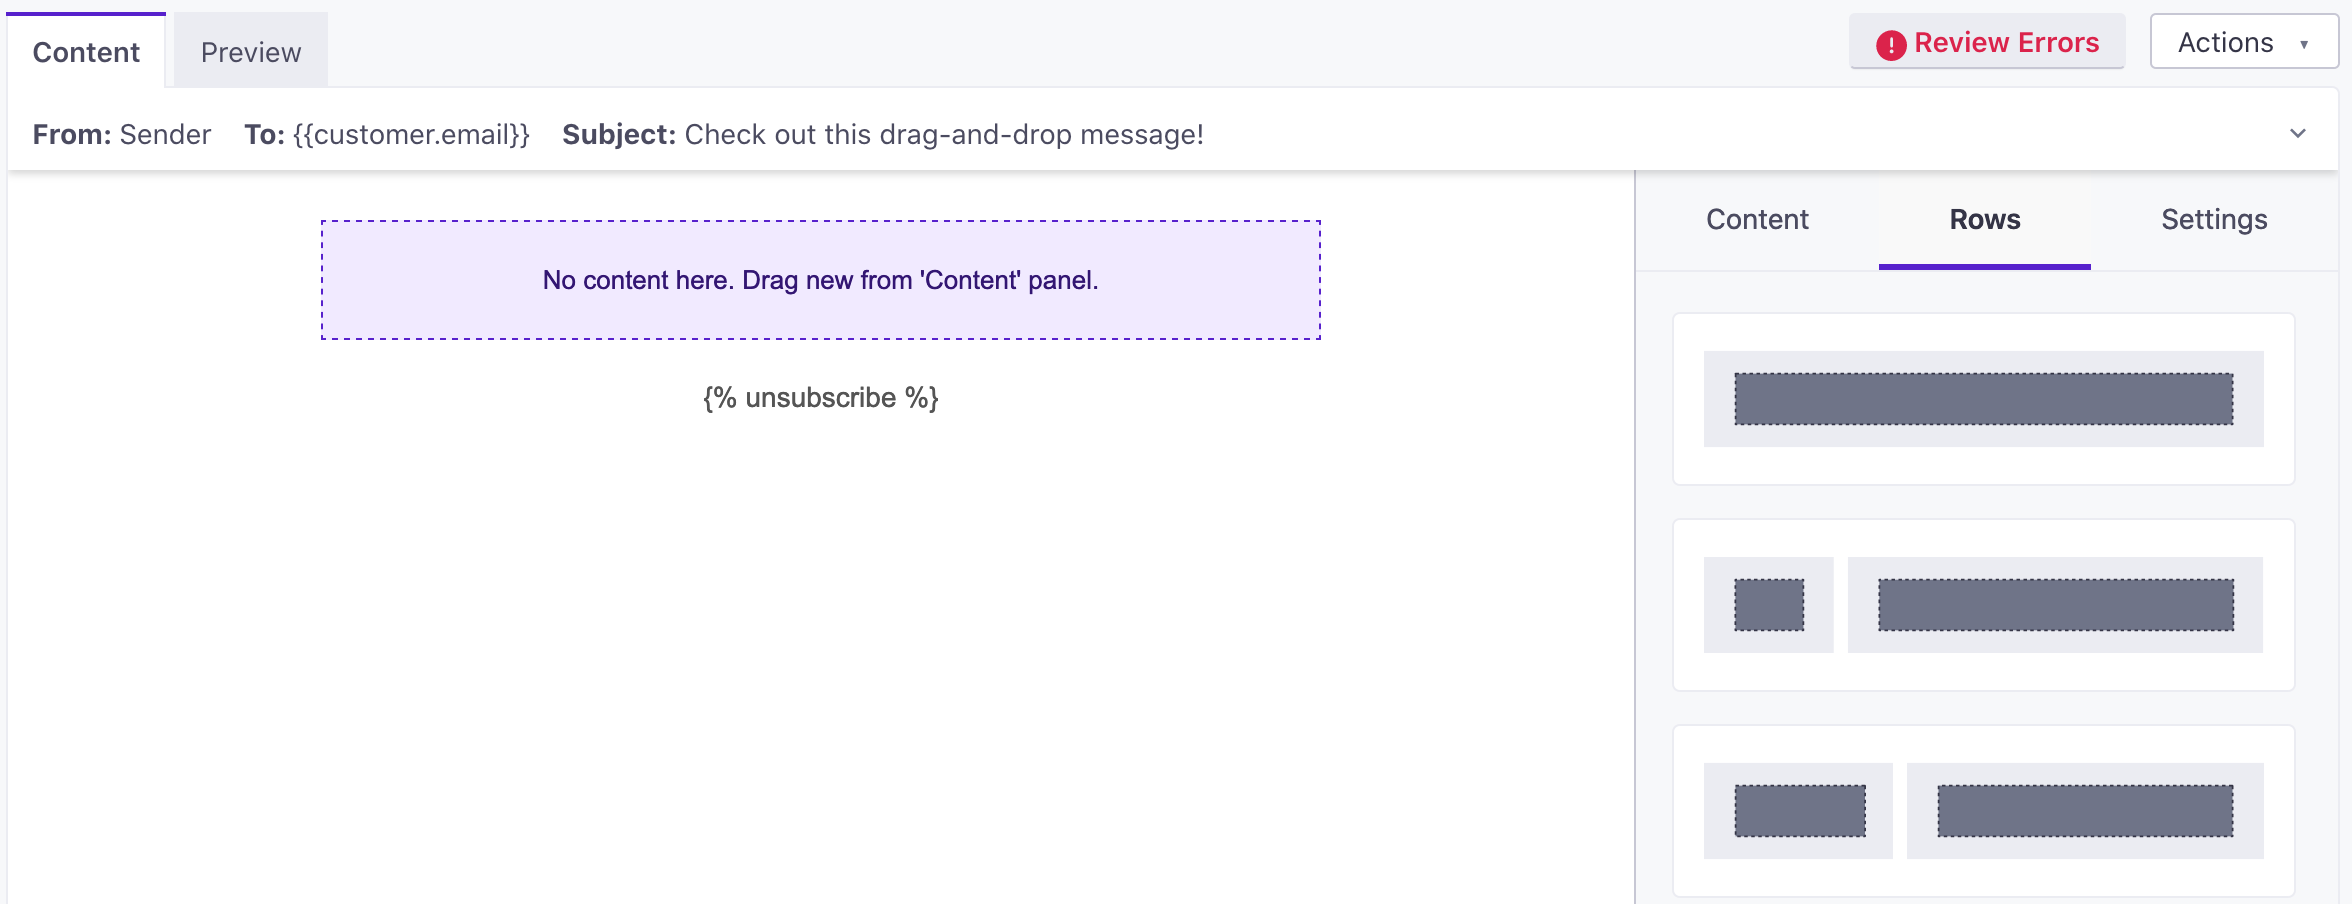
The email editor consists of Rows and Content. In general, you’ll add rows to your email, providing a basic structure for your message, and then add content, the images, text, and information you want to send people, to your rows.
The Rows tab provides a way to structure your email before you add content. Each row determines the number and size of content blocks you can fit across your message. You can add multiple rows, with different numbers of content blocks, to add visual appeal to your message.
The Content tab contains the different kinds of content that you can add to a row—text, title, images, etc. When you click a content block in your email, you’ll see settings specific to the type of content in the row.
For example, if you wanted to add a two-column block with text and an image, you would:
- Click the Rows tab and drag a two-column row into your email.
- Go to the Content tab to drag text and image blocks into the row.
- Click your content blocks to add your text and image respectively.
Save rows
In the drag-and-drop editor, you can save individual rows and reuse them in other messages—like headers or footers that you want to reuse across all of your messages.
Updating a saved row does not update it everywhere
You can make changes to a saved row after you drag it into your email, and then save it again. However, your changes to a saved row are only reflected when you use the row again; they do not affect messages where you’ve already used the row.
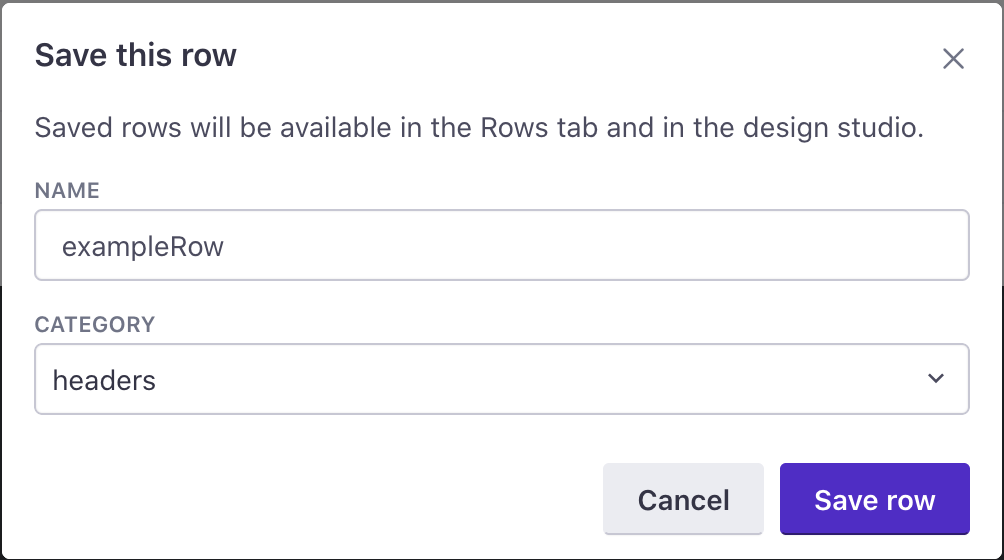
- Select a row and click .
- Set a Name and Category for your row, like “header” or “footer”. These help you select the row when you want to reuse it.
- Click Save row.
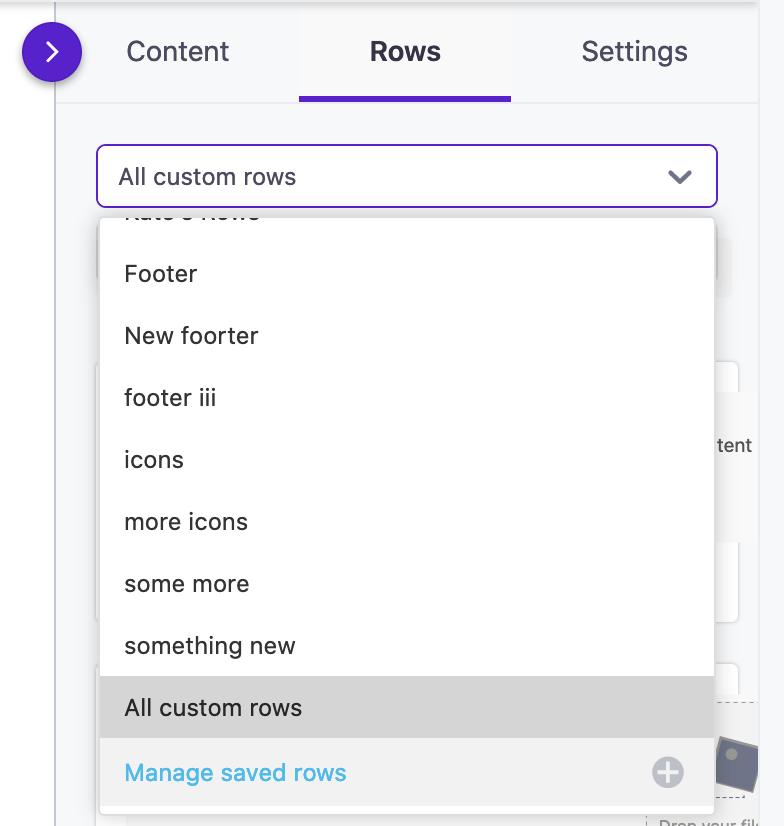
Use a saved row
If you saved rows of content in the drag and drop editor, you can reuse those rows in other emails. Rows are organized by category.
With nothing selected in the editor:
- Click Rows and select the category containing the row you want to use.
- Drag the row into your layout.
Update a saved row
You can update a saved row after you drag it into your message. However, your changes to a saved row are only reflected when you use the row again; they do not affect messages where you’ve already used the row.
If you want to update a row in other campaigns and messages, you need to go to the campaign or message you want to update, re-insert the row, and then save the message.
To modify a row that you have already saved:
- Click Rows and select the category containing the row you want to use.
- Drag the row into your layout.
- Make changes to the row, and then click . You can either Update the row or save it as a new row.
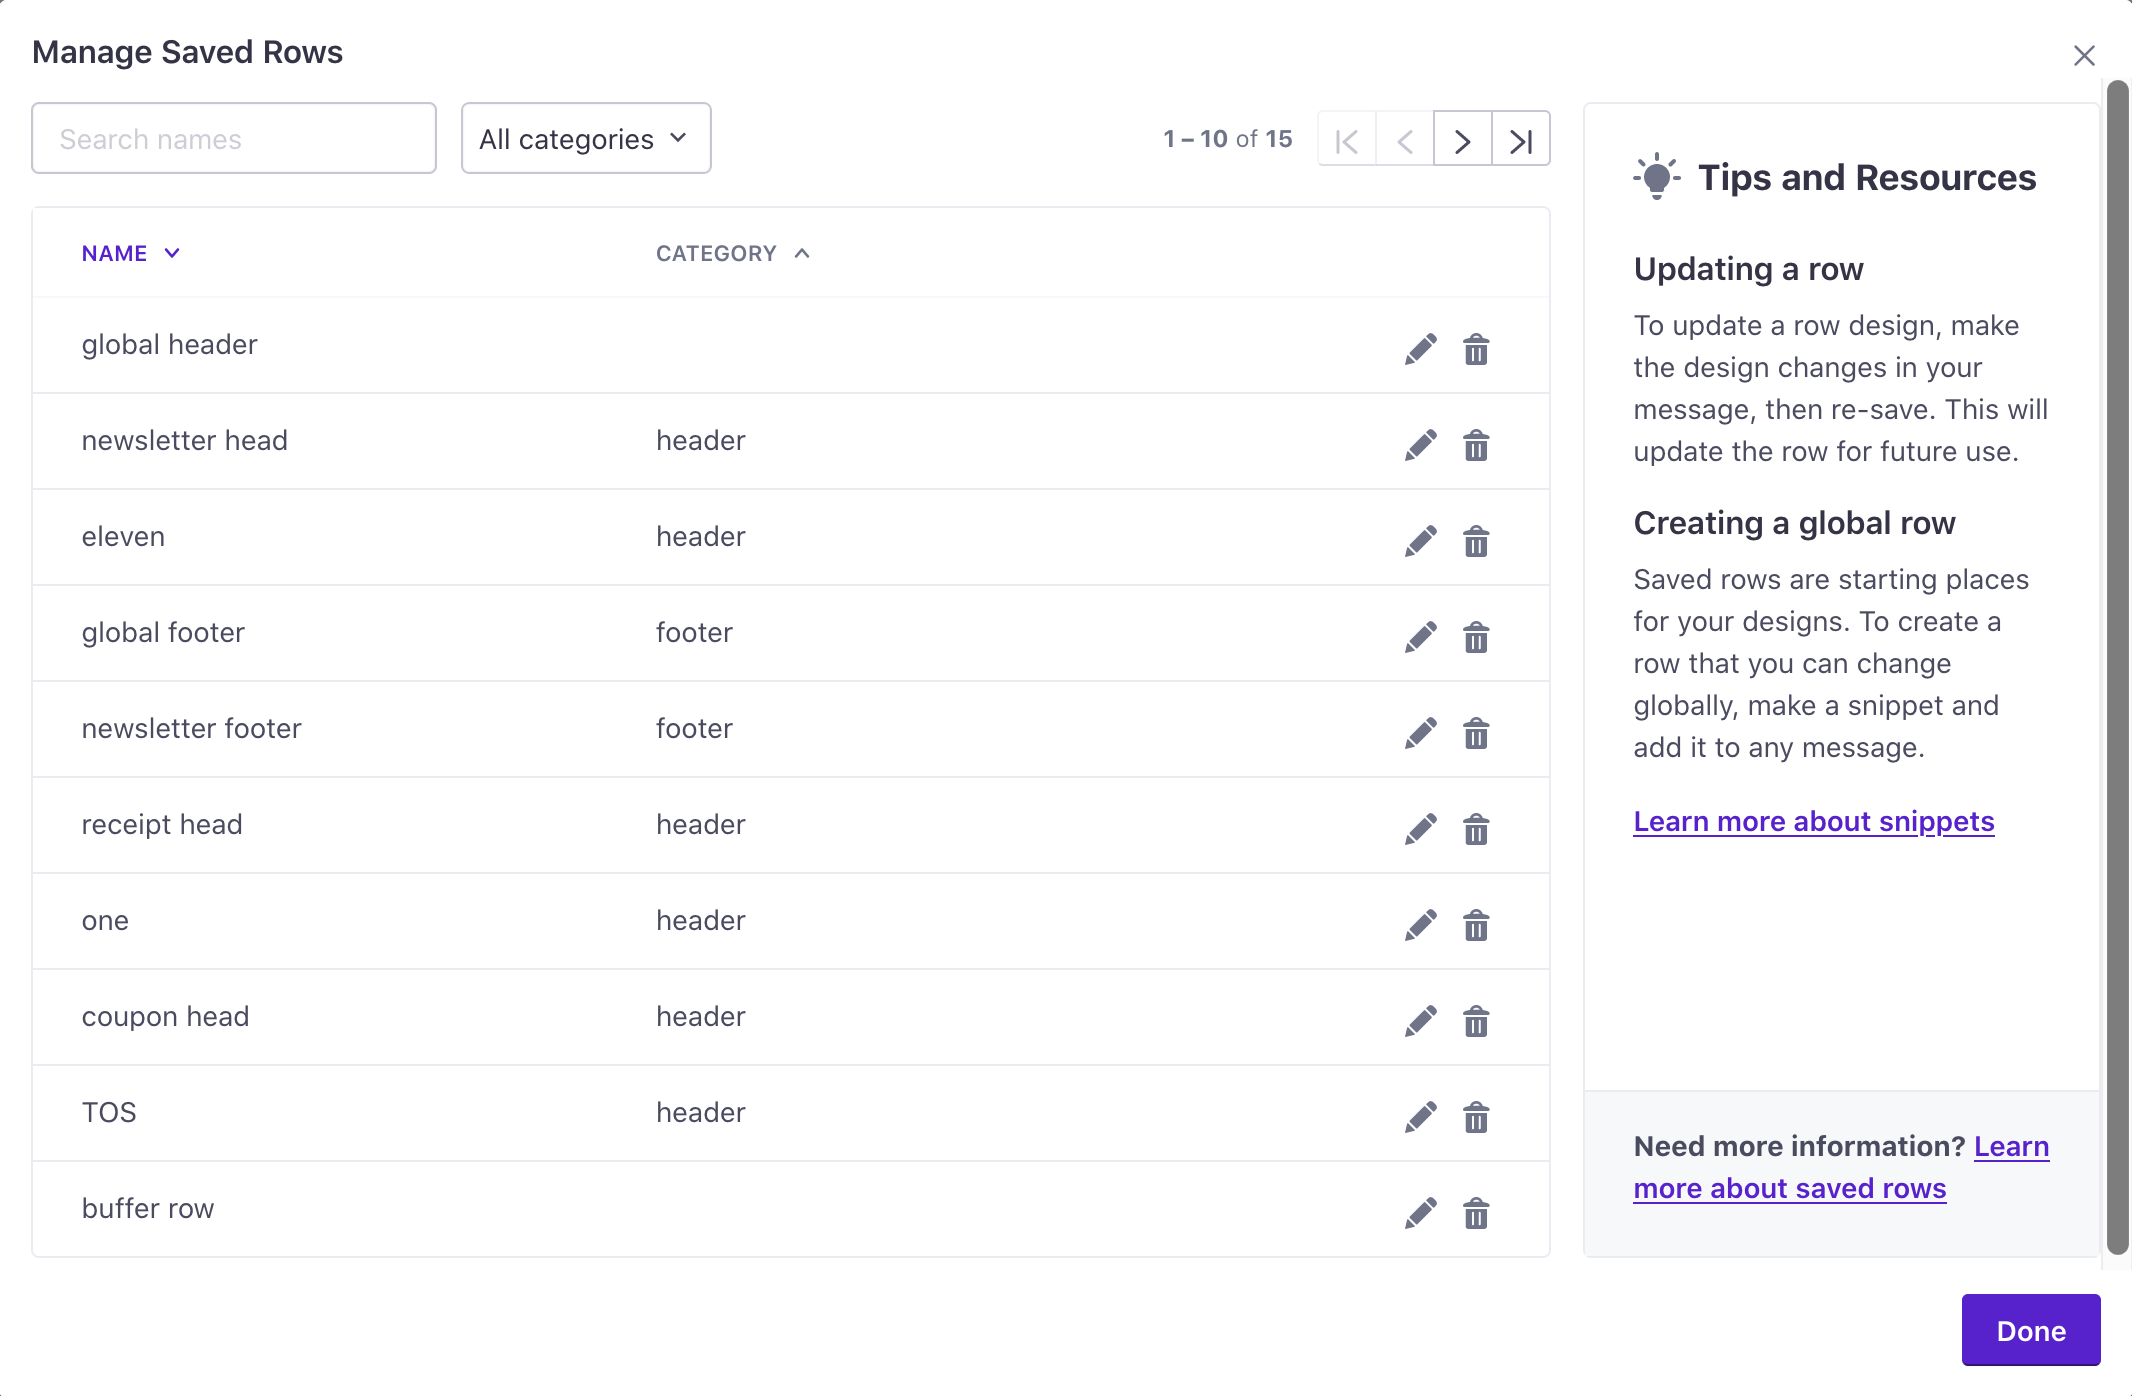
Manage and delete rows
In the drag and drop editor, go to Rows, and select Manage saved rows from the drop-down menu to see a list of your saved rows.
Click to edit the name and category assigned to a row.
Click to delete a row. Deleting a row only prevents you from using the row in the future, it does not remove the row from any messages currently using it.
Row settings and responsiveness
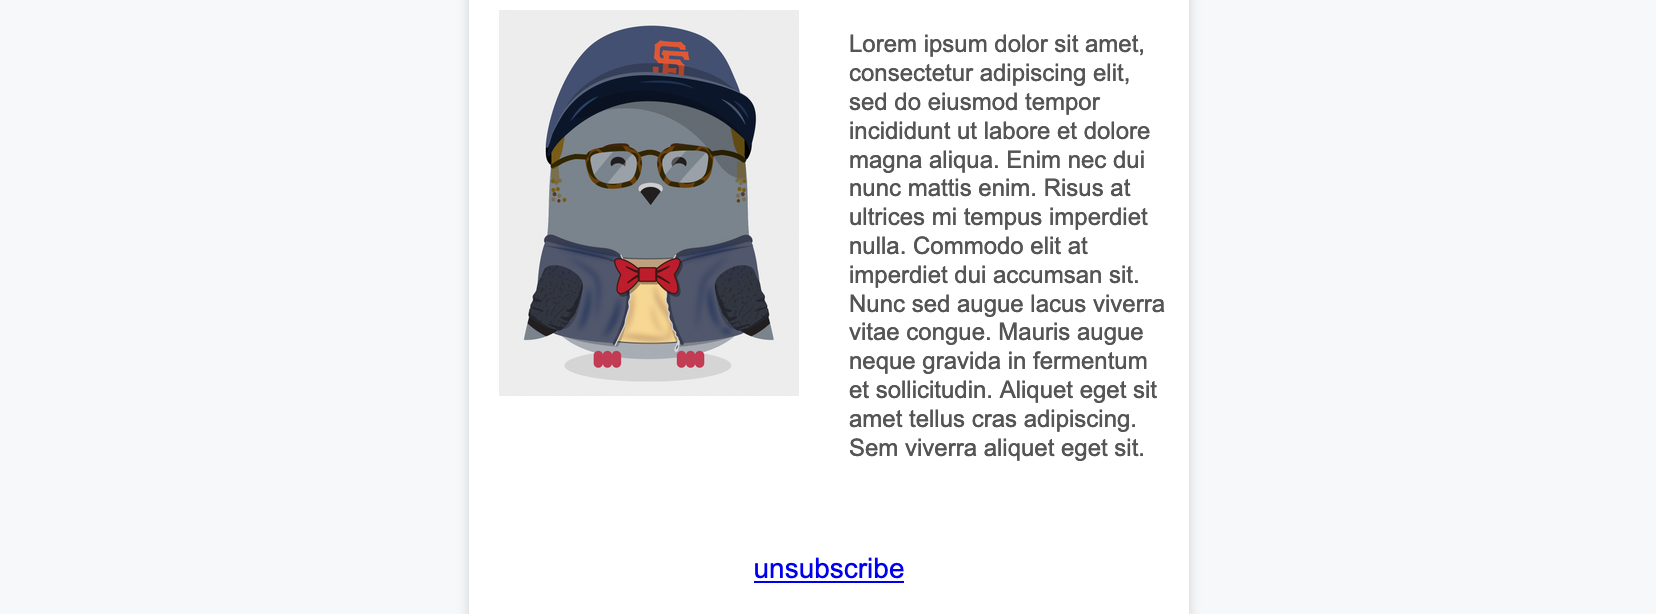
By default, content blocks stack on mobile devices, going from left-to-right order to top-to-bottom.
You can click any row in your message and determine how it behaves in mobile contexts. Do you want to disable collapsing behavior, or hide content on smaller devices? Click each row to reveal responsive settings.
By default, content blocks stack from left to right:
Standard width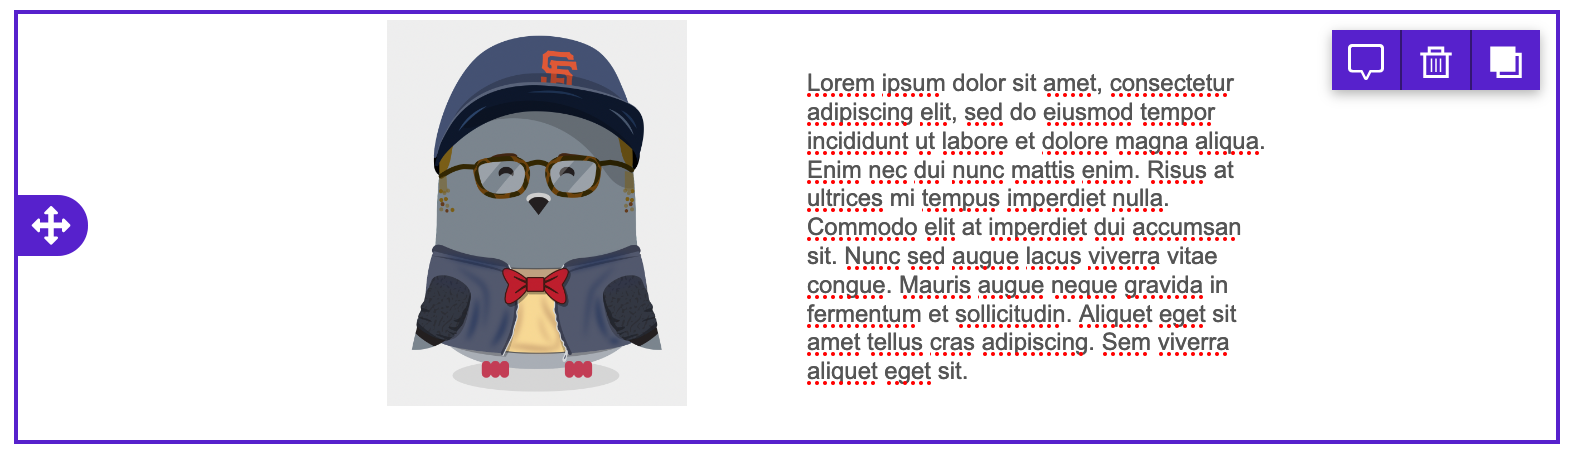 | Mobile width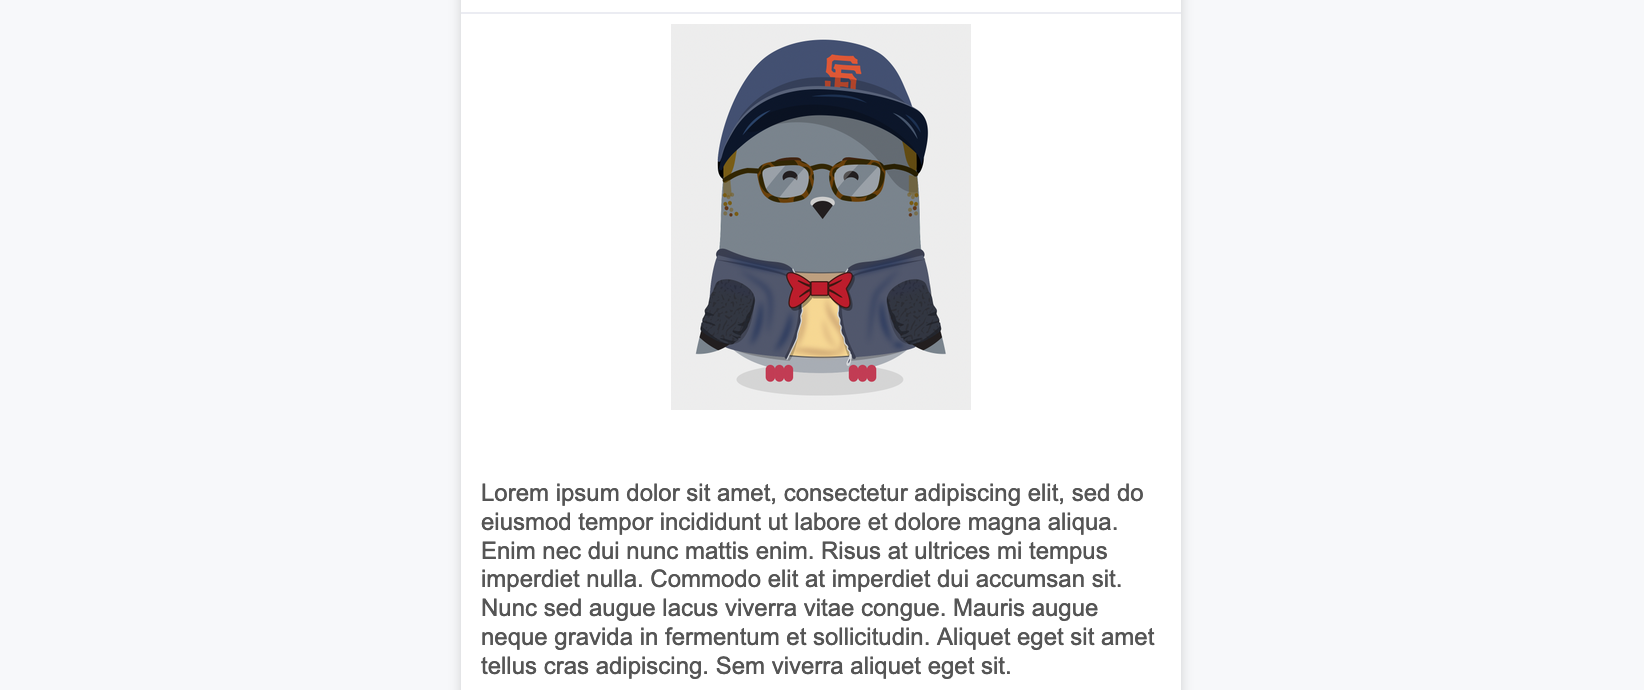 |
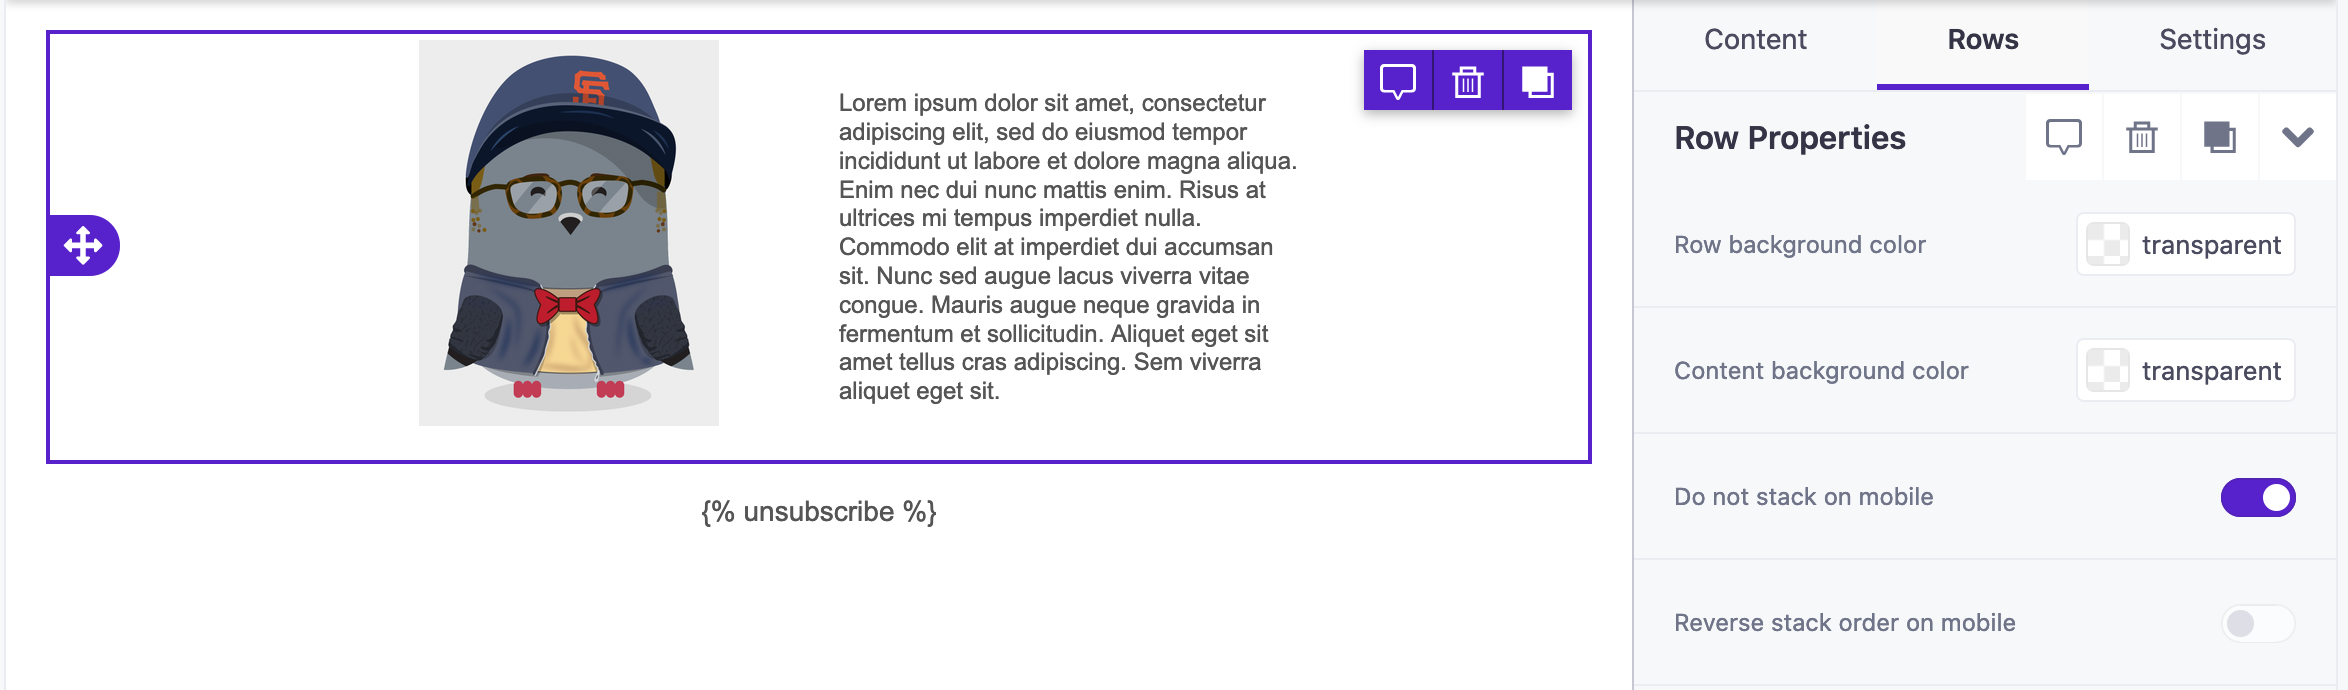
If you select the row and click Do not stack on mobile, your email will resize without stacking content.
 |  |
You can also set the width of cells to customize the layout of a row.
Set background colors
By default, the backgrounds of rows and content blocks are transparent. You can change the background at the row or content level.
The background of a row stretches to the edge of your audience’s email browser. The content background is contained by the cell itself.
- Click the row you want to set a background color for.
- Set the Row background color, the Content background color, or both!
Personalize messages with user data
You can leverage data associated with your audience to personalize messages for each recipient!
When working with text content, click Merge Tags. We’ll list the contexts and data available to your message. Or, if you know exactly which attribute you want to add to your message, you can type it manually.
For example, let’s add a first name to a message.
Personalize messages with liquid conditions
You can use liquid comparison operators or logical expressions (statements using &, <, >, etc) using the Add Liquid option in the text content menu.

Do not type complex expressions manually
Logical and comparison operators will not work in the drag-and-drop editor if you type them directly into the text area. Use the Add Liquid option so that you don’t inadvertantly expose raw liquid statements in your message.
Show or hide content using liquid
You can use Liquid to show or hide entire rows in your email.
- Select a row in your email and click Add Condition.
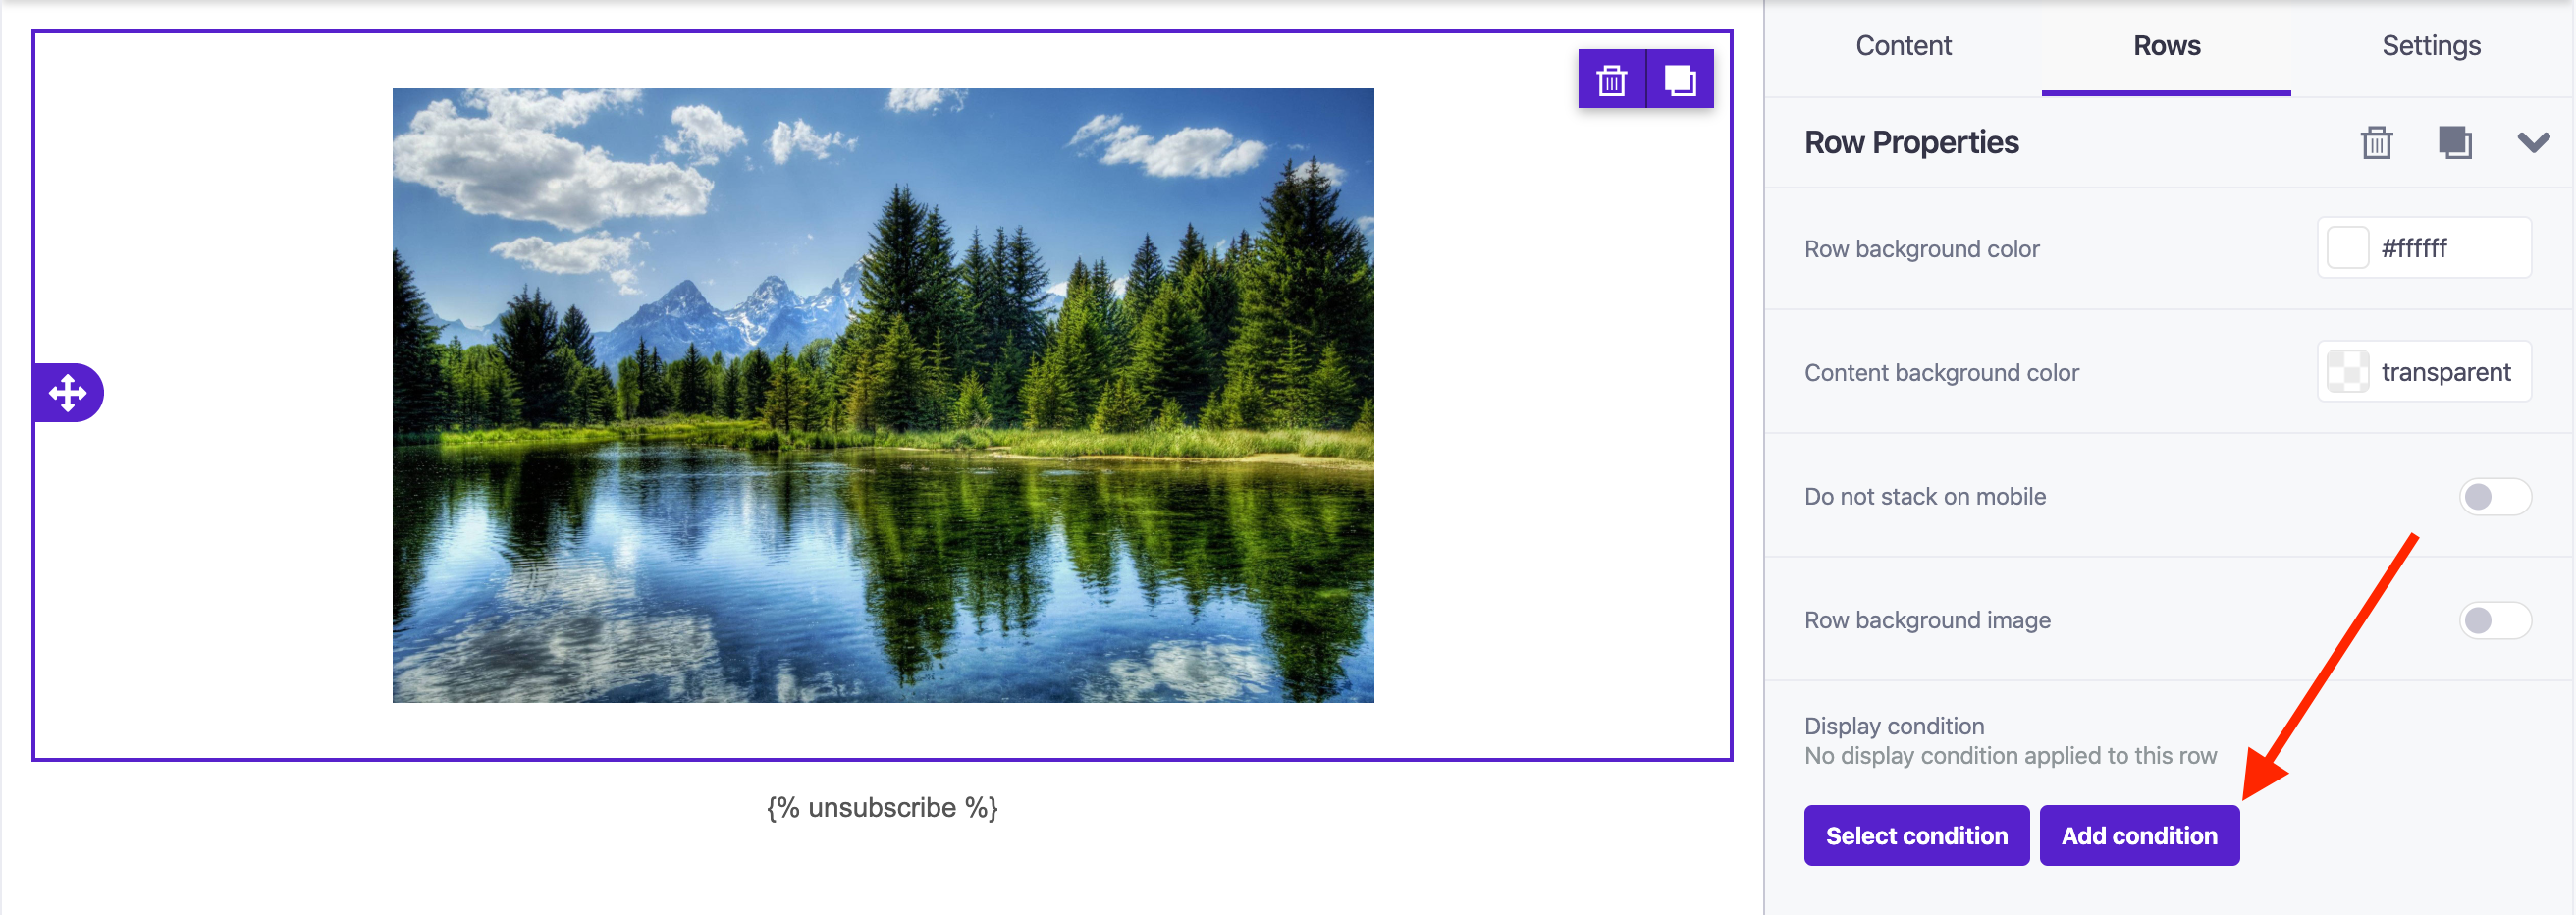
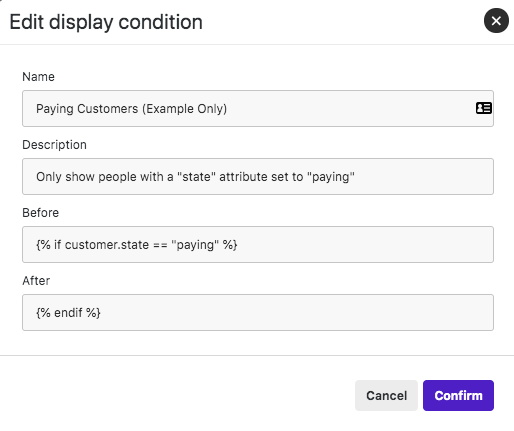
- Enter a Name and Description for the condition.
- Provide the liquid condition determining people who will see the row.
For example, this row displays only if a person in your audience has a “state” attribute with a value of “paying”.
Customizing headers
To maximize space to compose your message, you can collapse email headers.
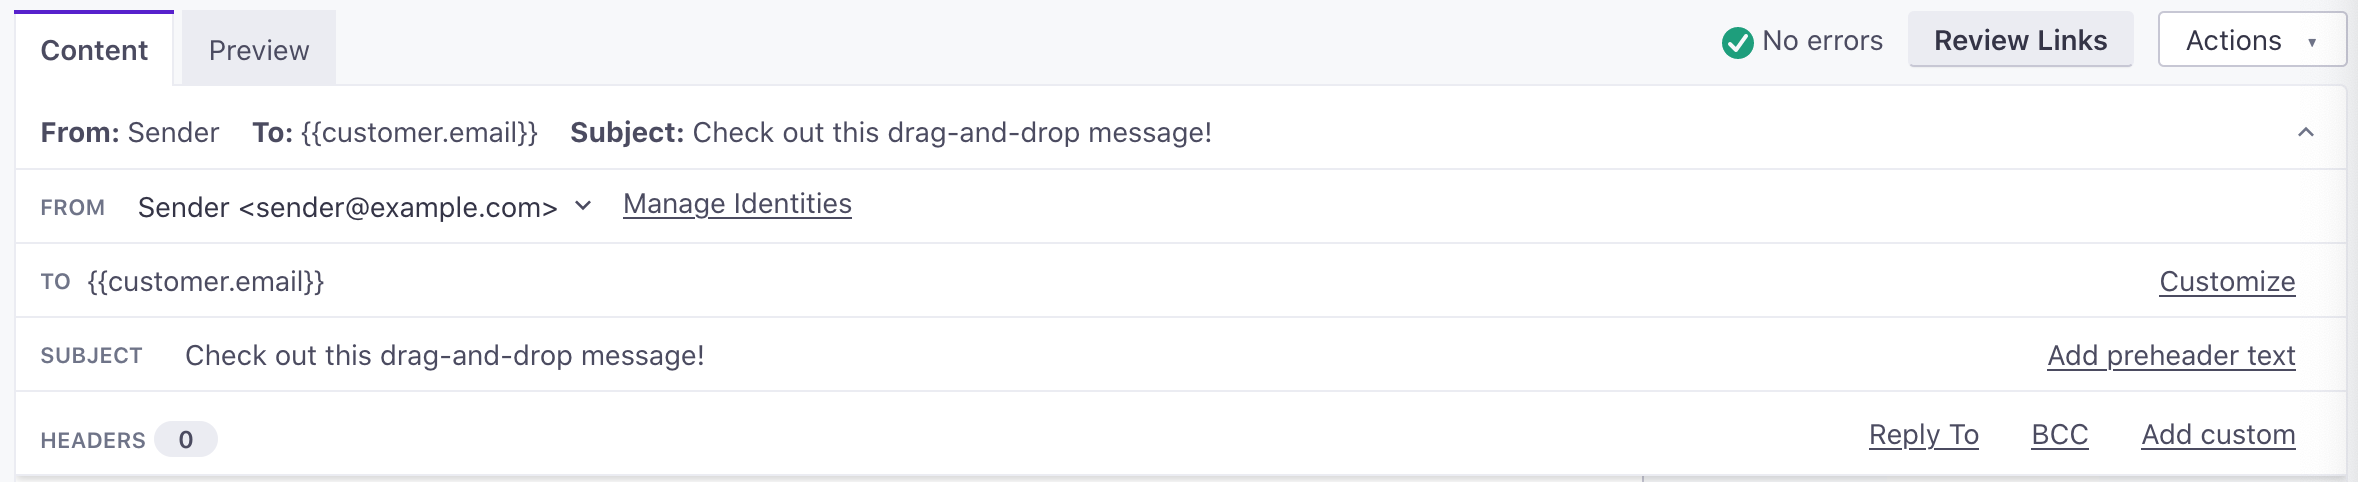
You can see a preview of the From, To, and Subject lines when you collapse headers. To add a new header, like Reply To or BCC, use the quick-add options. To add a custom header, click Add custom and specify the header you want to add. You can add up to 10 headers.
To add preheader text, expand the headers and click Add preheader text.

Add images
You can add images to your messages using the image content block.
When you add an image block to your email, you can upload new images, insert ones you’ve already uploaded, or search free images to add to your message.

You can drag and drop multiple images to add them simultaneously!
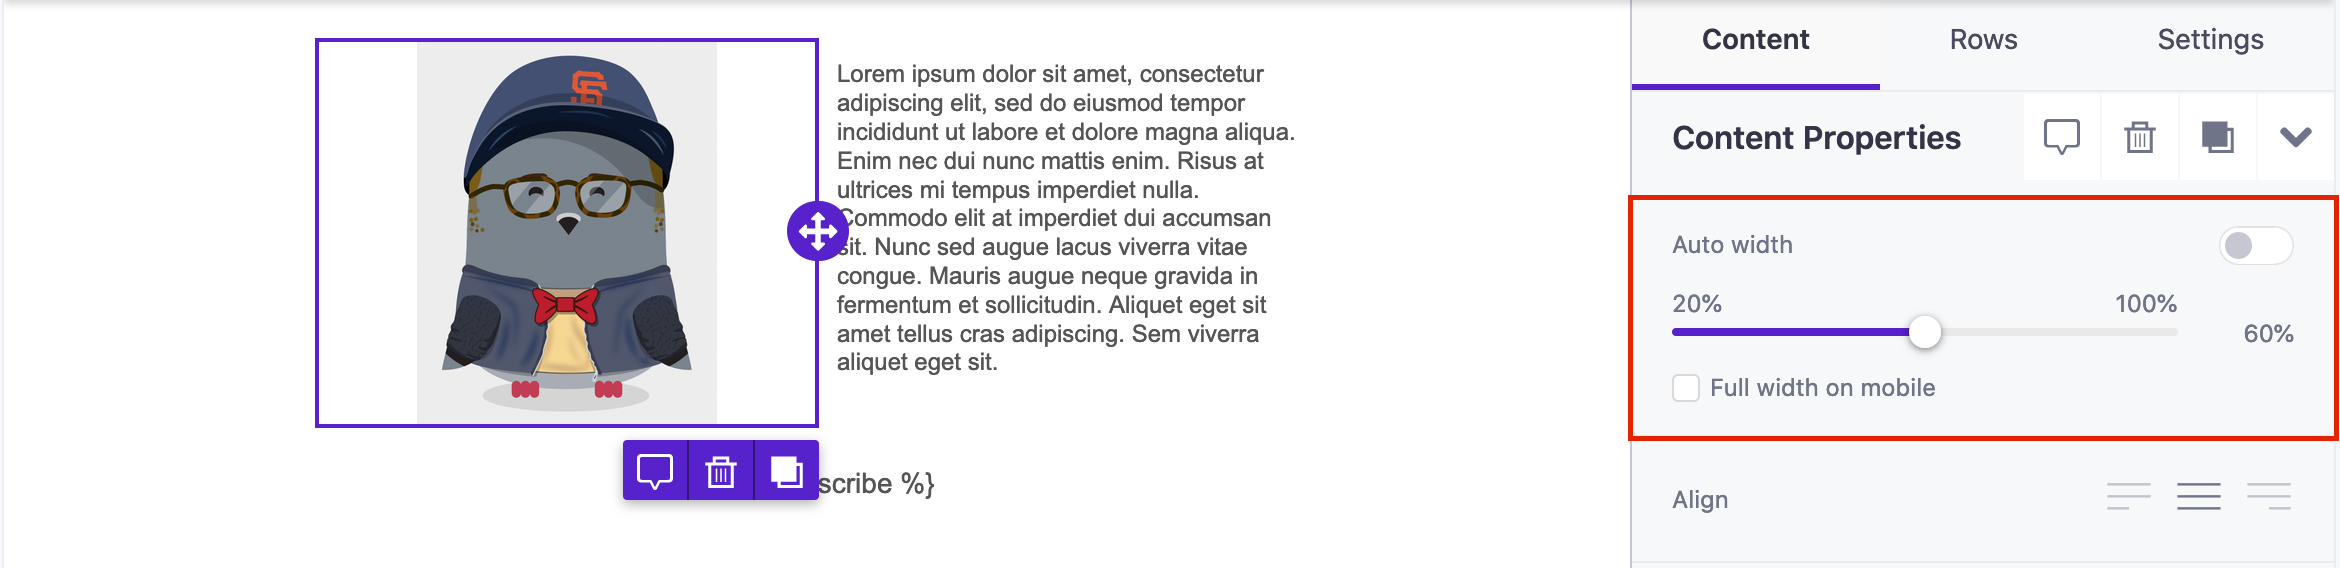
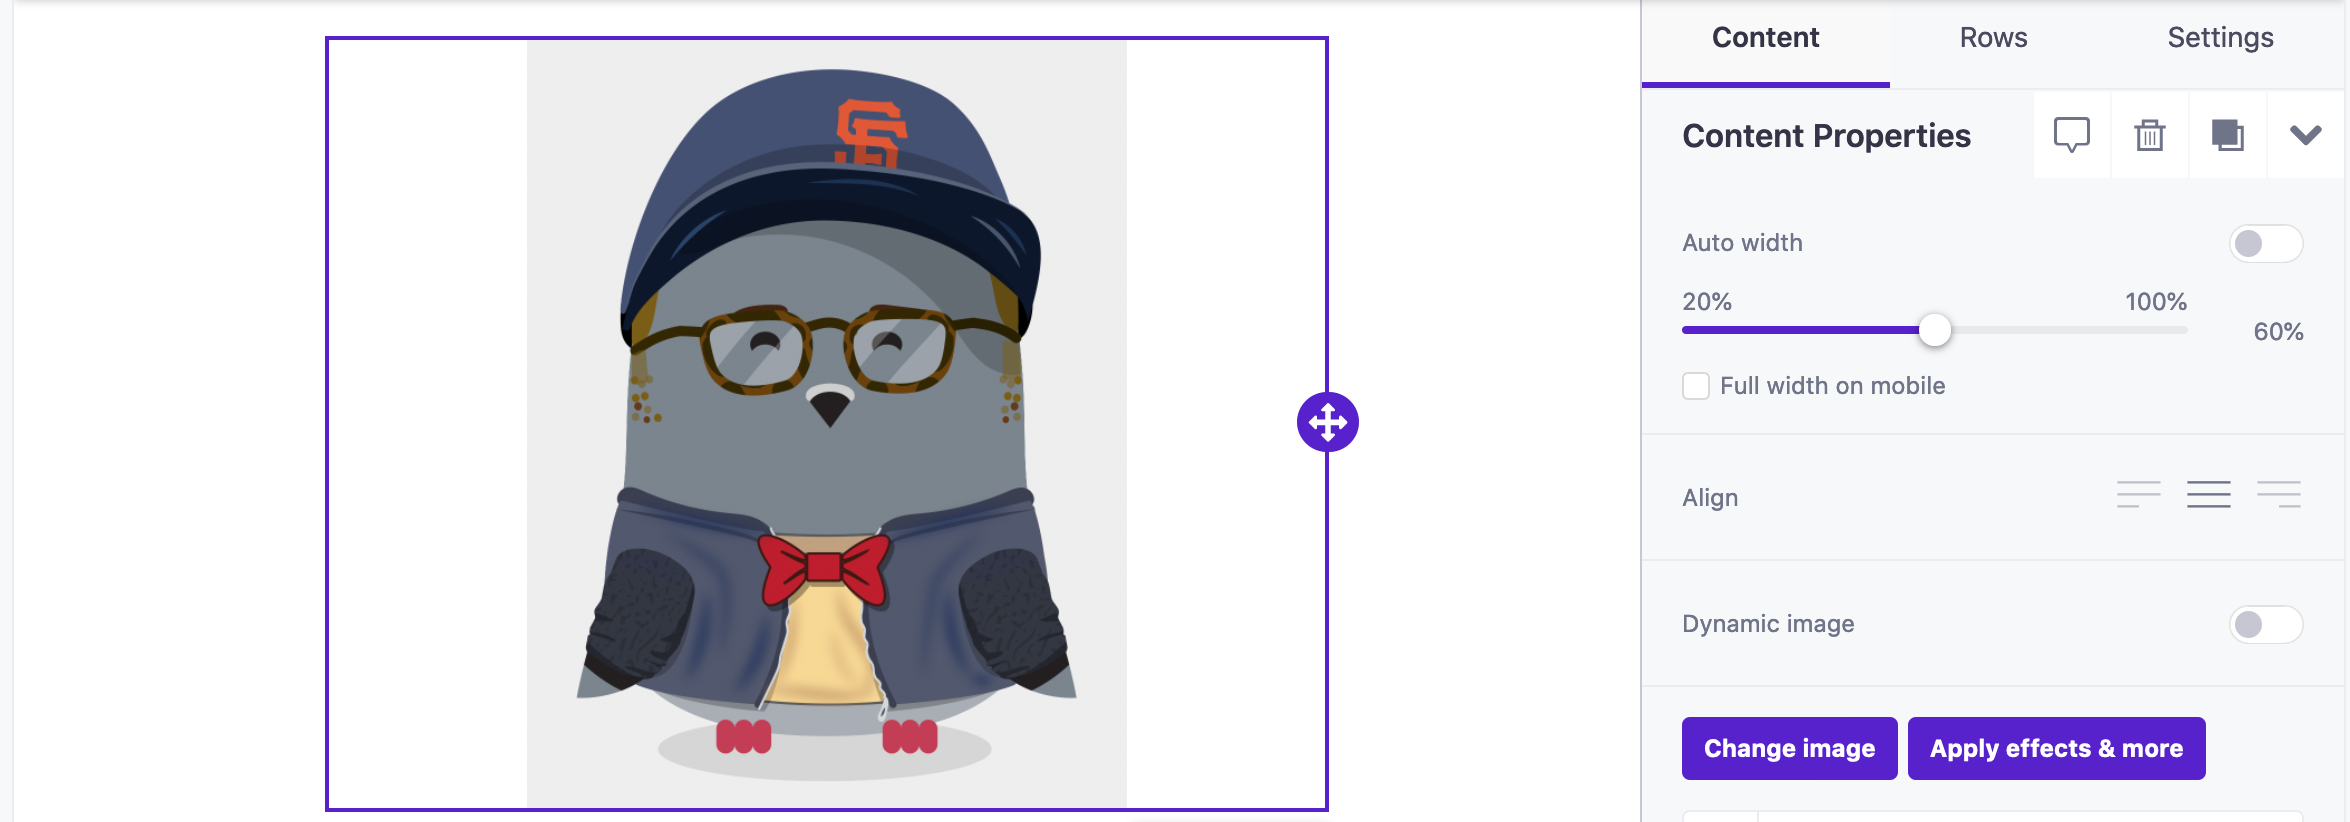
Change image sizes
To customize an image’s size, Click it in the editor and turn off the Auto width option.
Set a dynamic url for an image
You can add a dynamic URL to images to personalize emails based on customer attributes or event properties. You can upload images to our asset library or host them yourself; just be sure to follow best practices for images. When you’re ready, save the image URL as a customer attribute or event property so your liquid (detailed below) renders the personalized image in your campaign.
To include an image based on a dynamic url:
Drag an image content block onto your canvas.
Browse for an image in your assets library or upload a new one to use for testing.
Under Content Properties, toggle Dynamic image on.
Enter the appropriate liquid into the Dynamic Url field. In the example below, people have an attribute called
profile_image.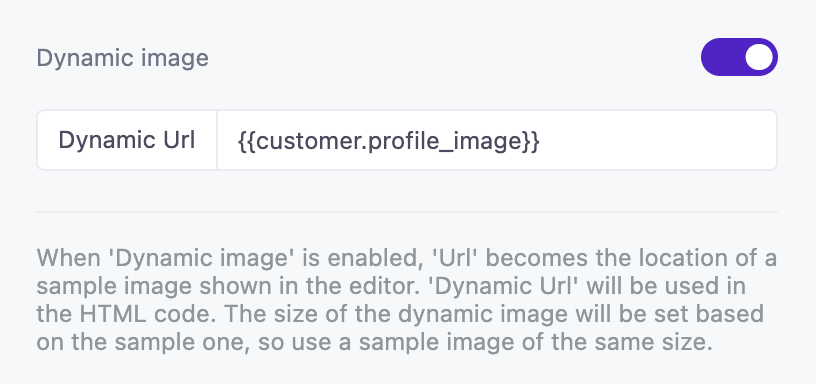
If this attribute exists for a recipient, the image will display in the email; otherwise, you must add if/else liquid statements to render a fallback. Start by uploading your fallback image to your asset library. Then copy the asset’s link and paste into the else statement. For example:
{% if customer.profile_image != blank %}{{customer.profile_image}}{% else %}img-url{% endif %}
Save your email.
Preview the message to see the image change depending on the person you’ve selected.
Set background images
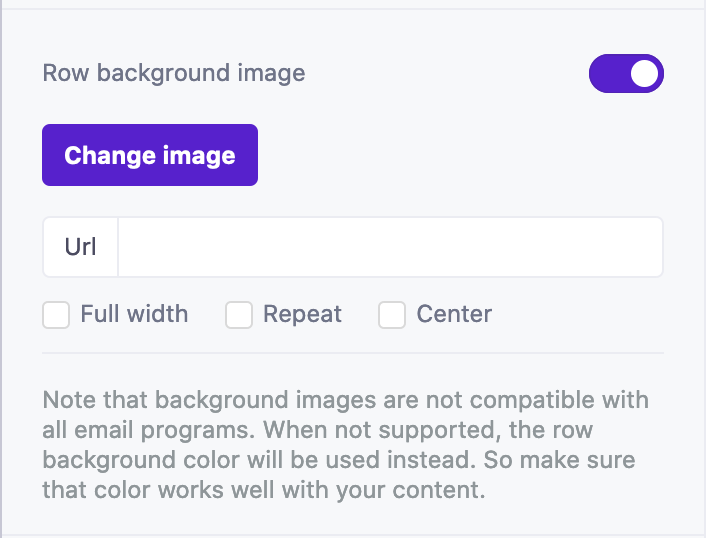
To add a background image to your row:
- Click a row.
- Click Row Background Image.
- Enter the Url of your image or click Change image to use an image that you’ve already uploaded.
- Select the display parameters for the image—whether to stretch, repeat, or center it.
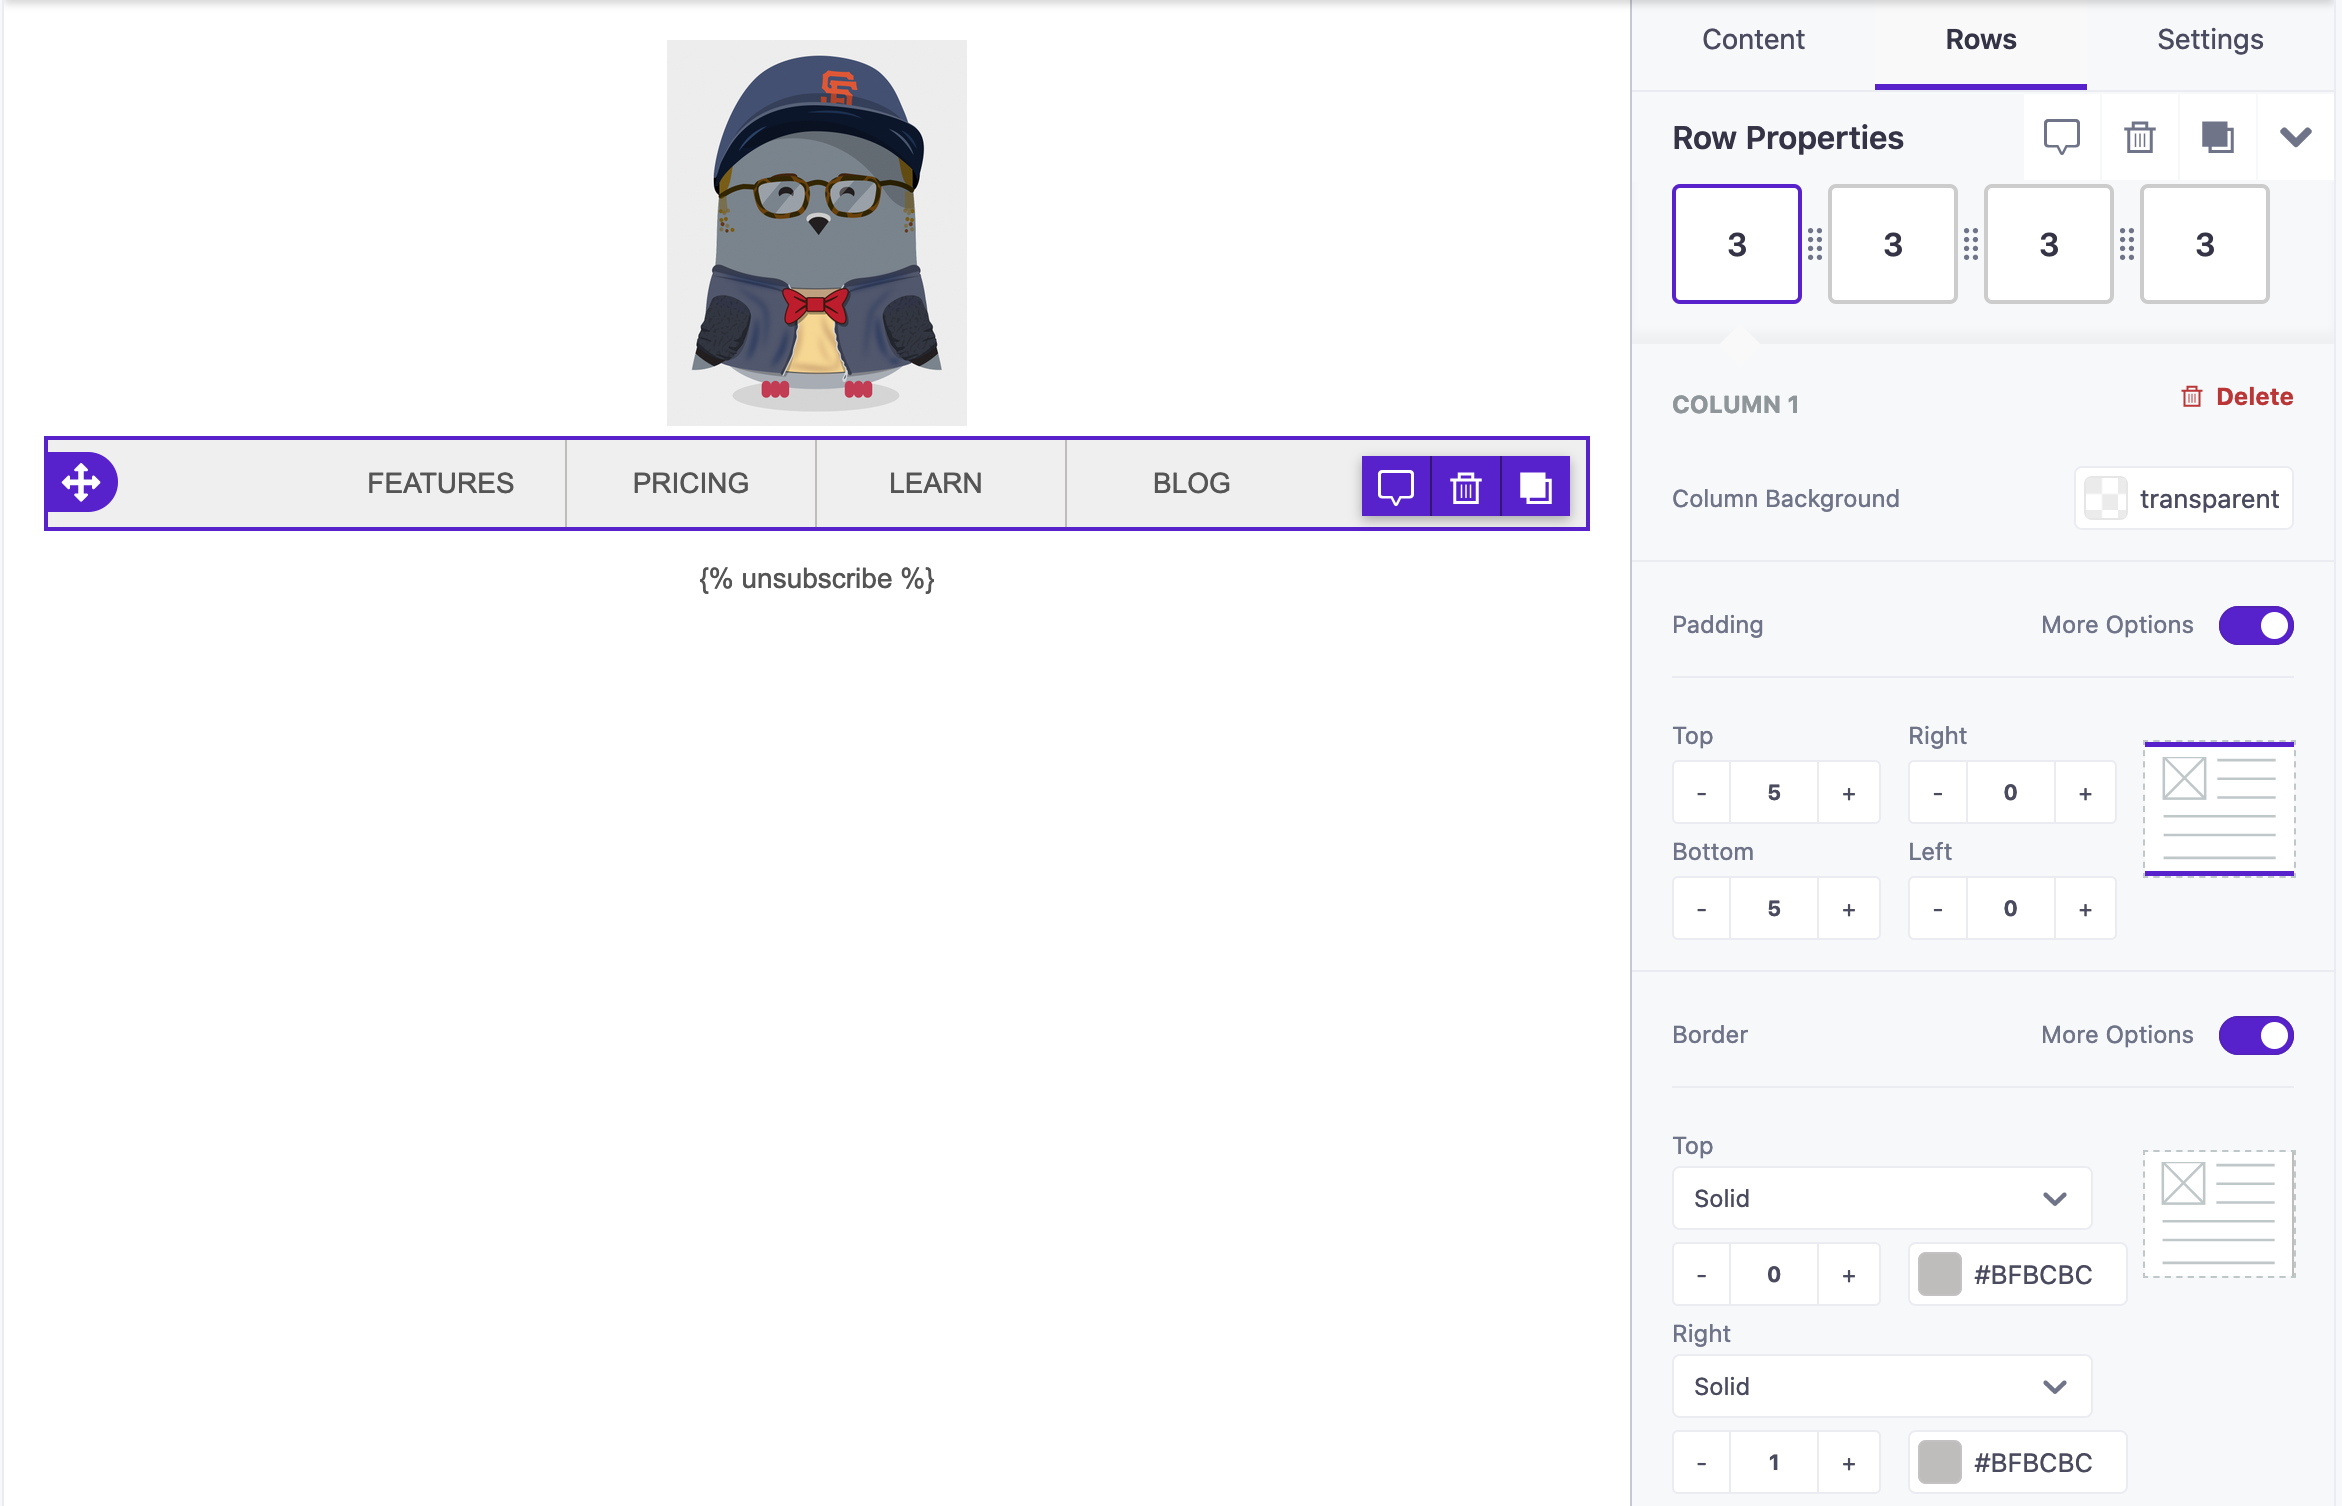
Add a navigation menu to your email
You can add a menu to the top of your email, simulating something your audience might see on your website.
- Add a four-column structure
- Drag Text content into each, then add your individual text and links into the columns themselves.
- Adjust the row background, if you’d like the background color to be full-width.
- Scroll to the bottom of your row settings, and add borders to the right of content blocks 1, 2, and 3. (Click More Options to expose border settings for the sides of each block).
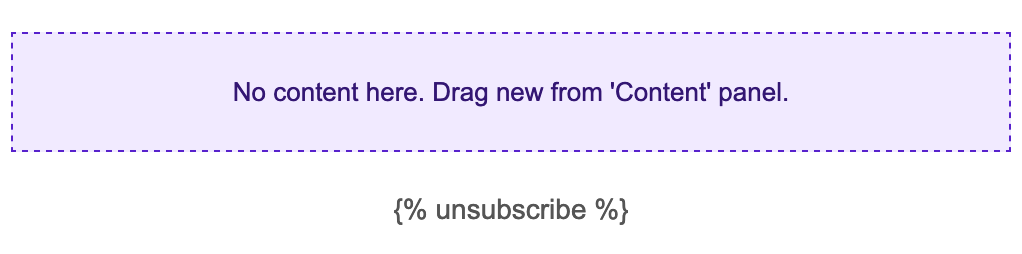
Unsubscribe and other special links
By default, even when you start from scratch, we insert the default unsubscribe link for you. You can remove this link, but if you do, you must include your customized unsubscribe link, giving people the opportunity to opt out.
You can also add the View in Browser link, located in the text editor, under Special links. This adds a link that lets people view your message in their browser rather than the email client.
Need to track personalized links?
Add the data-cio-tag attribute to your links. This lets you track different individualized links in the same category, so you can gather useful metrics about clicks to things like personalized product recommendations, password reset links, customer dashboards, etc. The data-cio-tag takes a string representing the “group” you want to track—<a href="http://mydomain.com?token=123abc" data-cio-tag="YOUR-LINK-GROUP-NAME">CLICK HERE</a>
Preview fallback
If a recipient has an email client that does not support our drag-and-drop emails, they will see a plaintext fallback.
You can preview the fallback from within the drag-and-drop editor. Select Actions > Preview plaintext in the top right.
Saving emails
We don’t autosave your email as you work on it, because we want to enable you to experiment with your emails, but still be able to discard those changes if you don’t like them! While we don’t autosave your message, we do warn you if you try to leave the editor without saving changes.
When you’re ready to save your message, click Save.
When you save, we automatically check for errors in your message and warn you about the things you need to fix.

Remember that…
- You cannot import HTML into the drag-and-drop editor. You can, however, export your message’s HTML.
- After you choose to use the drag-and-drop editor for an email, you cannot change back to the rich text or code editors.
- If you send email using custom SMTP providers, make sure to disable their CSS inlining (if available). The drag-and-drop editor generates markup that is already optimized and doesn’t need further processing.
Have feedback?
Yes, please!
- Found a bug?
- Have a feature request?
- Something doesn’t work as you expected?
- Is some functionality missing?
- Or are you loving the new changes and want to make sure we keep something?

