Delivery Time Window
To make sure that a message gets delivered within a very specific time range, you can set a time window. For example, you can set a message to only send during your business hours, during specific hours in your user’s time zone, or prevent messages from sending on the weekends. Whatever works best for you!
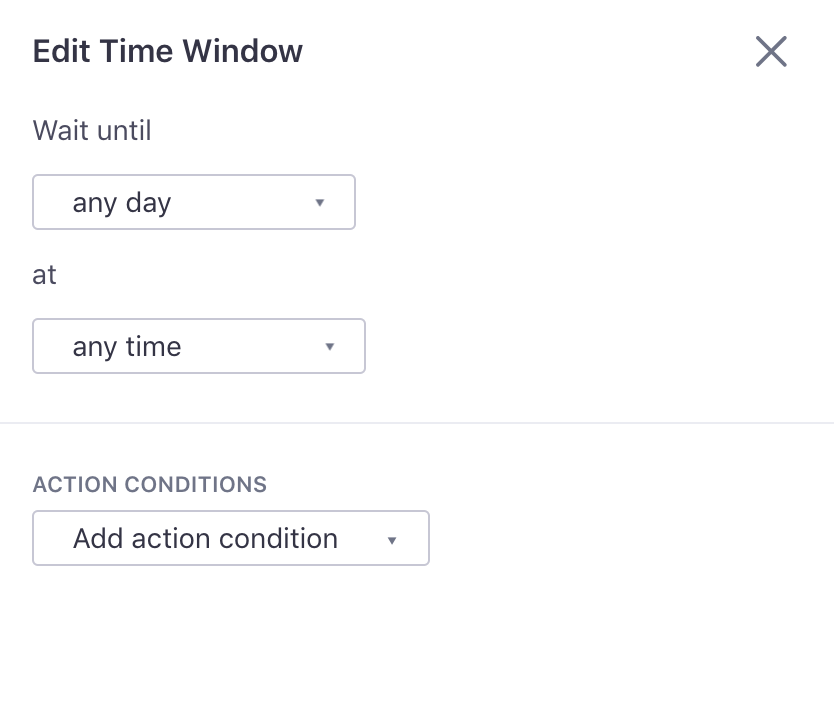
How to set up a delivery time window
Within your campaign workflow, the Time Window option will be available to drag and drop into your workflow builder from the sidebar.
If there are already other items in your workflow you’ll need to choose where you want to place your Time Window. Then, you can customize when you’d like the user to advance to the next step in the workflow. Choose specific days, specific times, or even your user’s time zone!
Set your audience’s timezone attribute
If you select to match the user’s time zone (at: specific times…in: the user’s time zone), you need to send us the timezone attribute. You can also set a fallback time zone.
Example with multiple messages
When a message has a delivery window, later messages are pushed back to accommodate it. For example, in a workflow like this:
- A two-day delay
- A time window action item set for 9AM - 5PM, Monday to Friday, in the user’s time zone.
- An email
- Another two-day delay
- A push notification
Let’s say a person enters the campaign on Monday at 6PM. They:
- Wait for two days, until Wednesday at 6PM. This is outside the time window, so–
- They’ll wait again, until Thursday morning at 9AM.
- The first email will be sent.
- They will wait for another two days (until Saturday morning at 9AM)
- The push notification is sent.
Note that a time window only applies to the message that follows it. If you want to deliver the push notification in the above example during a specific time window as well, you need to add one before that message.
Changing a person’s timezone attribute while they wait in a time window
Assume you’ve created a time window like so:
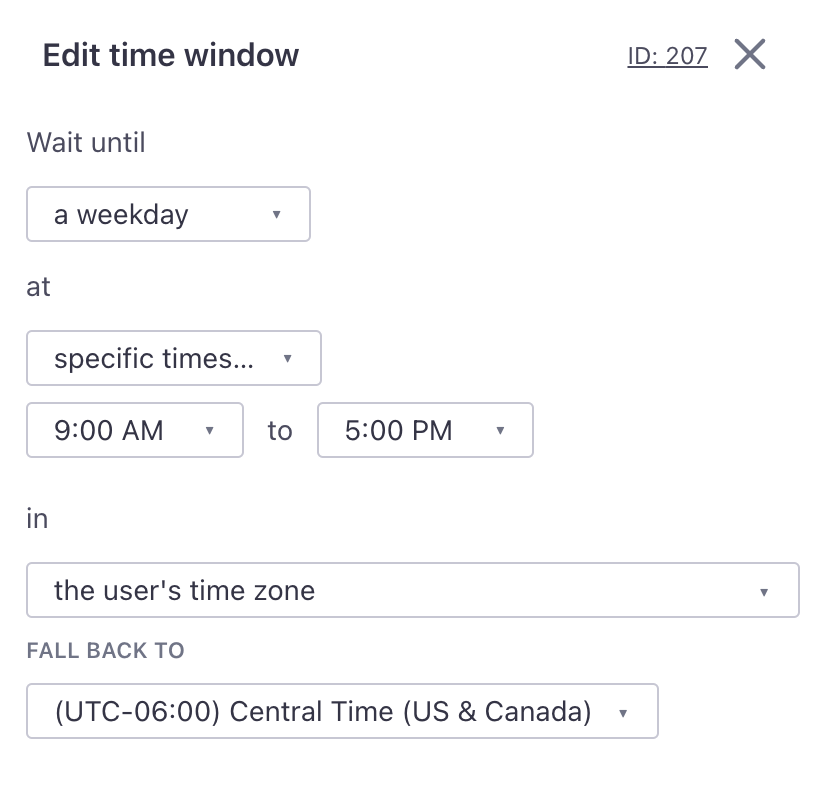
The key here is you’ve selected a time range in the user’s time zone.
There may come a time when you update a person’s timezone attribute while they are being held in a time window dependent on the user’s timezone. When this happens, we re-evaluate the user’s timezone attribute once they meet the time window’s conditions based on their previous timezone attribute.
Let’s break that down with an example:
- A person enters a campaign with a time window based on the user’s timezone (like above). Their current timezone attribute is
US/Eastern. - They reach the time window and do not meet the conditons of the time window. In this case, this means it is not a weekday between the hours of 9 and 5pm ET. They are held in the time window.
- You update the person’s timezone attribute to
US/Pacific. The person continues to wait in the time window until they meet the conditions based on their previous timezone attributeUS/Eastern: a weekday between the hours of 9 and 5pm ET. - It reaches 9am ET on Monday. We check the user’s timezone attribute and see it’s been updated to
US/Pacific. 9am ET = 6am PT, so the person does not meet the time window conditions and continues to wait another 3 hours before exiting the time window.
Also consider the case where the user’s timezone attribute is updated to a timezone that is ahead of their previous timezone attribute, not behind. Let’s say, in the above scenario, the person’s timezone attribute was US/Eastern, and you updated it to Japan (9 hours ahead) while they’re held in the time window. At 9am ET, we re-evaluate the user’s timezone attribute and see it is 6pm in their timezone. They do not meet the time window conditions, so we hold them until 9am in Japan, the next day. This is important if you have time-sensitive emails.
Ultimately, the time window will respect the user’s up-to-date timezone attribute, but we do not re-evaluate it immediately.

