Setting up Cohort Testing
Introduction
When you want to A/B test something other than email content (a subject line or CTA, for example), we have found that a cohort test is usually what you need! Cohorts allow for a broader experience test, and allow you to randomly assign people to specific campaigns, emails, or experiences. Cohort testing is great for things like:
- Testing timing: Different delay times before sending a message
- Single- vs multi-touch: Sending a user one email vs. several emails
- There’s also the case where you want to send a message or no message at all. This is a special case – blackhole/holdout testing – which we’ve documented here.
Ingredients
In this example, we’re going to:
- Set ourselves up for future cohort testing
- Create a campaign which runs a cohort test for delay time: after a customer performs an event, send an email— either after 5 minutes, or 10 minutes.
You’ll need:
- Basic understanding of Liquid tags
- A terminal window and basic knowledge of cURL (or a friendly developer)
- Your site ID and API key
Method
Step 1: Create a cohort attribute
This will set us up for cohort testing this campaign, and others in the future!
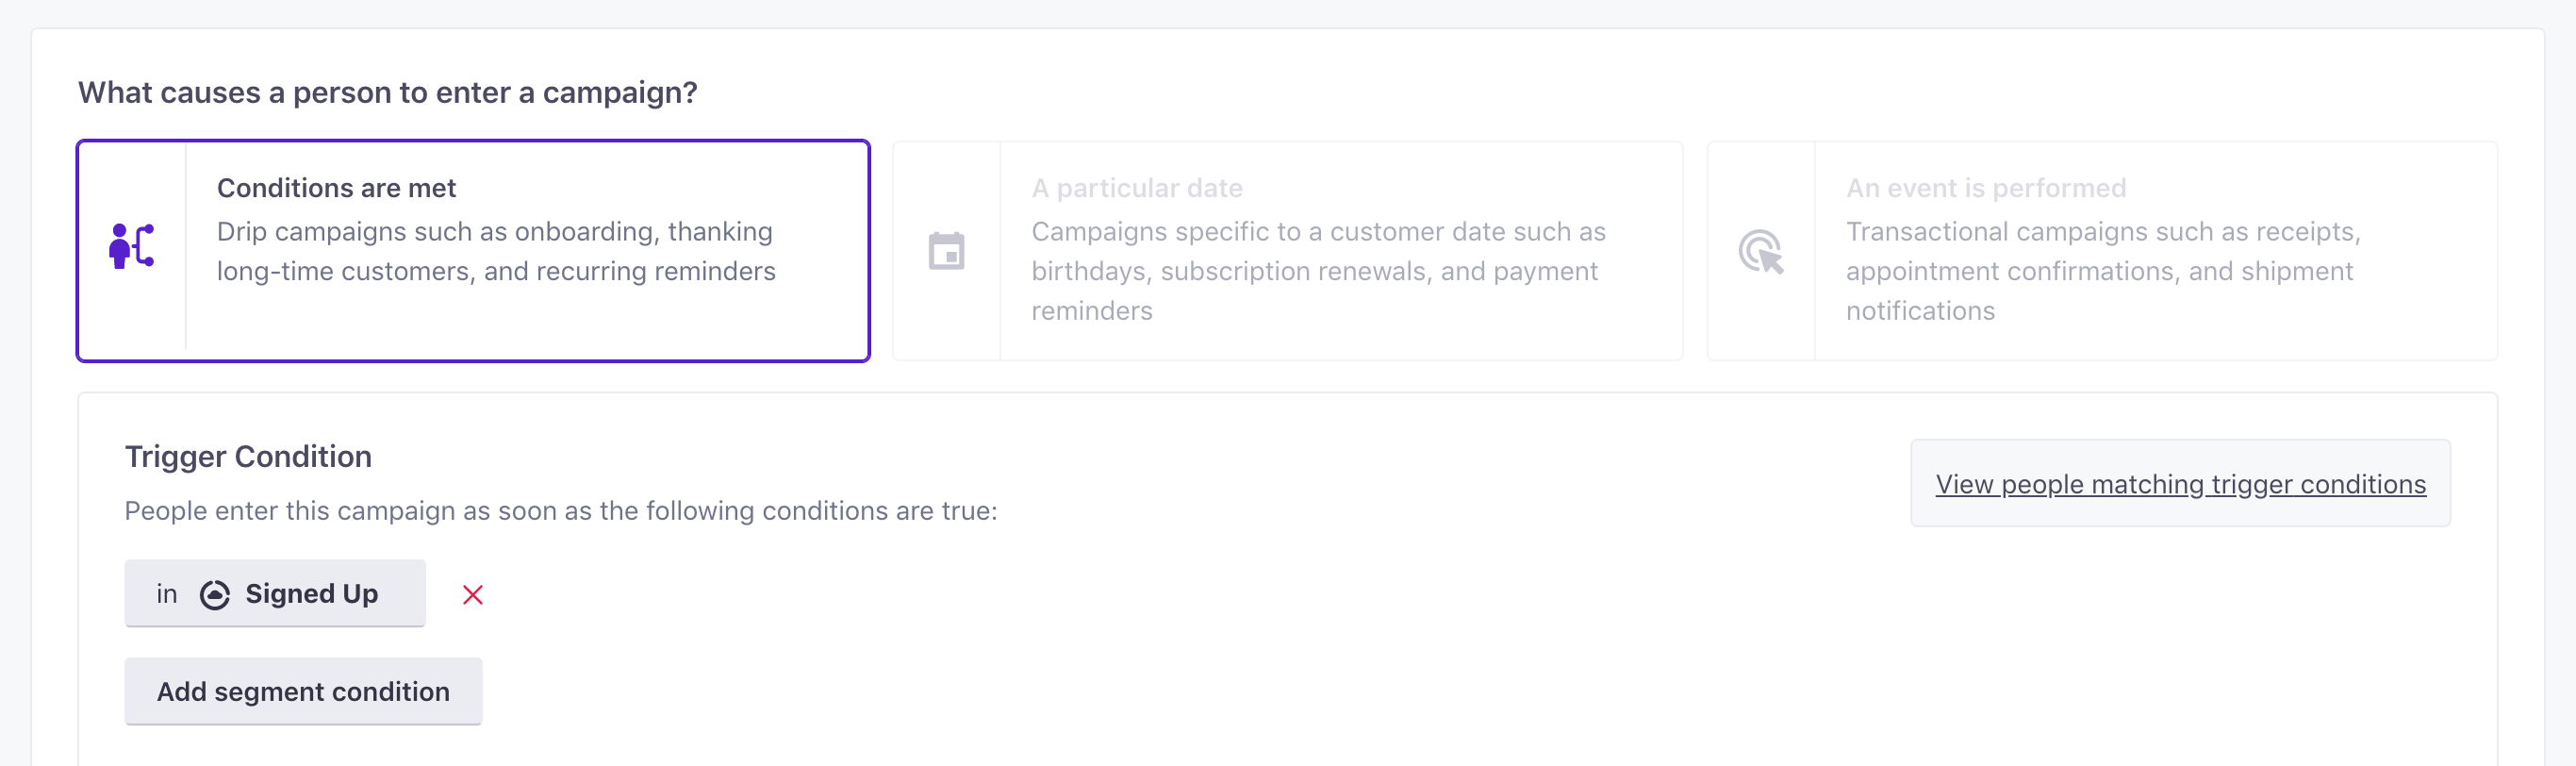
You’ll first need to split up your recipients into two groups. To do so, you’ll need to create a condition triggered campaign with a single item in the workflow: an Attribute Update. This will create an attribute, cohort, and randomly assign people a value (“A” or “B”, for example).
Step 2: Which users?
First, which users do you want to test on? I want to be able to run a cohort test on anyone in my Customer.io database, so this is what my “Create cohort attribute” segment trigger looks like:
Then, the campaign workflow itself looks like this:

This means that, whenever anyone signs up, the attribute cohort will be created for them.
Step 3: Specify your groups
Next, you need to add code to the Create or update person action that you added to your workflow. I only want two groups for my testing—A and B.
Set a new attribute with called cohort with a Liquid type and use code below to generate a number, 0 or 1—two possible outcomes. If the outcome zero, it sets the cohort attribute to A. If it’s 1, they get cohort B.
{% capture rValue %}{% random 1 %}{% endcapture %}{% case rValue %}{% when 0 %}A{% else %}B{% endcase%}
Need more than A and B?
Here’s an example of the same code, which generates ten possible options (A to J):
{% capture rValue %}{% random 9 %}{% endcapture %}{% case rValue %}{% when 0 %}A{% when 1 %}B{% when 2 %}C{% when 3 %}D{% when 4 %}E{% when 5 %}F{% when 6 %}G{% when 7 %}H{% when 8 %}I{% when 9 %}J{% endcase %}
Step 4: Start the campaign
When you start that campaign, you can either create the attribute for everyone who signs up (or enters your trigger segment) in the future, or you can update all existing matches, as I’ve done:
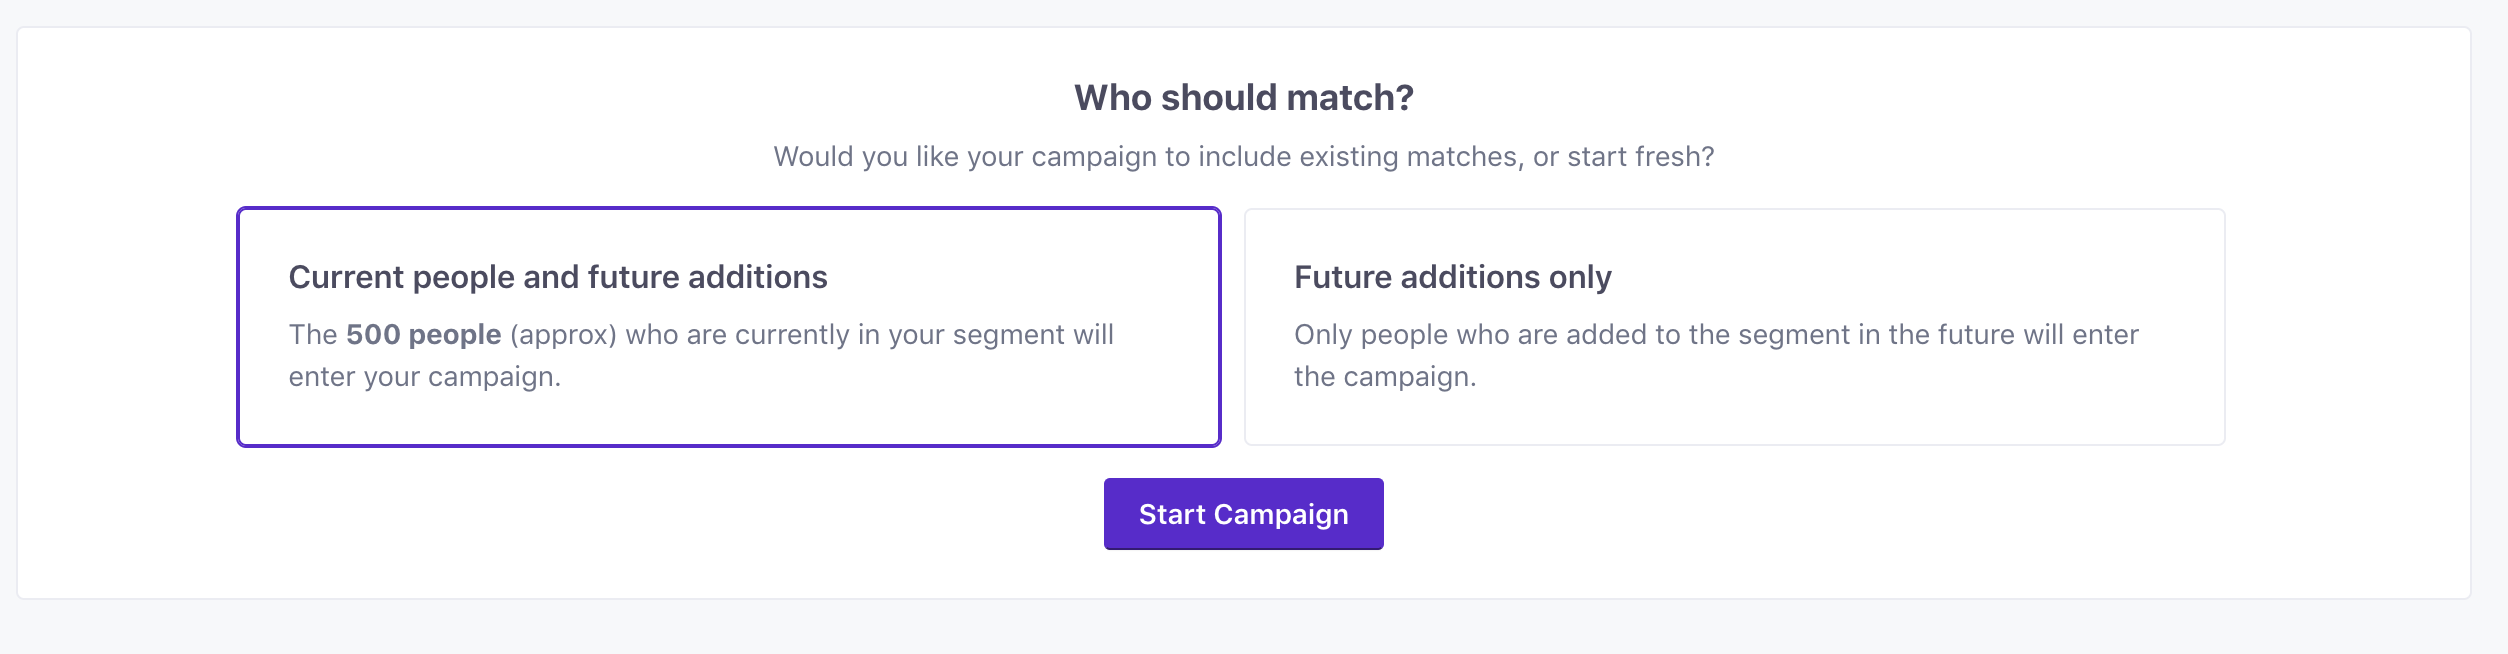
This sets me up for future cohort testing, as anyone who signs up in the future will randomly get an A or B value, in addition to my existing people.
Now, we’re ready to test!
Step 5: Create your test campaign
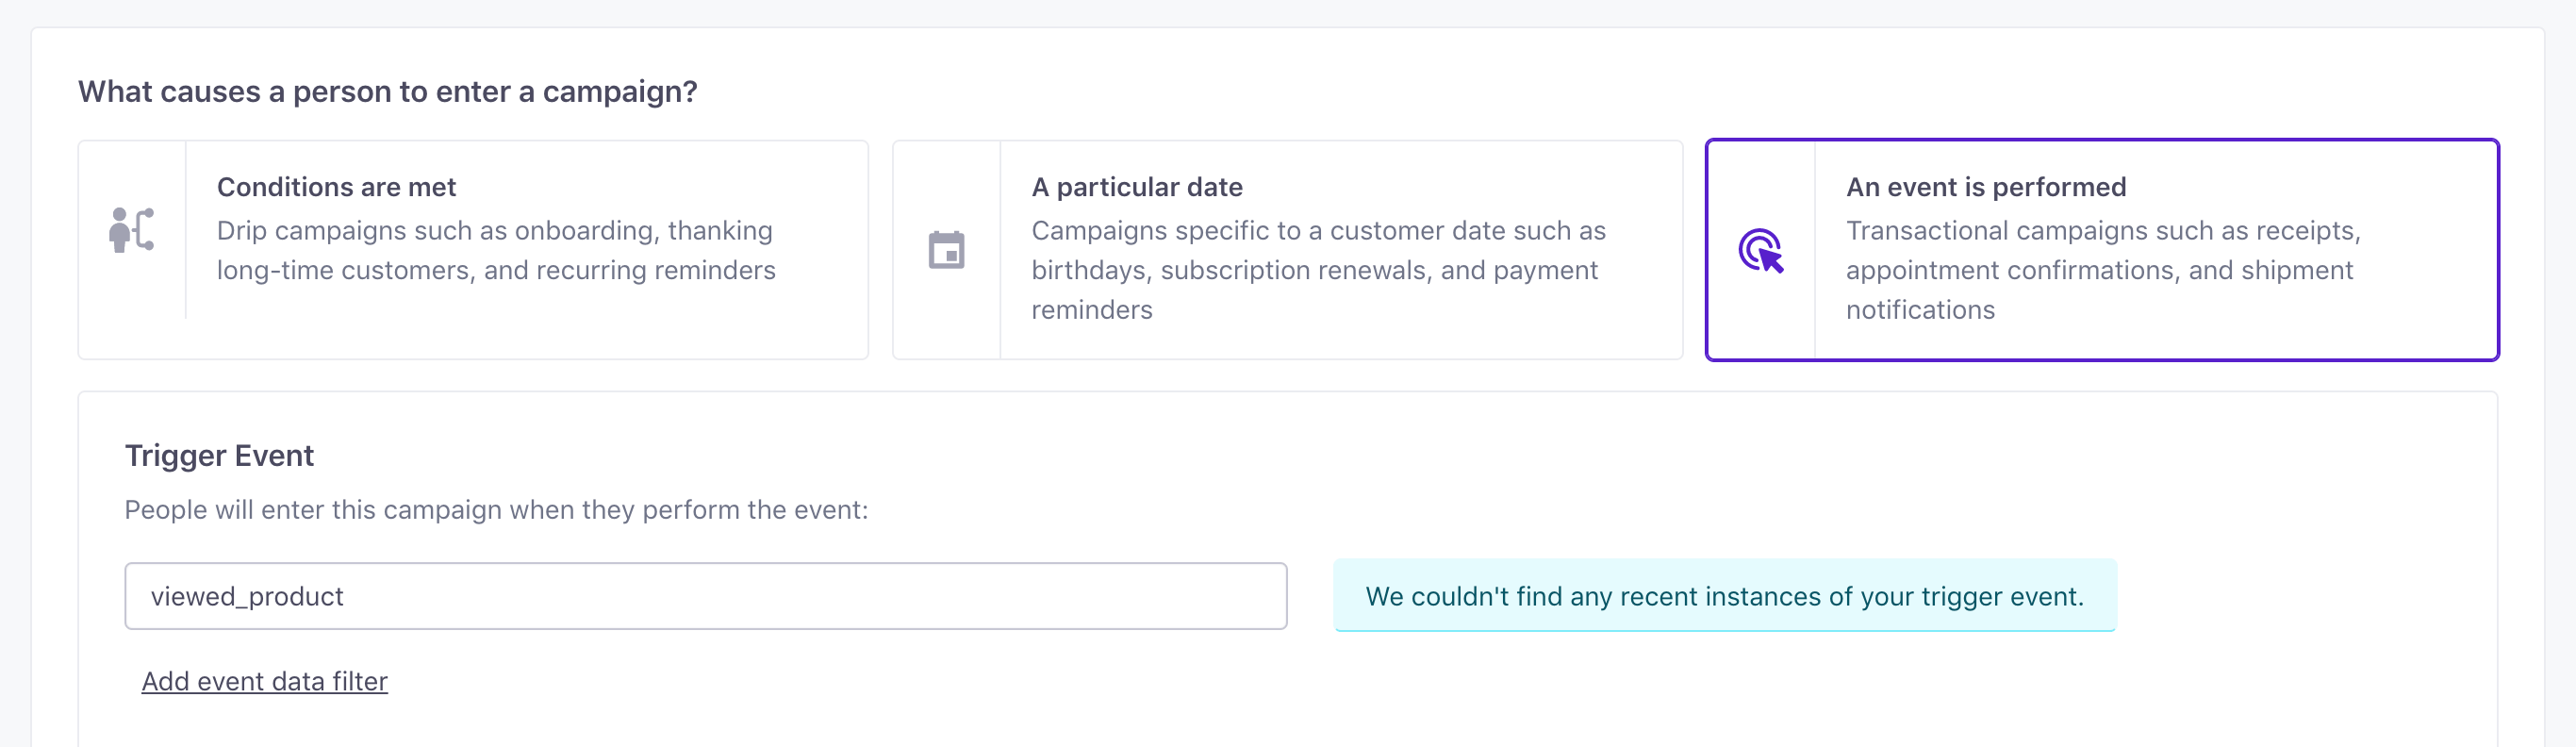
In this example, we’re going to test two different delays: I want to send the same email to people who view a product– in one instance, I’ll wait five minutes. In another, I want to wait a bit longer, a whole ten minutes!
To do that, I set up an event triggered campaign, using my viewed_product event as the trigger.
Then, when I set up my messages, the workflow looks like this:
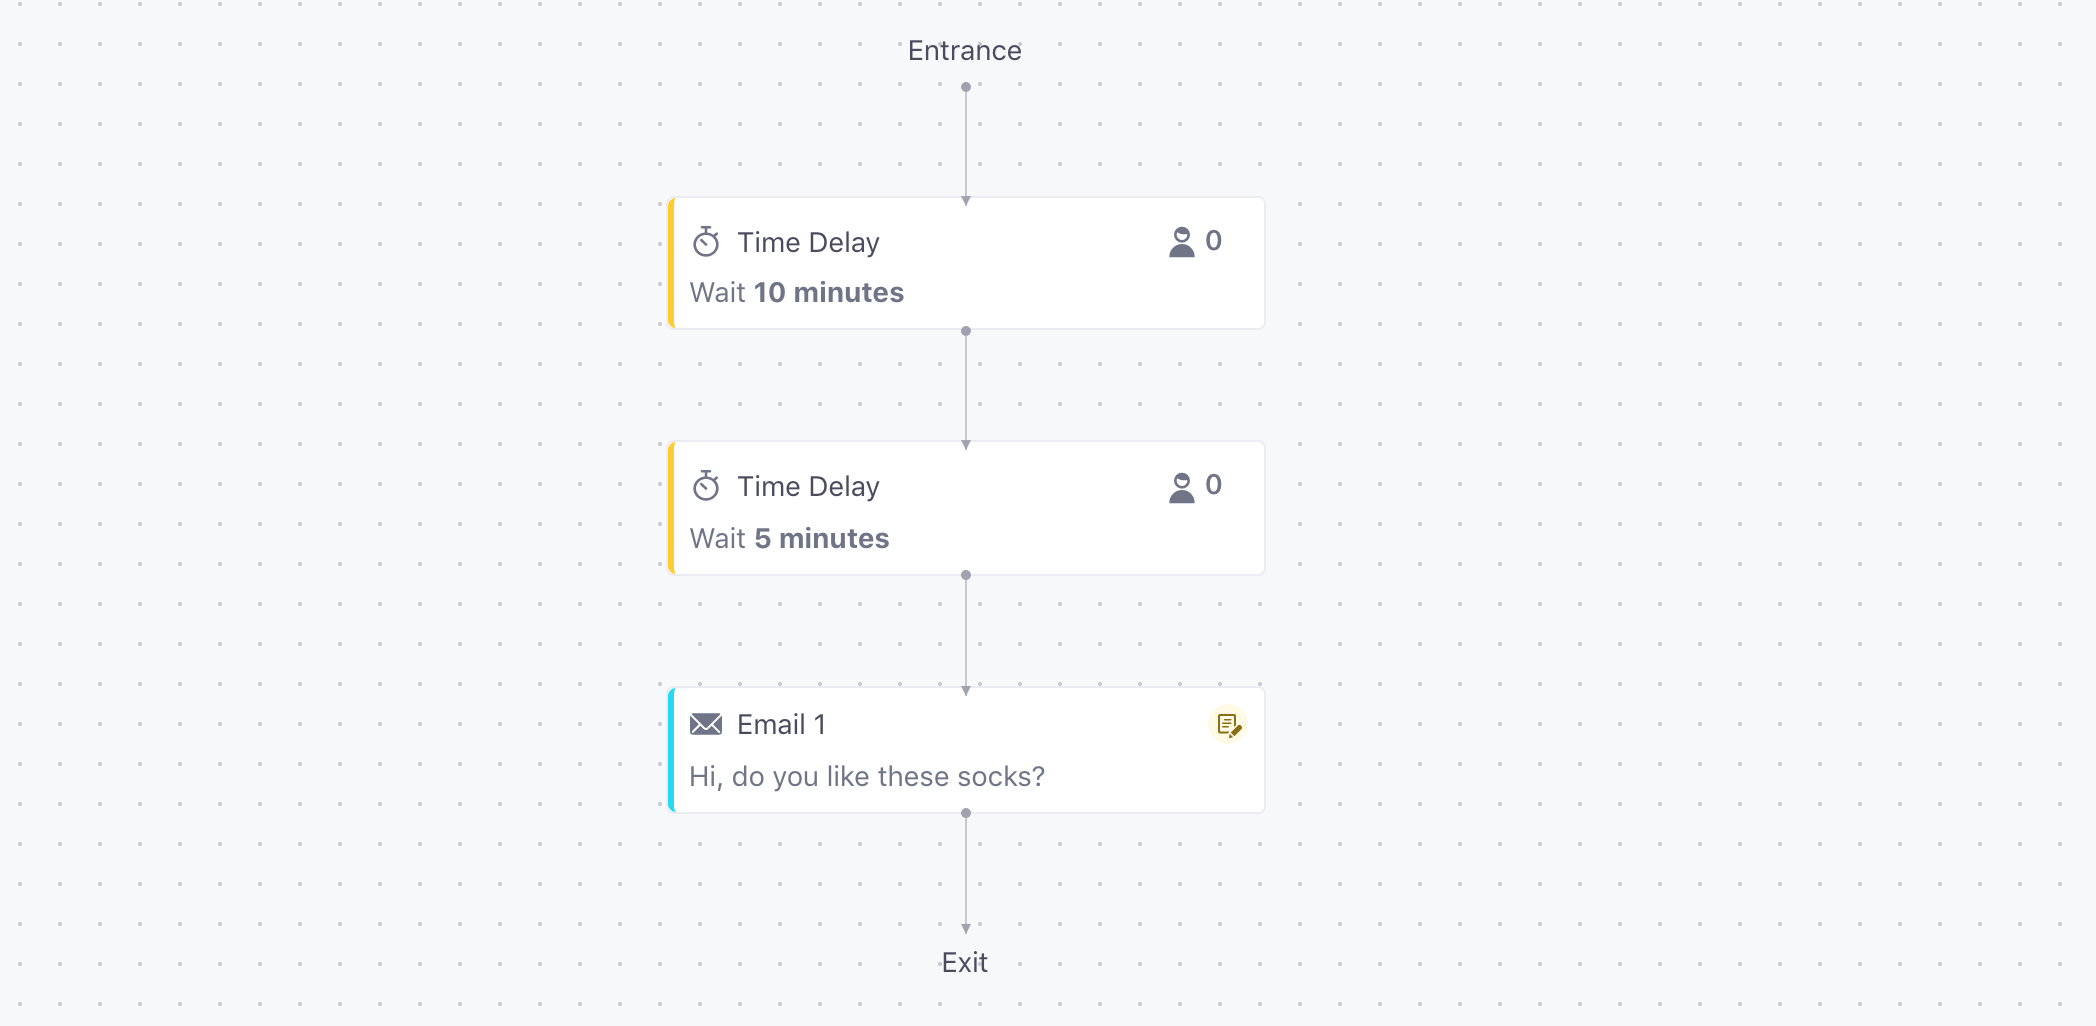
There are the two delays I want to test, and my email.
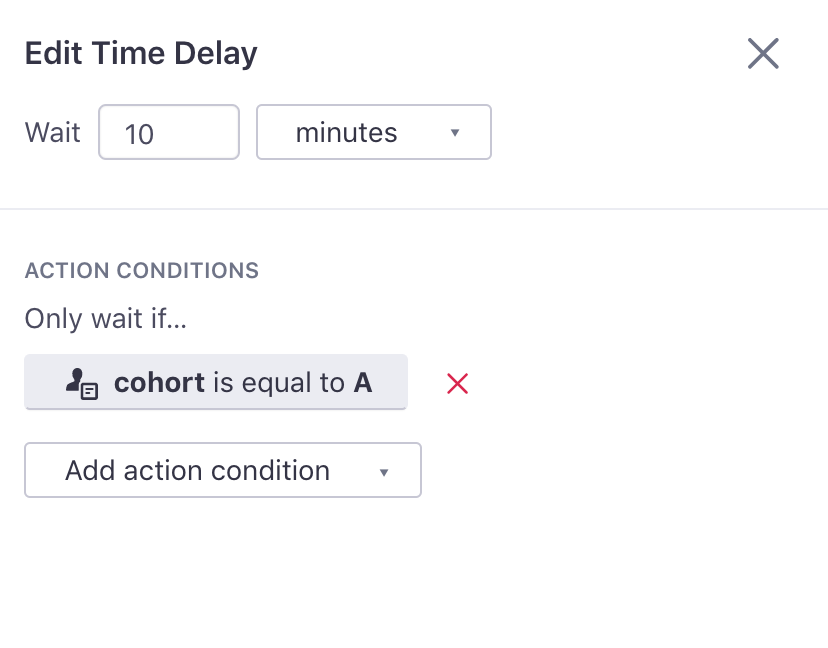
Step 6: Use your cohort attribute
To route your users randomly through the two different delays, simply add Action Conditions to each of them. So if their cohort value is A, I want them to enter the first delay, and if their cohort value is B, the second. Here’s what that looks like:
Step 7: Review and start!
Once your campaign and goals are all set up, start the campaign! As soon as people start flowing through it, you’ll be able to see them getting divided up into tests.
To summarize:
- In Steps 1-4, we created a
cohortattribute for everyone already in our campaign, and made sure that everyone in the future would be assigned one. - In Steps 5-7, we built out our test and used that
cohortattribute to divide people entering the campaign into the different delay times.
Notes
The cohort attribute
You can create the cohort value within your testing campaign as well, using an attribute update in the exact same way! This might be useful if you want to run A/B tests in some campaigns, and A/B/C/D in others. However, creating it immediately for existing and future people is a little more manageable across campaigns.
Testing across campaigns and newsletters
If you want test multiple campaigns (or newsletters) against each other, you can use the cohort attribute as your campaign filter. For example:
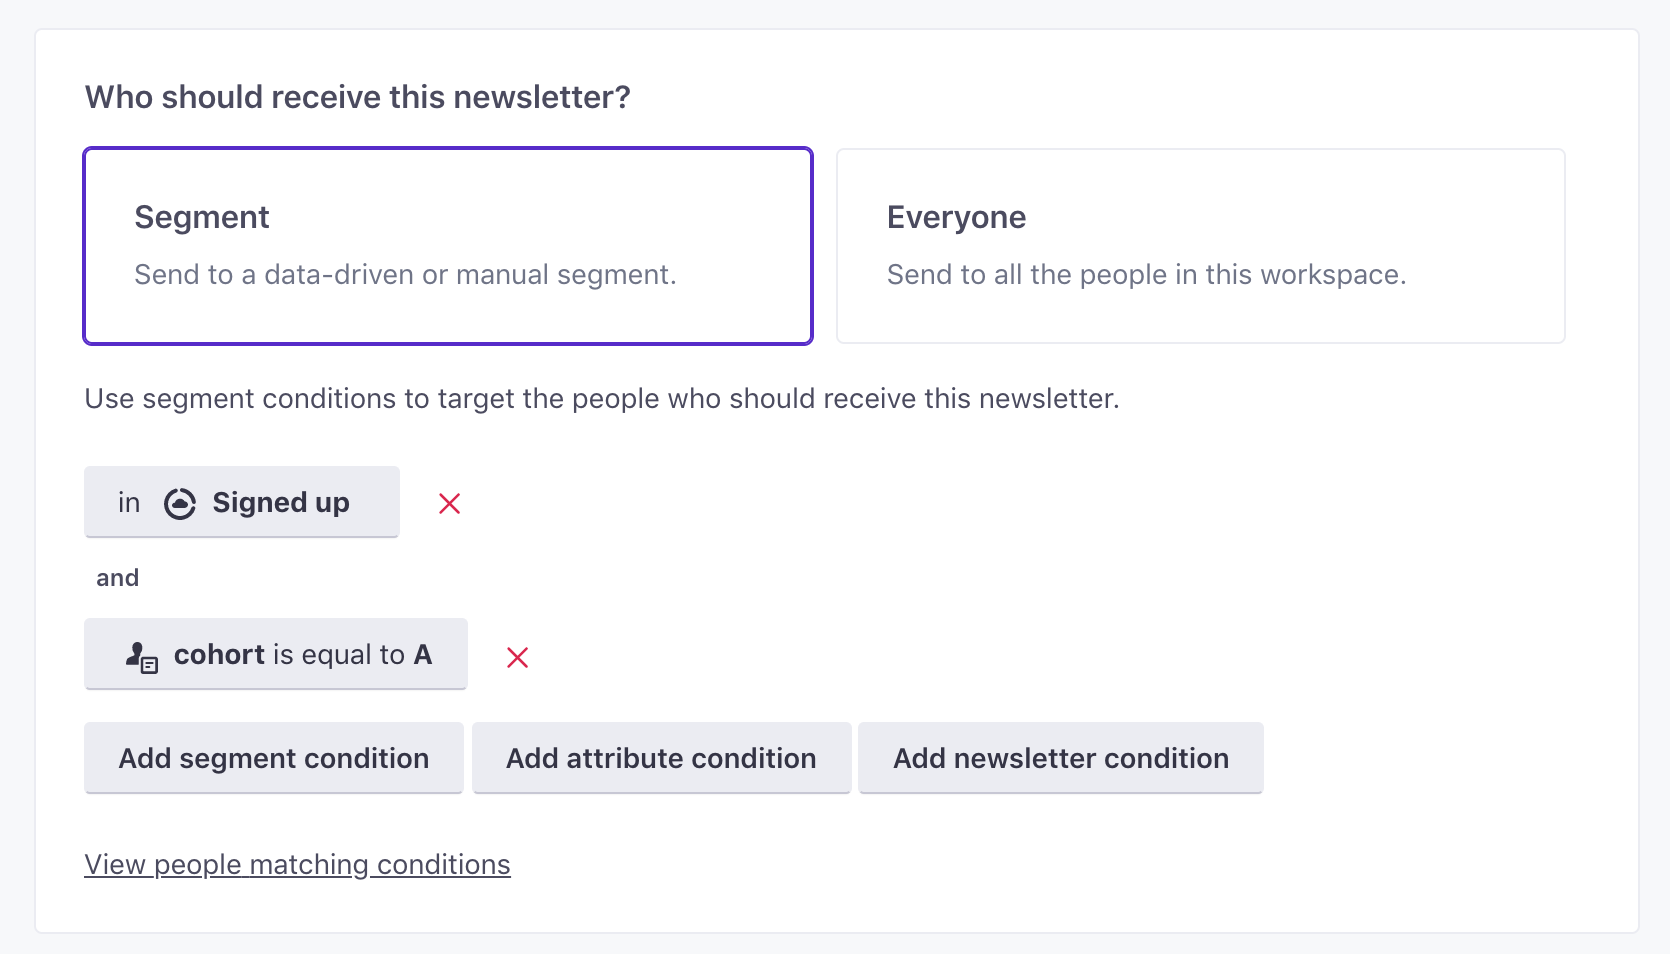
This is a newsletter for cohort = A. You would then create another for cohort = B.
Success!
Happy testing! Hopefully this helps you get up and running – if there’s anything else we can help you with, please let us know.

