Introduction to Creating Emails
Emails are a little different in Customer.io than other platforms you might have used. There’s the message itself, but also who you’re sending it to, how, and what it looks like. All of those things live in various places in our app.
Writing your message
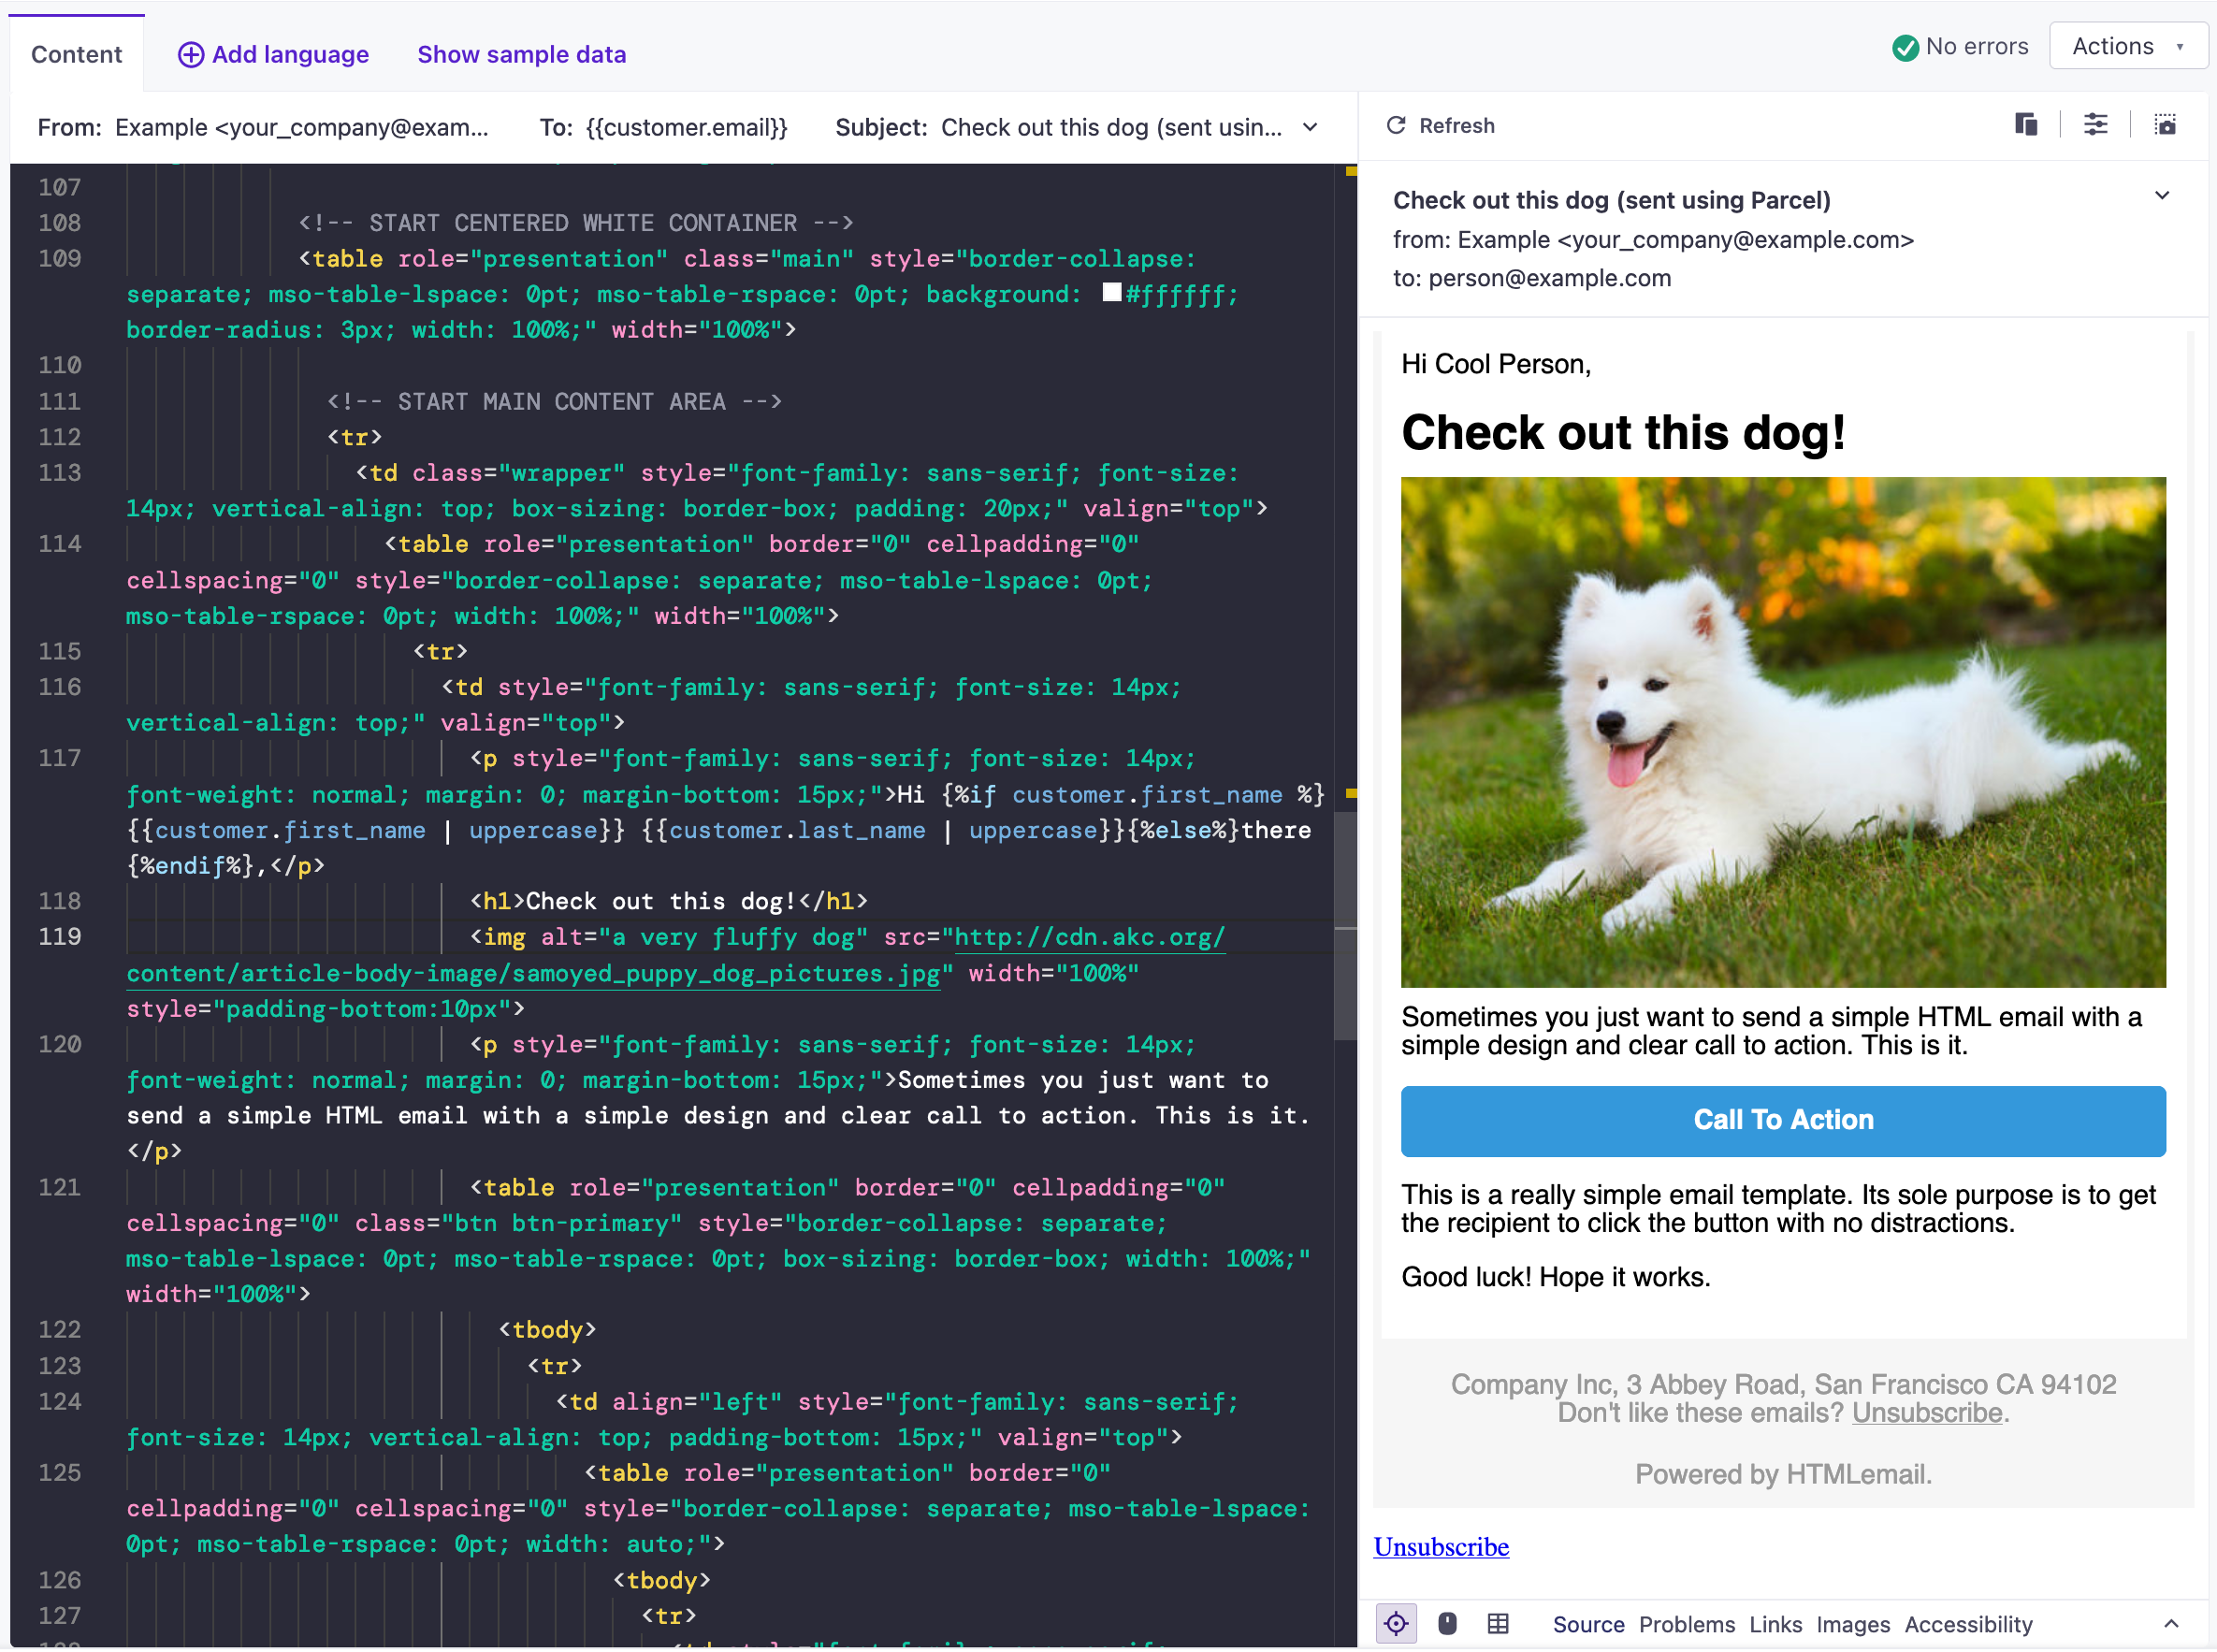
You can use one of three composers to create your email copy: drag-and-drop, rich text, or code.
Try not to put too much structure in here, though— that’s what Layouts are for!
Dynamic content, Level I
Using a templating language called Liquid, you can merge in the attributes you’re sending us, like customer.first_name or customer.company_name, using the syntax {{customer.first_name}}.
So if the first_name attribute for a customer is Alex, for example, inputting {{customer.first_name}} into the composer will render Alex in the sent message!
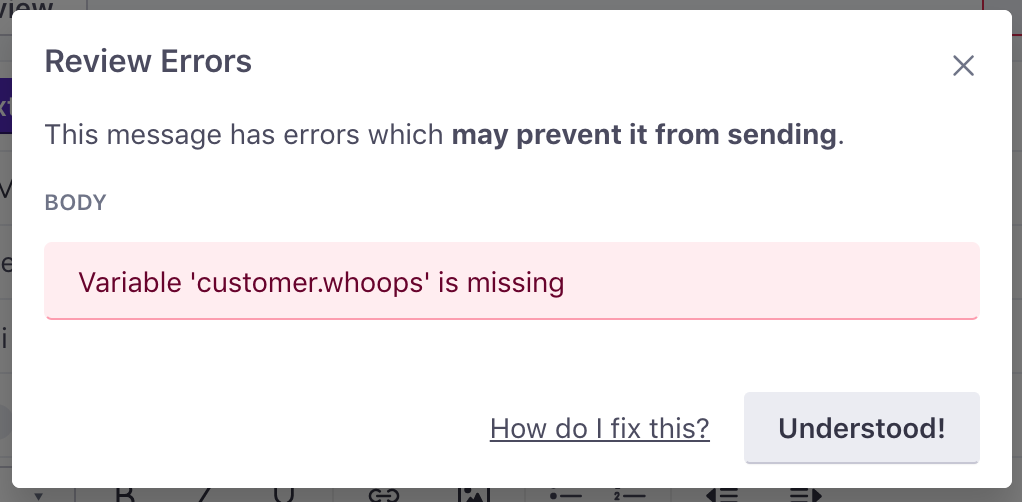
On the other hand, if you’re not sending us that attribute, we’ll show an error. Something like this:
Dynamic content, Level II
Liquid supports minimal logic like if/else/unless, and allows you to loop through an array. For example, if you only wanted to show trial expiry information, but only if the user is on a trial plan, you could do something like this:
{% if customer.is_trial_user %}
  <p>Your trial expires on {{customer.trial_expiry_date}}</p>
{% endif %}
There’s a lot you can do with Liquid, and we have separate documentation for that, once you’re ready to dive in.
Testing your emails
It’s good practice to send some test emails to make sure that Liquid code is rendering correctly, among other things. There’s a ‘Send Test’ box in the top-right hand corner of the composer that you can use for this:

So pick a customer from the sample data on the left (here we chose “ami@customer.io”), and then send your test!
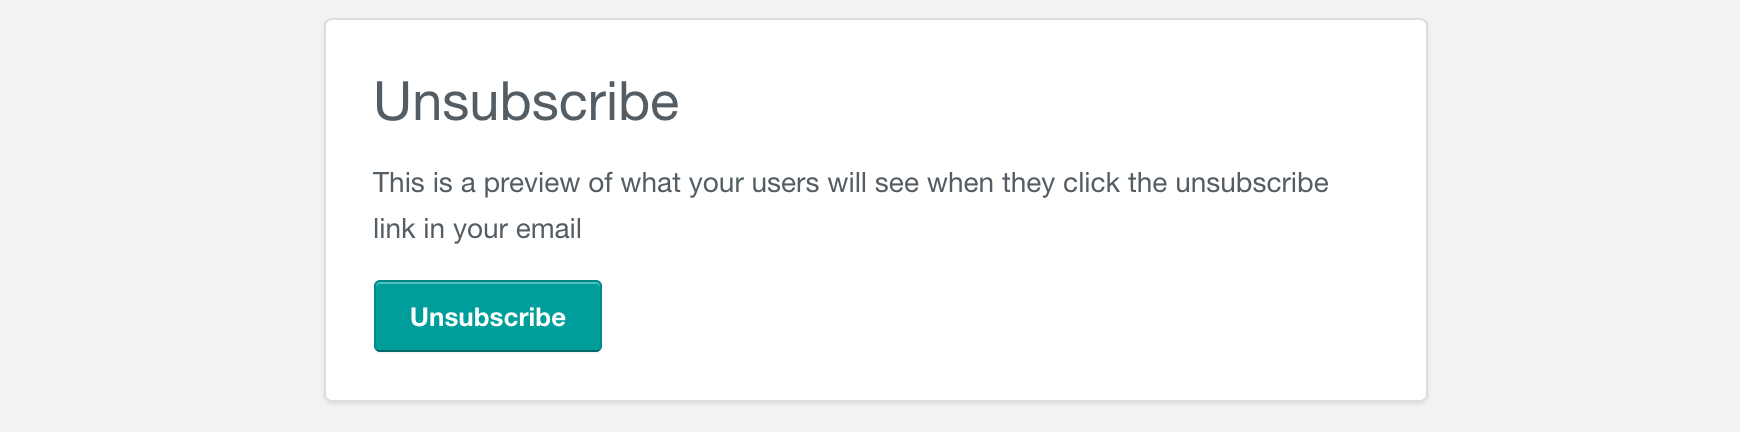
One thing to note: dynamically-generated links like a view in browser link and an unsubscribe link are ignored during tests. If you click a test email’s unsubscribe link, you’ll see something like this:
Laying out your emails
Want control over how your email looks? You want to do that in the Layouts area of the app. A Customer.io Layout is the code that wraps around your message text, and gives it its appearance and structure. See this example:
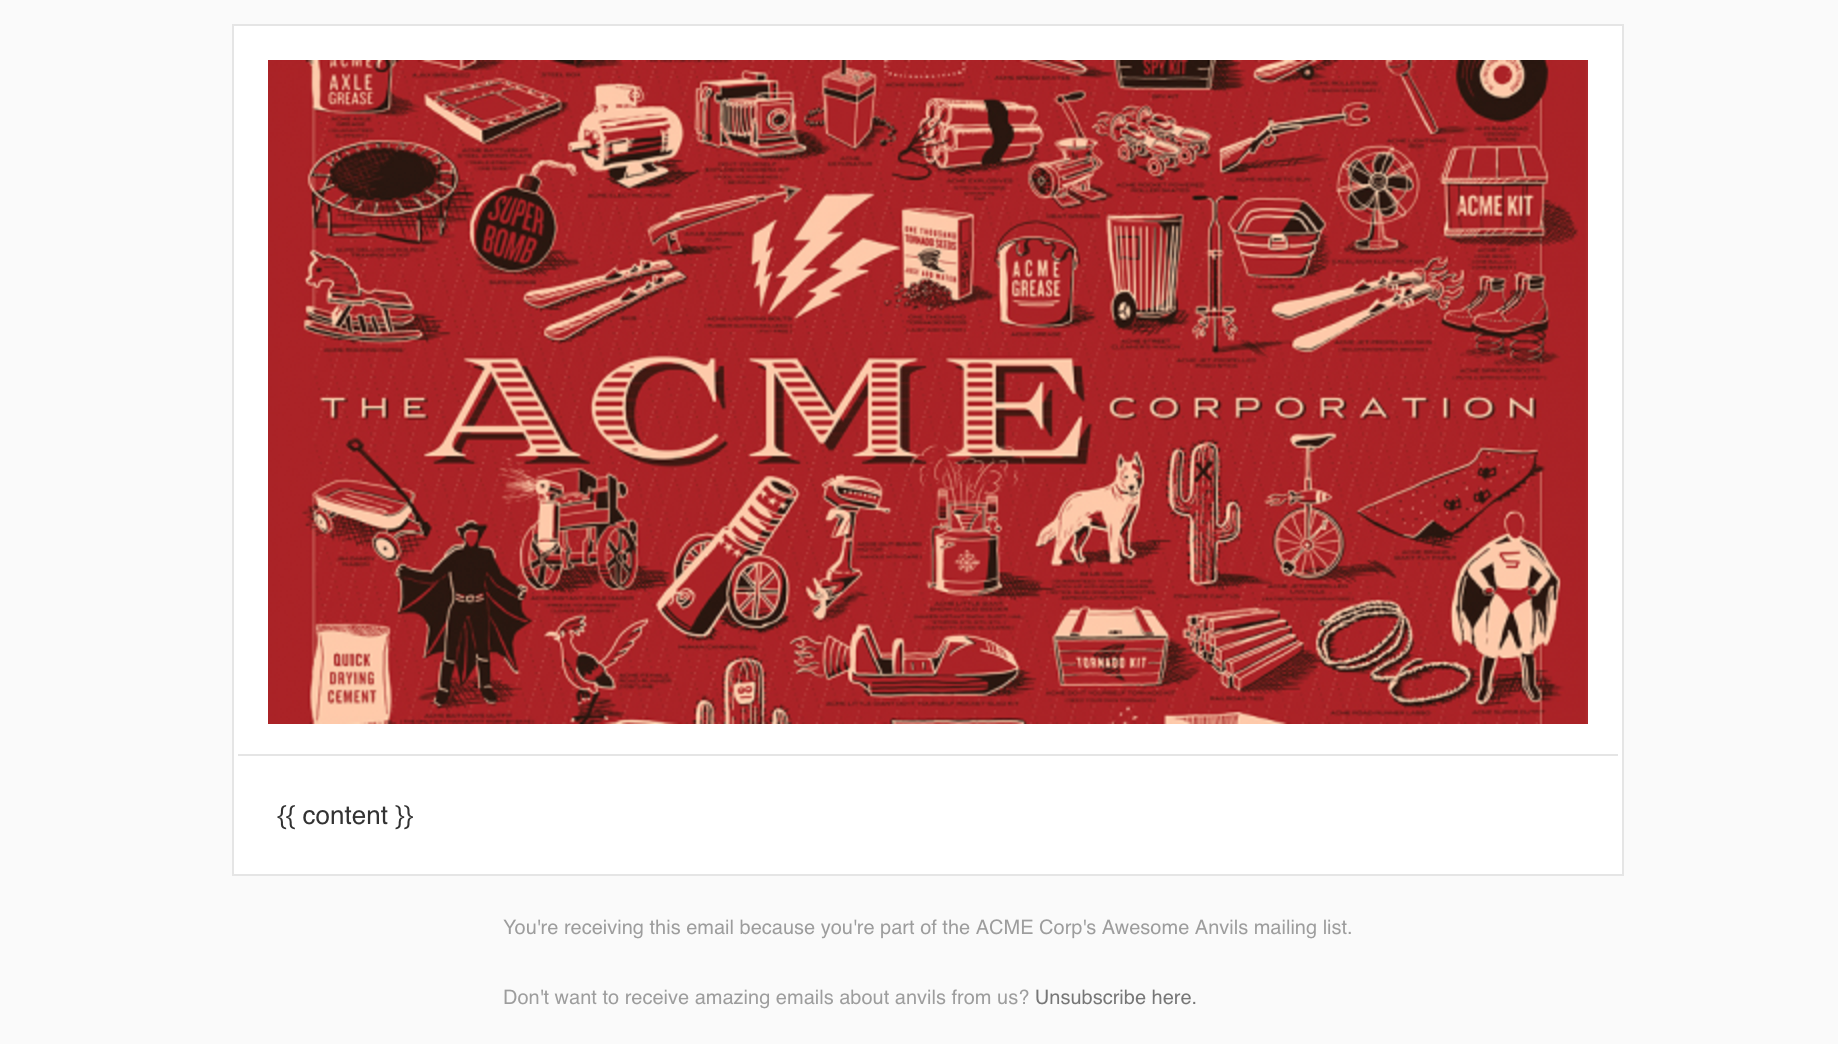
{{content}} is where your email’s text is inserted when you write it. Everything else is the Layout.
When you’re ready to tackle these, head over to our Layouts documentation.
Ready to send? Here’s how it happens!
When a user meets your campaign trigger and filter conditions and it’s time to send them an email, a lot happens behind the scenes to get data into that email, the email out of Customer.io, and to your user!
After checking that you’re verified, we:
- Fetch everything that email needs: things like customer and event data, message content and layout.
- Build and render that email. This has a few steps, and their order is very important:
- Create the email body. This means that we take all the customer and event data, HTML code, and everything that’s in your message body in the composer, and put it all together.
- Take that body, and insert it into the Layout where the
{{ content }}tag is. - Add everything else – things like Subject and sender ID(s), and render the full email!
- Perform some more checks, append URL parameters, and add any attachments.
And then the email is sent.
Have questions?
Need help with the Customer.io basics? No problem, we’re here for you! Just get in touch!

