In-app messages
When you use our JavaScript source, you can send in-app messages to your website visitors. This page helps you understand how some in-app features work so that you can better target and display messages.
How it works
In-app messages for your website work differently than push notifications would: they require JavaScript, and they don’t go through a push notification service (like APNs or FCM).
In most cases, you simply need to identify your web visitors, and they’ll become eligible to receive your in-app messages.
until user opens app a->>b: User opens app b->>c: Identify User c->>b: Send in-app message b->>a: User sees
in-app message
Send an in-app message
To send an in-app message, you’ll need to do the following things. Because most of these things happen outside the SDK, we’ve linked to relevant documentation.
- Enable in-app messaging
- Set up message templates
- Add in-app messages to your campaigns or broadcasts
- In most cases, you’ll need to Identify visitors to your website before they can receive an in-app message.
Enable in-app messaging
To set up in-app messages with our JavaScript source, you’ll need to enable in-app messaging in your workspace and generate at least one set of Journeys API credentials. We use the Site Id from your Journeys API credentials to determine which workspace your in-app messages come from.
If you haven’t already, create your JavaScript source and add it to your site.
Go to Settings > Workspace Settings and click Get Started next to In-App.
Click Enable in-app.
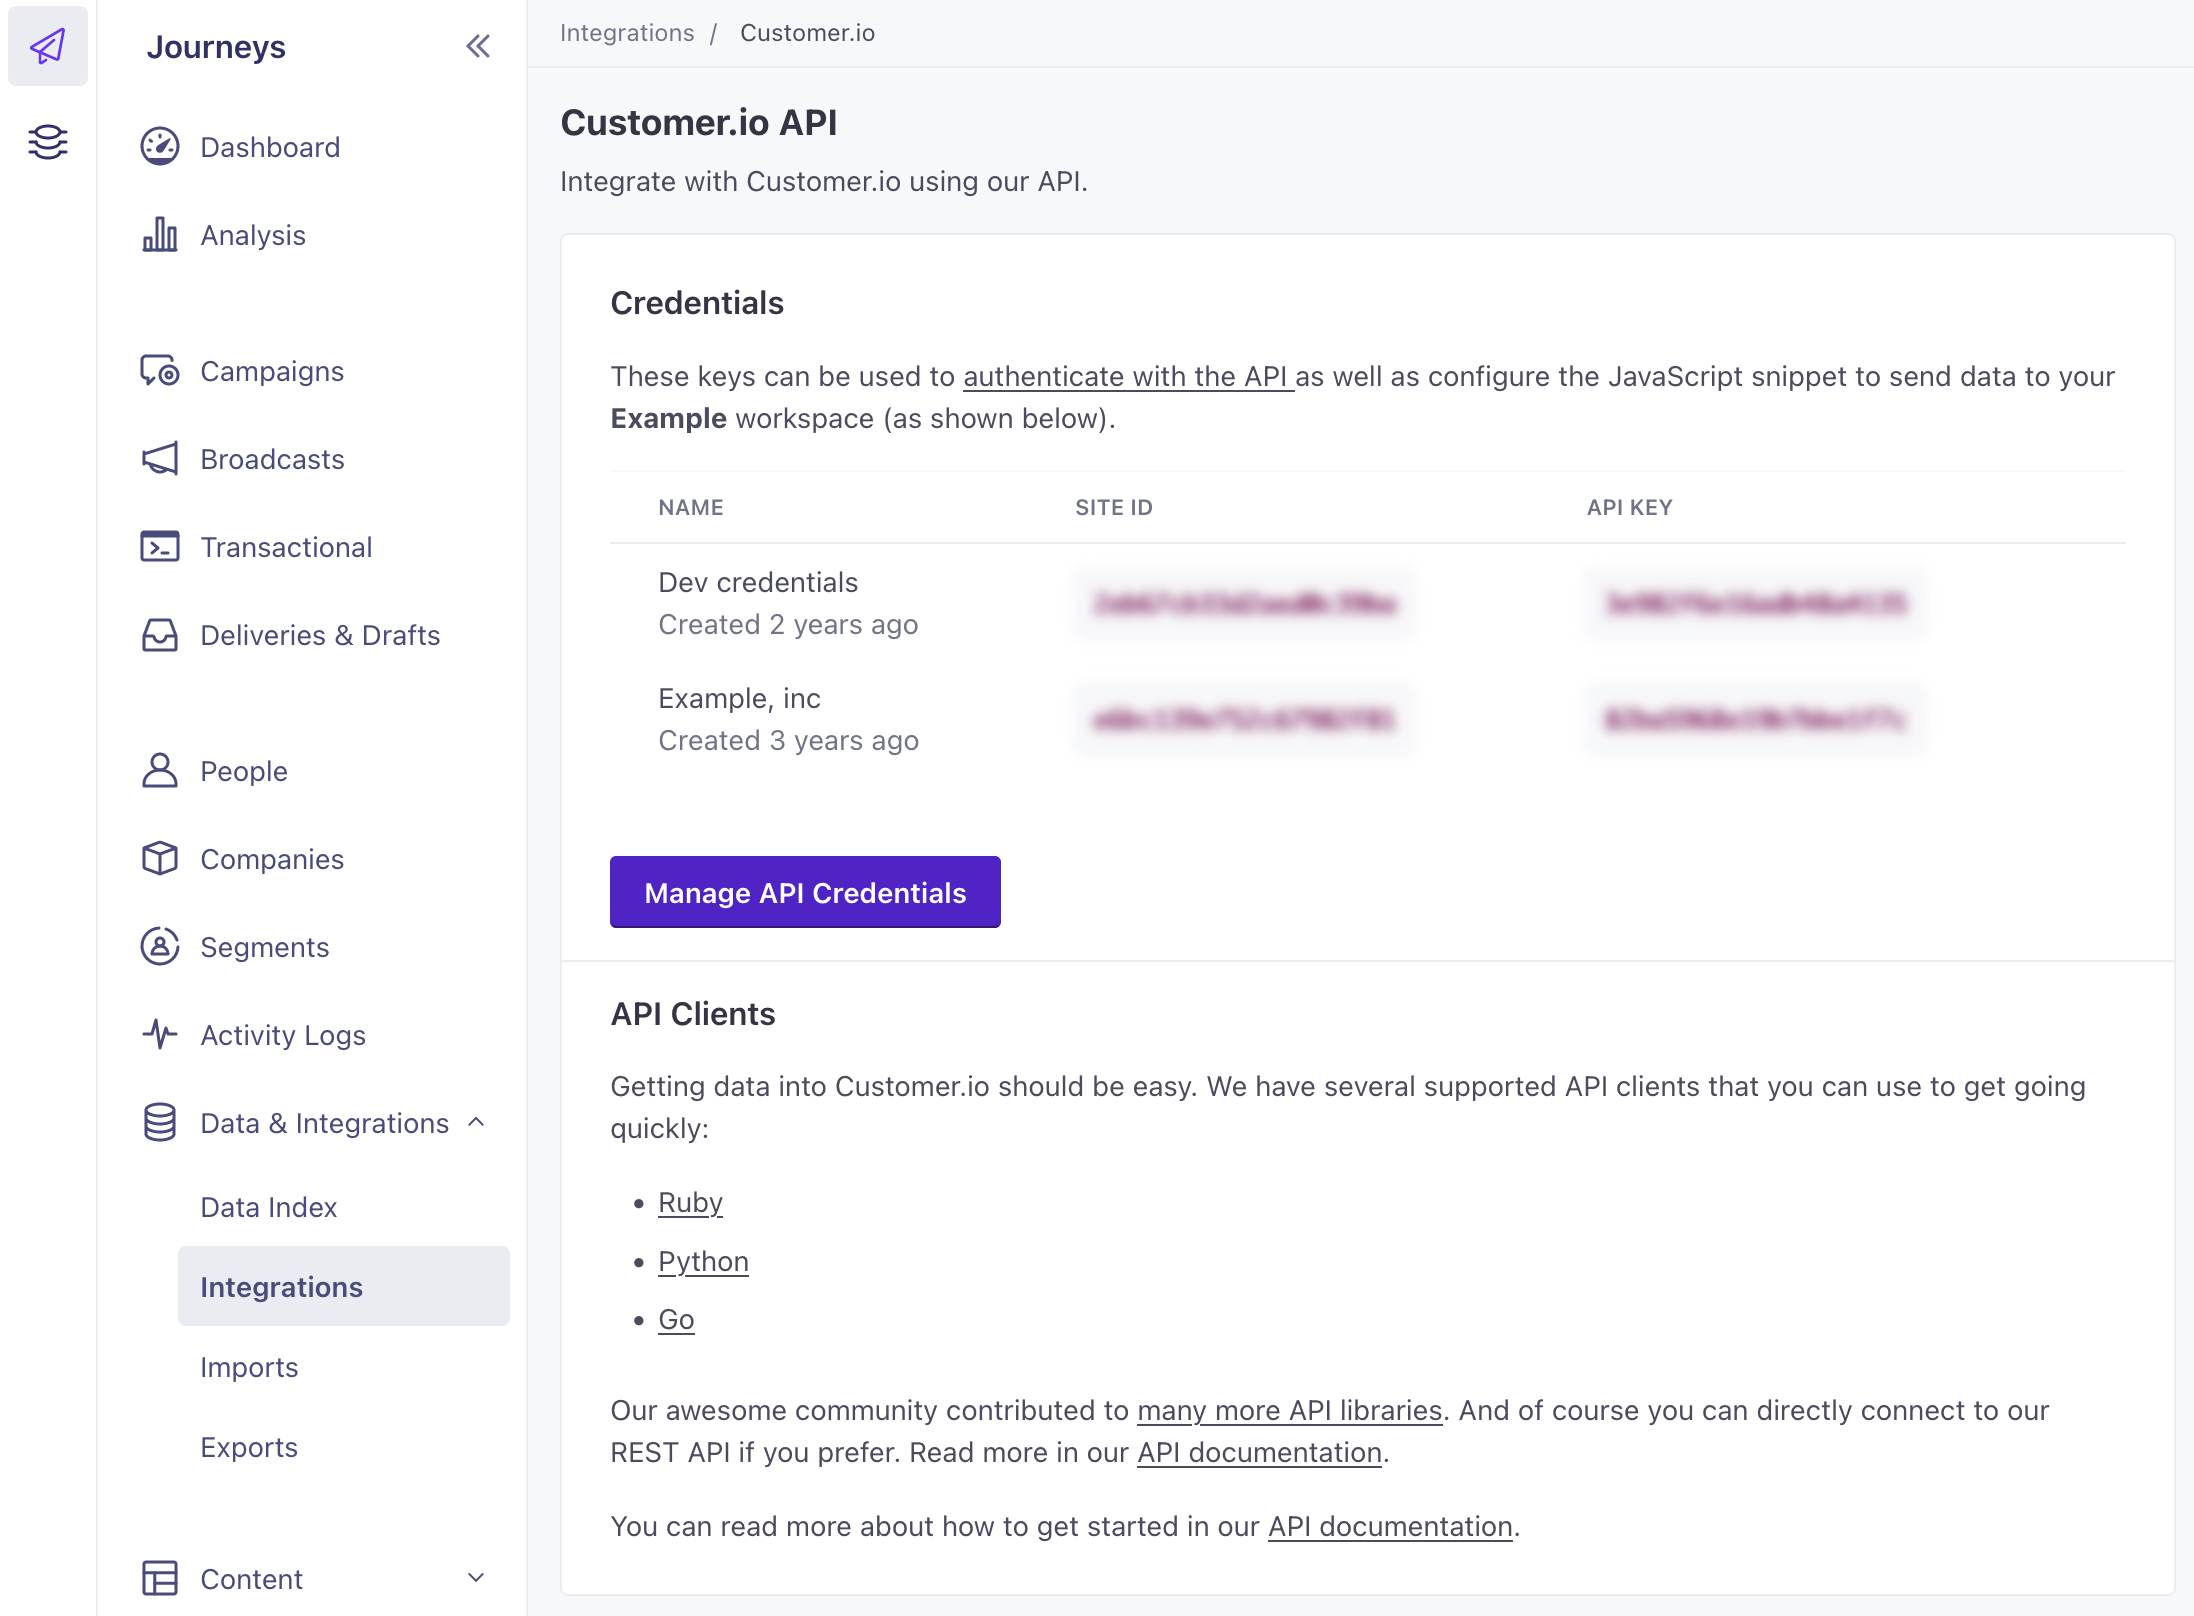
Return to your Workspace Settings and go to API and Webhook Credentials.
Copy the Site ID for the set of credentials that you want to send your in-app messages from. If you don’t have a set of credentials, click Create Tracking API Key.
Paste the Site ID into your JavaScript snippet or SDK configuration.
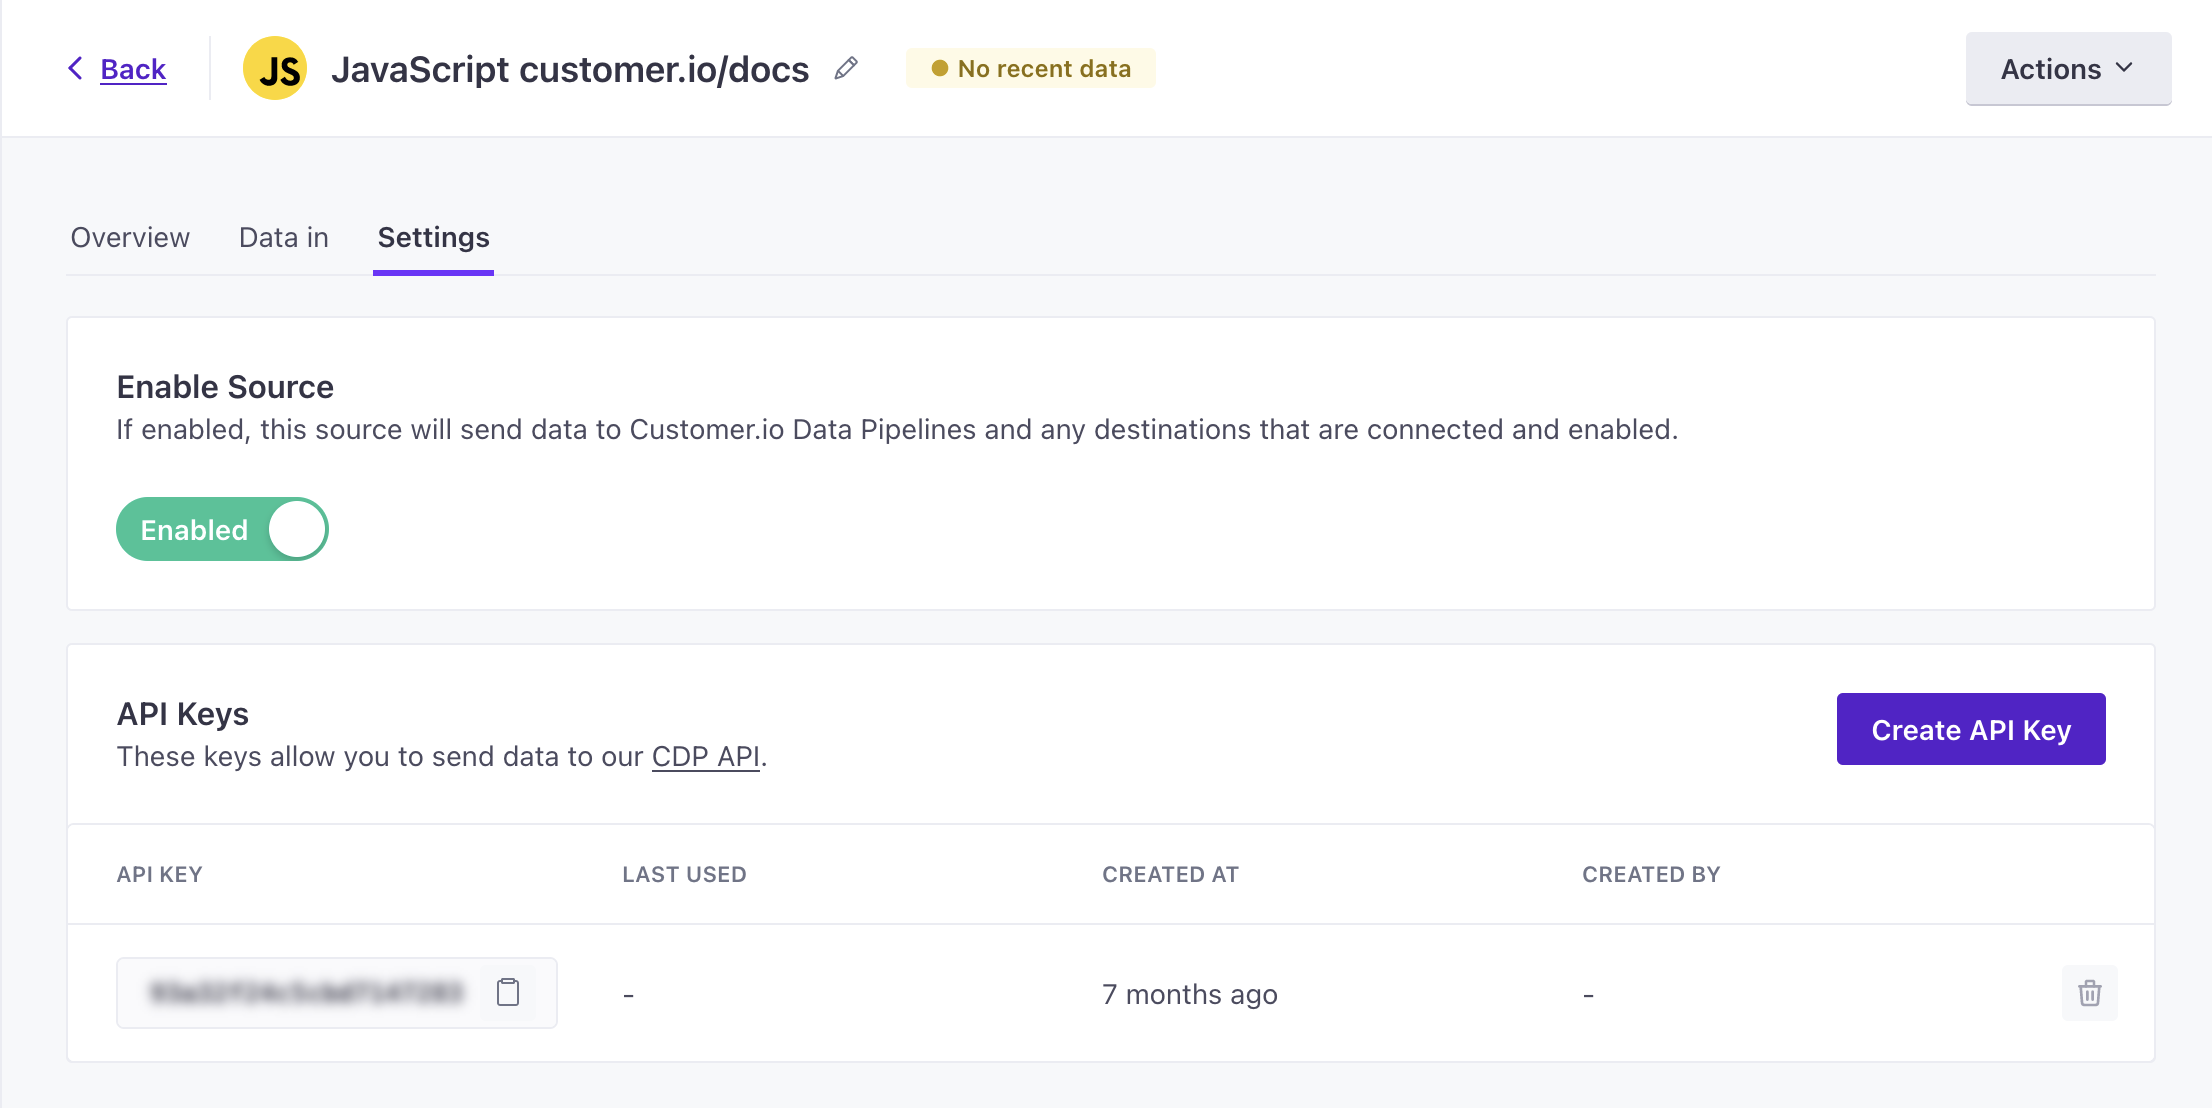
 !function(){var analytics=window.analytics=window.analytics||[];if(!analytics.initialize)if(analytics.invoked)window.console&&console.error&&console.error("Snippet included twice.");else{analytics.invoked=!0;analytics.methods=["trackSubmit","trackClick","trackLink","trackForm","pageview","identify","reset","group","track","ready","alias","debug","page","once","off","on","addSourceMiddleware","addIntegrationMiddleware","setAnonymousId","addDestinationMiddleware"];analytics.factory=function(e){return function(){var t=Array.prototype.slice.call(arguments);t.unshift(e);analytics.push(t);return analytics}};for(var e=0;e<analytics.methods.length;e++){var key=analytics.methods[e];analytics[key]=analytics.factory(key)}analytics.load=function(key,e){var t=document.createElement("script");t.type="text/javascript";t.async=!0;t.src="https://cdp.customer.io/v1/analytics-js/snippet/" + key + "/analytics.min.js";var n=document.getElementsByTagName("script")[0];n.parentNode.insertBefore(t,n);analytics._writeKey=key;analytics._loadOptions=e};analytics.SNIPPET_VERSION="4.15.3";
 analytics.load(
     "YOUR_API_KEY",
     {
         "integrations": {
             "Customer.io In-App Plugin": {
                 siteId: "YOUR_SITE_ID"
             }
         }
     }
 );
 analytics.page();
 }}();
YOUR_API_KEY should already be populated when you added the JavaScript source to your site. But, if it isn’t, you can find it by going to your source under Sources > your javascript source > Settings
Listen to in-app message events
We expose in-app message events that you can listen for and respond to—performing additional functions in response to a person interacting with or dismissing your message.
You’ll define functions handling each event type in an events key when you initialize the SDK. These events all have a detail object containing additional data about the event, like the deliveryId or messageId that you can act on.
analytics.load(
    "CDP_WRITE_KEY",
    {
        "integrations": {
            "Customer.io In-App Plugin": {
                siteId: "YOUR_SITE_ID",
                events: function(event) {
                    switch (event.type) {
                        case "in-app:message-opened":
                            // do something when a message is opened
                            break;
                        case "in-app:message-dismissed":
                            // do something when a message is dismissed
                            break;
                        case "in-app:message-action":
                            // do something when a message is interacted with
                            break;
                        case "in-app:message-error":
                            // do something when a message errors
                            break;
                    }
                }
            }
        }
    }
);
Events and examples
You can listen for the following in-app events:
- Message opened: this happens when your message is displayed to a person.
- Message dismissed: happens when someone dismisses your message. Remember, dismissing a message doesn’t necessarily mean that a person didn’t respond; dismissing a message often happens when someone responds to a message too.
- Message action: these are the things that happen when a person interacts with your message
- Message error: respond when something goes wrong with your message.
Each event has a detail object containing additional data about the event, like the deliveryId or messageId that you can act on. For the message-action event, we also expose the actionName and actionValue.
{
    // one of: "in-app:message-opened", "in-app:message-dismissed",
            // "in-app:message-action", "in-app:message-error"
    "type": "in-app:message-action",
    "detail": {
        "deliveryId": "1234567890",
        "messageId": "1234567890",
        // only for "in-app:message-action"
        "actionName": "action name",
        "actionValue": "action value"
    }
}
Page rules and in-app messages
You want to make sure that your messages are relevant to the pages that your audience visits. Maybe you want to alert people to new features on a particular page or run a tutorial for people in certain parts of your app. That’s what Page Rules are for: they determine the page(s) where people can encounter your message.
Page rules also help avoid conflicting messages by distributing messages to the pages where they’re most relevant to your audience. If you send two messages of the same priority without page rules, they’ll appear one after the other.
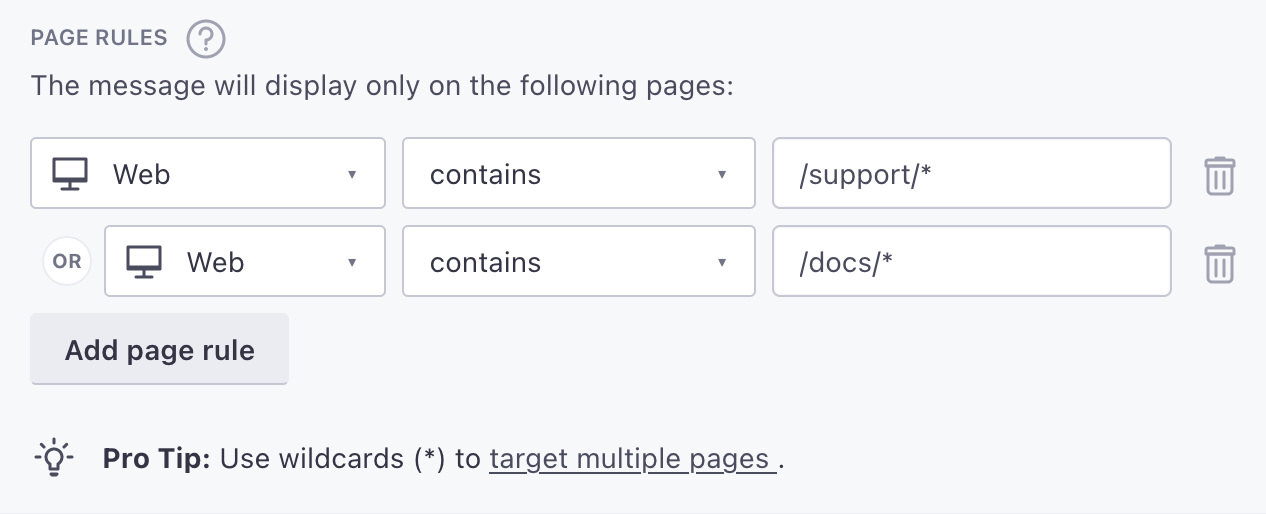
When you set a page rule for the Web platform, you’ll use the complete page URL (window.location.href) unless you pass page calls with a different name parameter. For example, https://example.com/*/billing would cover paths on your website like your in-app billing page https://example.com/ui/billing or documents about billing under https://example.com/docs/billing. See the page method reference for more information.
Use * to represent all pages
When you select a channel, you have to enter a page rule. But, if you want to show a message on every page on your website or app, you can simply enter *.
Page rules for single-page applications
The JavaScript snippet automatically sends page calls when it loads. But if you import/bundle the JavaScript SDK, or have a single page application (SPA), you’ll need to call analytics.page() manually for each page or route.
This tells the SDK what “page” a person is on so you can target in-app messages to people on certain pages of your app.

