Add a destination
How it works
A destination is the place you want to send your data to—where you store data, use it to gather analytics, to power marketing automation (like Customer.io Journeys), and so on.
You can send data from any number of sources into a destination, or you can do simple one-to-one mapping—whatever you need. However, in most cases, you’ll find that you typically want to aggregate data from multiple sources to a single destination—so you can act on a holistic understanding of your audience.
Set up a Destination
This is a very generic process. The steps involved in configuring your destination will change based on the specific destination and mode you enable. See an individual destination connection to learn more about the individual steps, and the information you’ll need, to connect a destination.
- Go to the Data Pipelines tab and click Connections.
- Click Add New under Destinations.
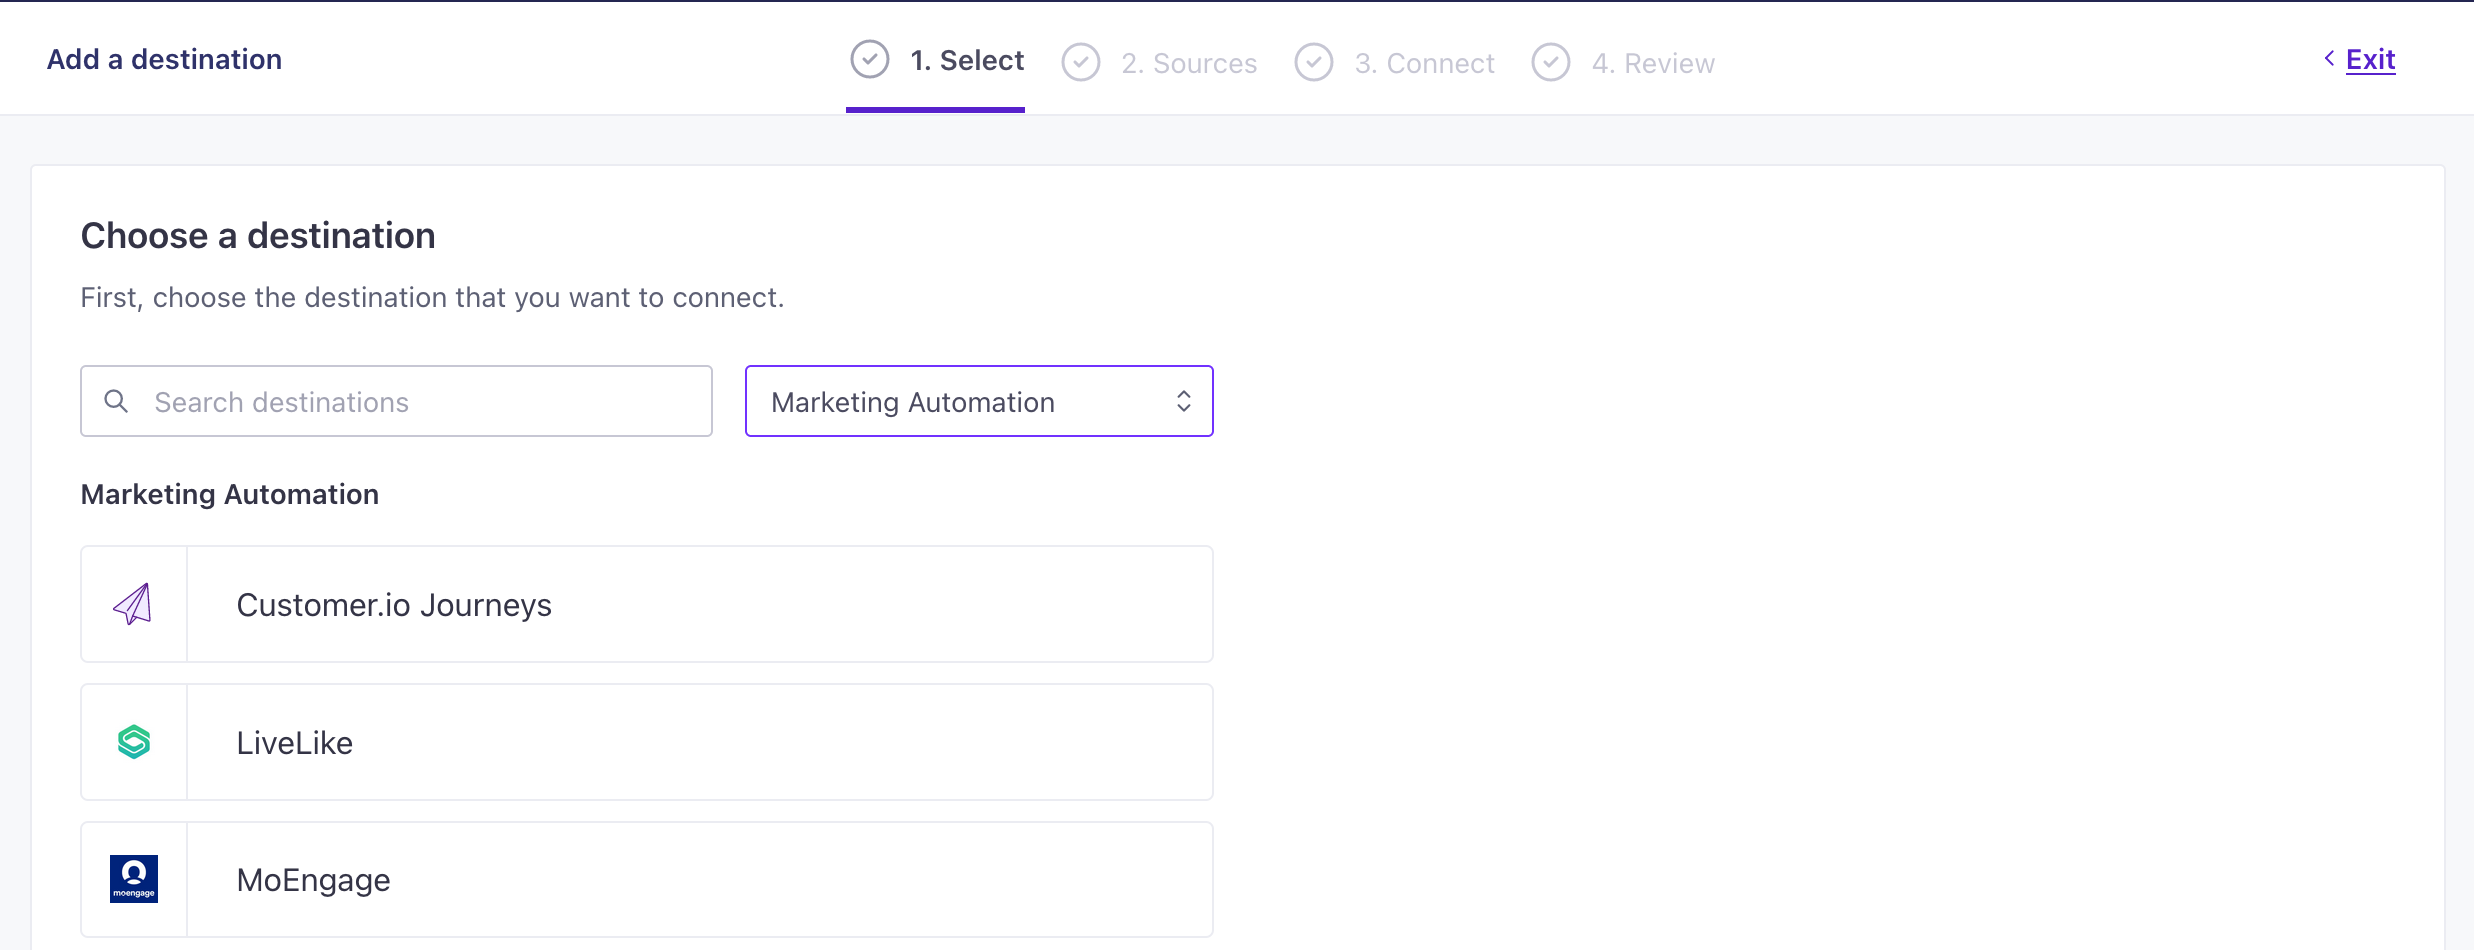
- Select the Destination you want.
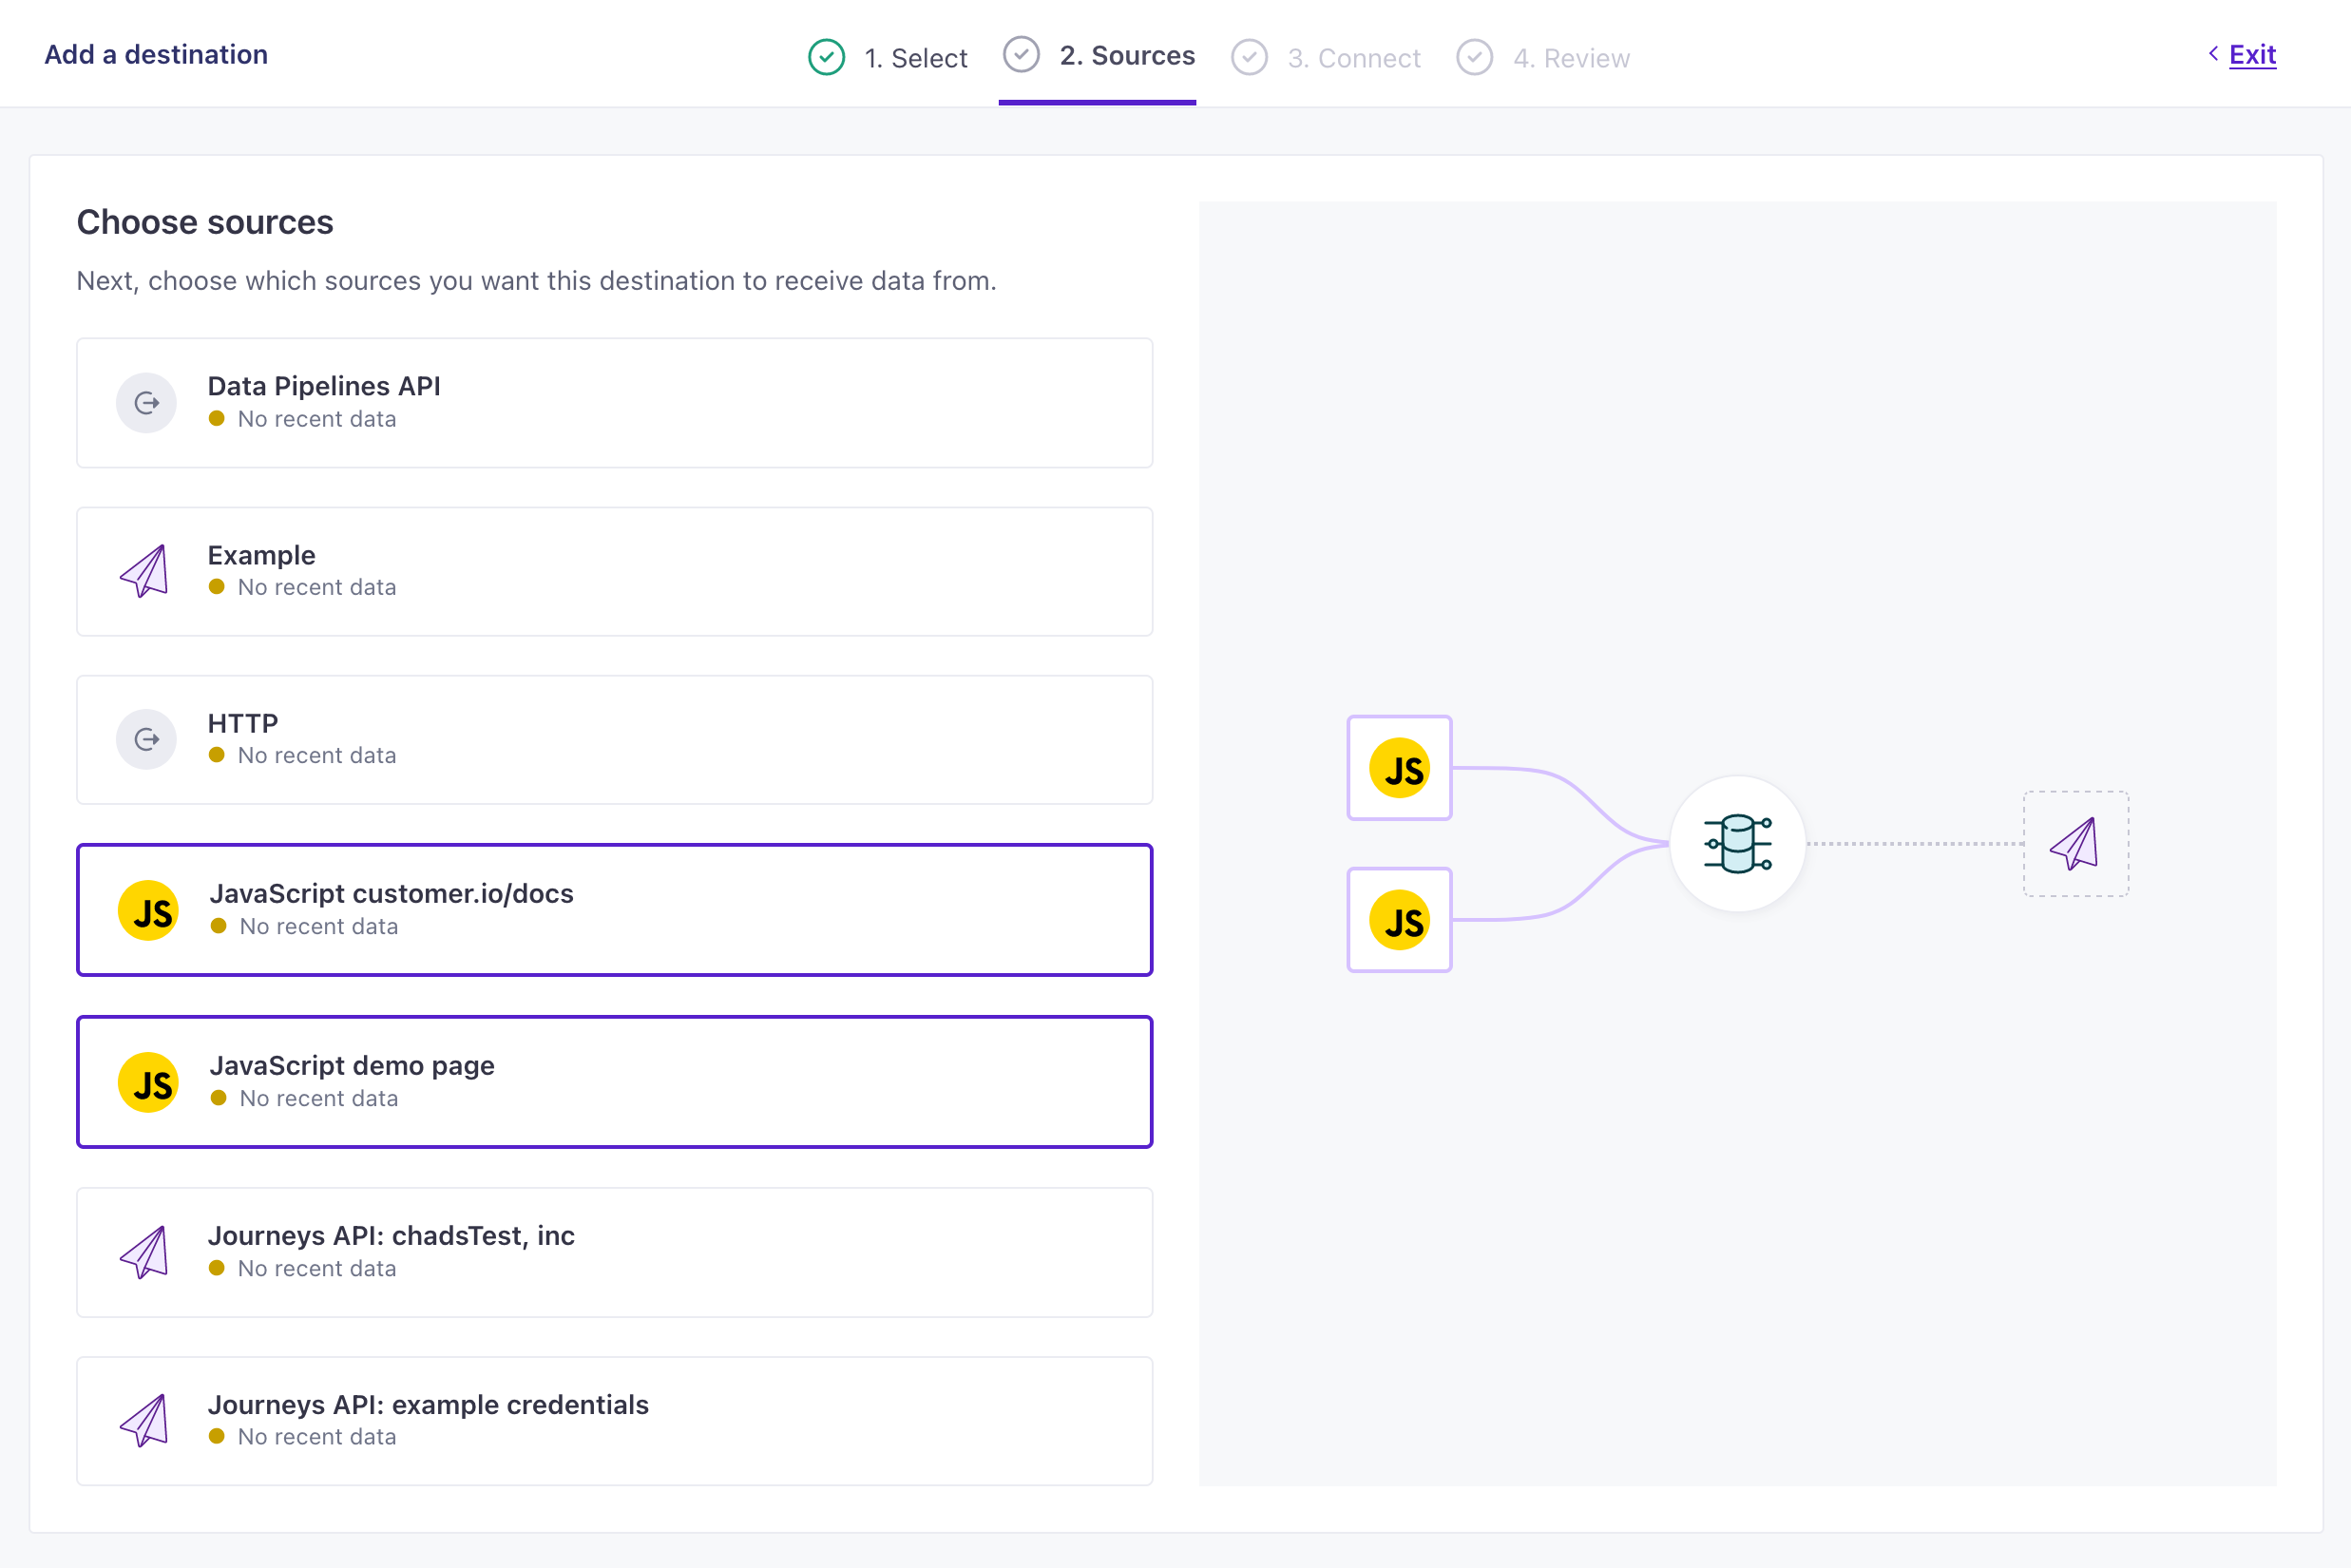
- (Optional) Select the sources that you want to connect to this destination. You can always connect sources to your destination later.
- Configure your destination and click Continue. We’ve provided an example of the Customer.io Journeys destination, but yours may contain different fields based on the destination you pick.
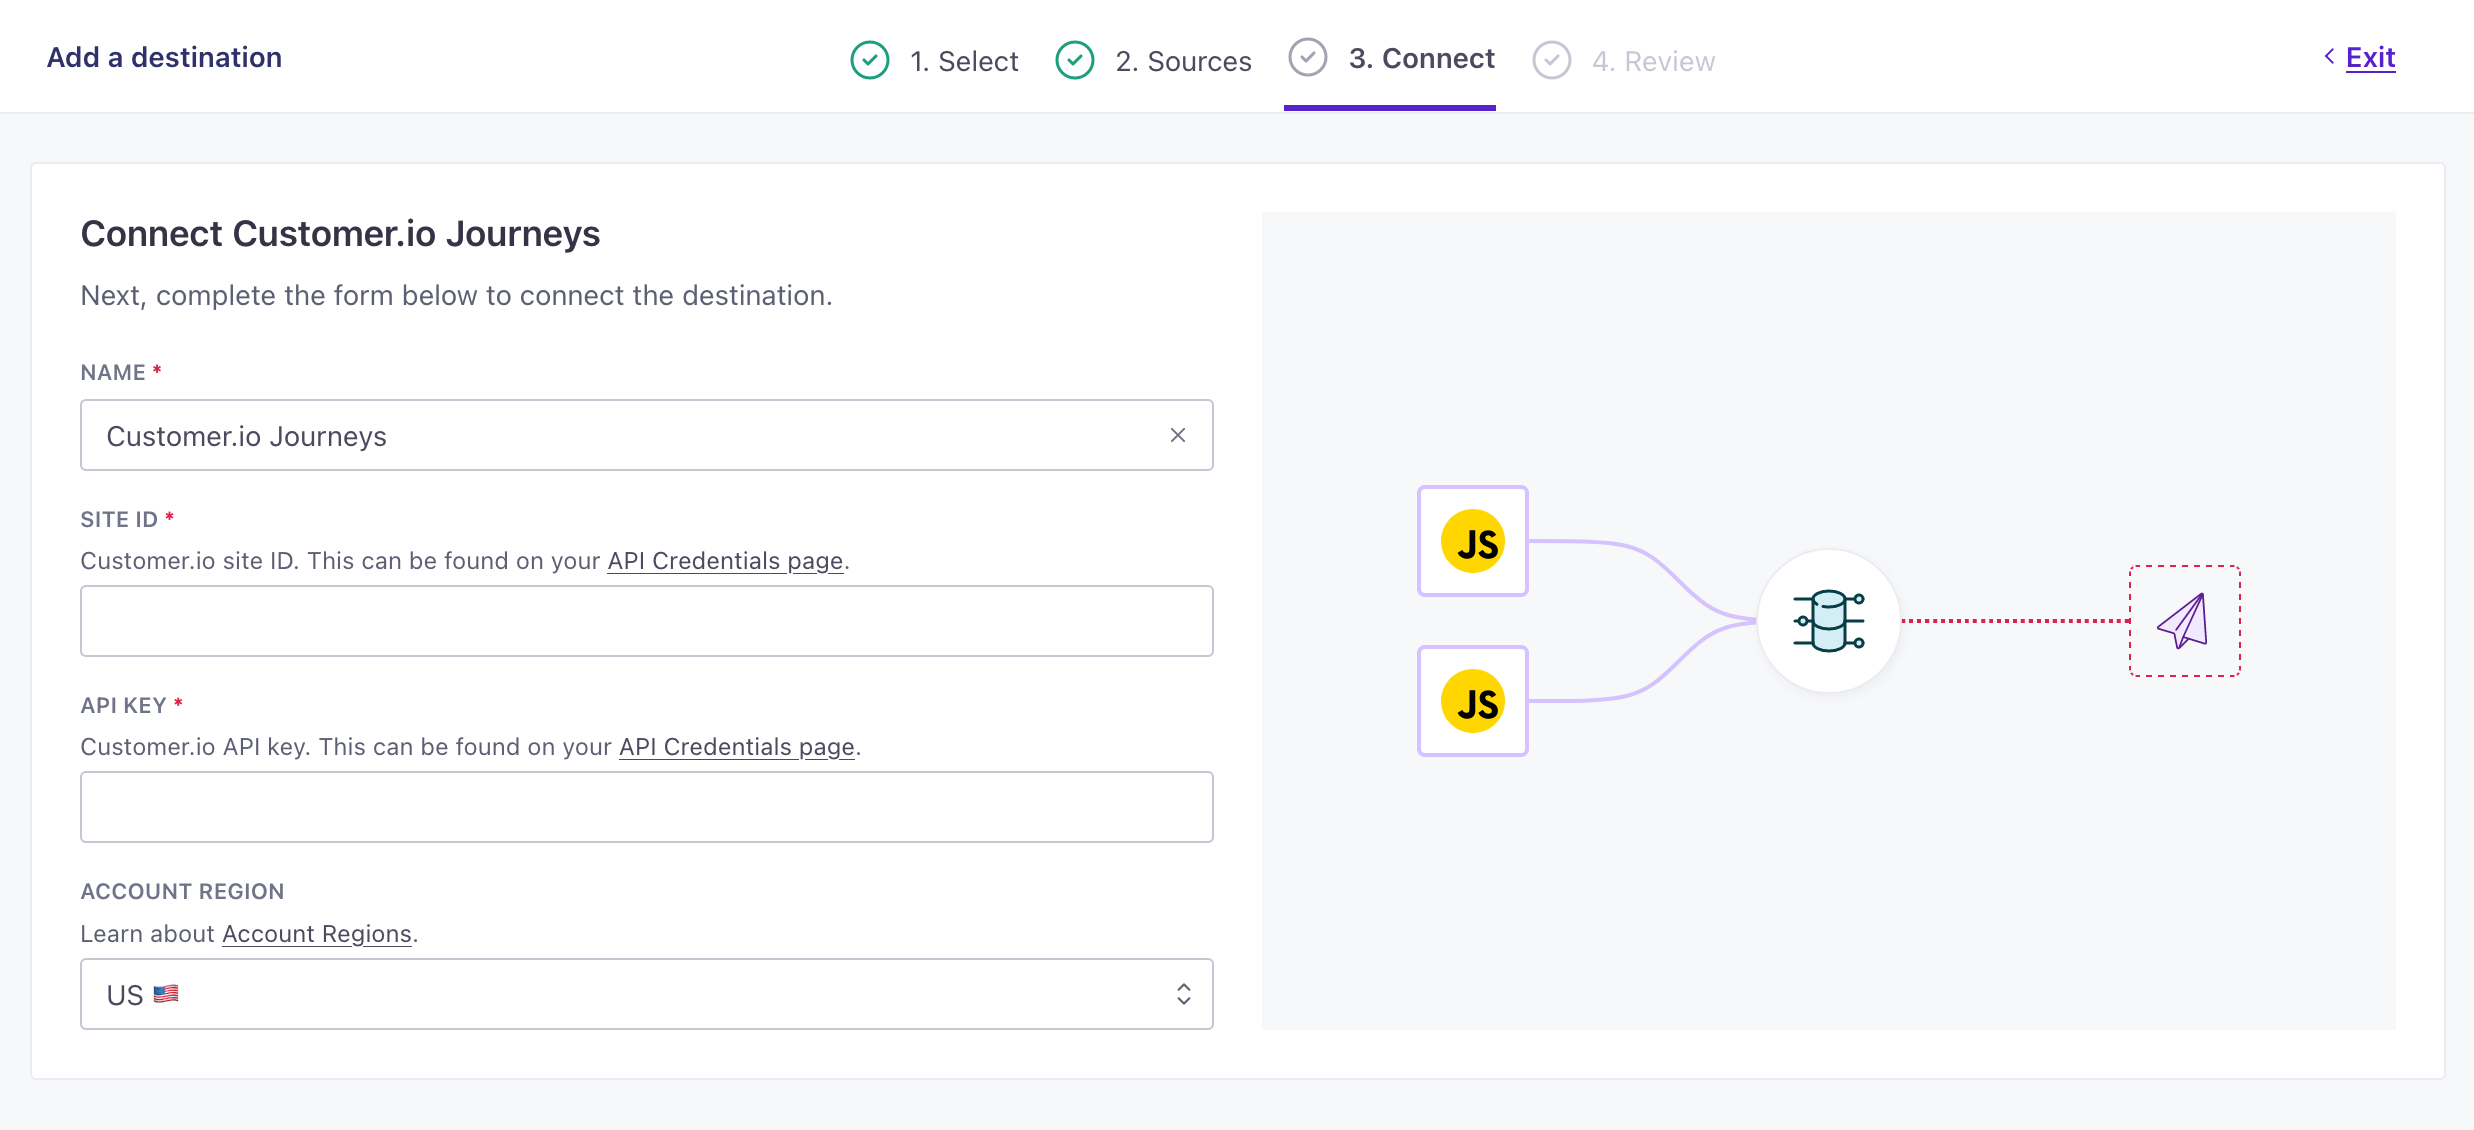
Example Customer.io Journeys destination settings - Click Enable Destination.
Now your destination is set up and will start accepting data from your sources. If you want to tailor the data that your sources send to destinations, go to your destination’s actionsThe source event and data that triggers an API call to your destination. For example, an incoming identify event from your sources adds or updates a person in our Customer.io Journeys destination. tab. See Actions for more information.
Authenticating with a destination
When you add a destination, you need to provide us with a credentials to authenticate with your destination. Most destinations use an API token or authentication code that you can get from their web app. If you can’t get credentials from the service you want to connect to Customer.io, you won’t be able to finish setting up your destination.
The documentation for each destination includes information about what you need, and how to find it.
Why can’t I connect my destination to a particular source?
You might have tried to connect a direct-mode destination to a server-based source. Unfortunately, that kind of connection won’t work.
Where we can update our client-side JavaScript source automatically when you add new direct-mode destinations, we can’t do the same with our server libraries. Our server libraries run in your app/server and aren’t aware of your destinations, therefore they can’t send data directly to your destinations. Our server libraries only support cloud-mode destinations.
Do I need to update sources when I add a destination?
No. You don’t need to update anything.
If you use our JavaScript source library in your website, it’ll automatically handle associated configuration changes when you connect it to a destination. Source data comes into Customer.io and we’ll automatically route it to your destinations.
While we’ll always capture source information from our JavaScript source and server libraries, you’ll only see the traffic we send to your destination if your destination is in cloud mode. If your destination is in direct-mode, we will not show the events that we send to your destination.

